A storyboard is a visual representation of a film, video, or other media that outlines the key elements of the story and how they will be presented. It is a powerful tool that helps filmmakers and other media professionals plan and communicate the vision for their project. In this article, we’ll explore the importance of storyboards and how they are used in the media industry.
We’ll also provide tips and techniques for creating effective storyboards, and discuss the different software and tools that are available. Whether you’re a seasoned professional or just getting started in the world of media production, this article has everything you need to create successful and engaging storyboards.
Table of Contents
What is a Storyboard template ?

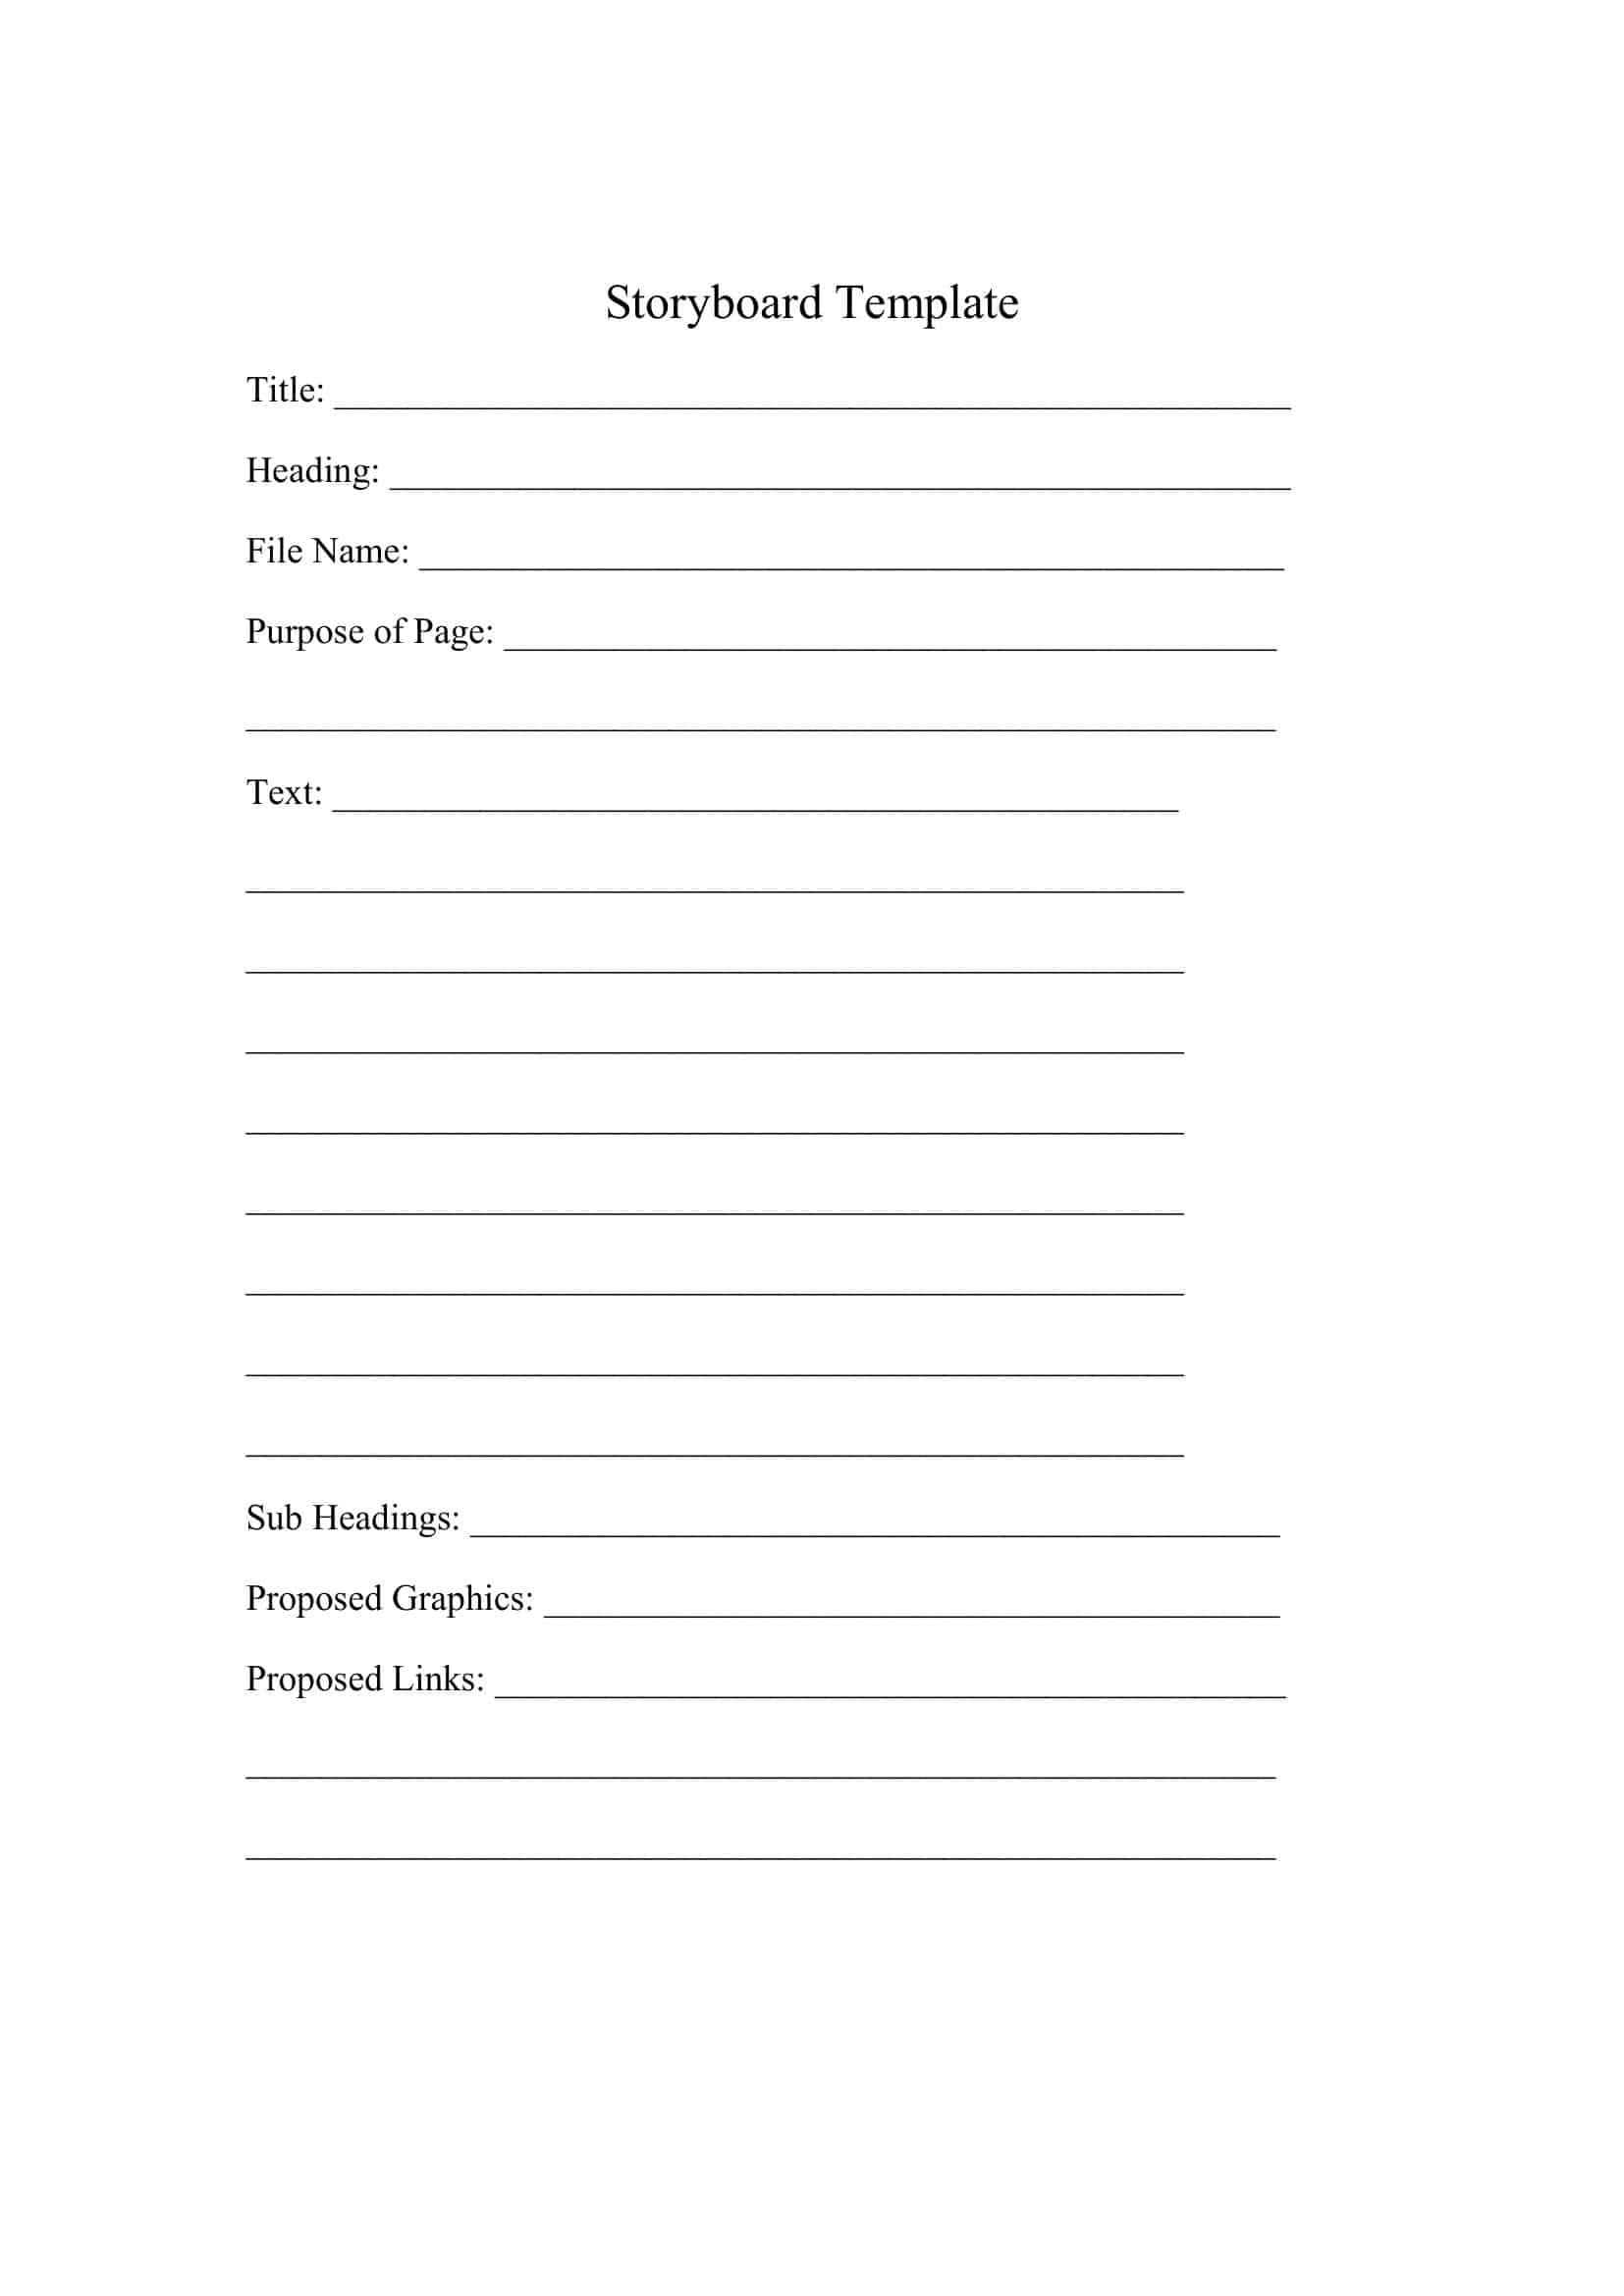
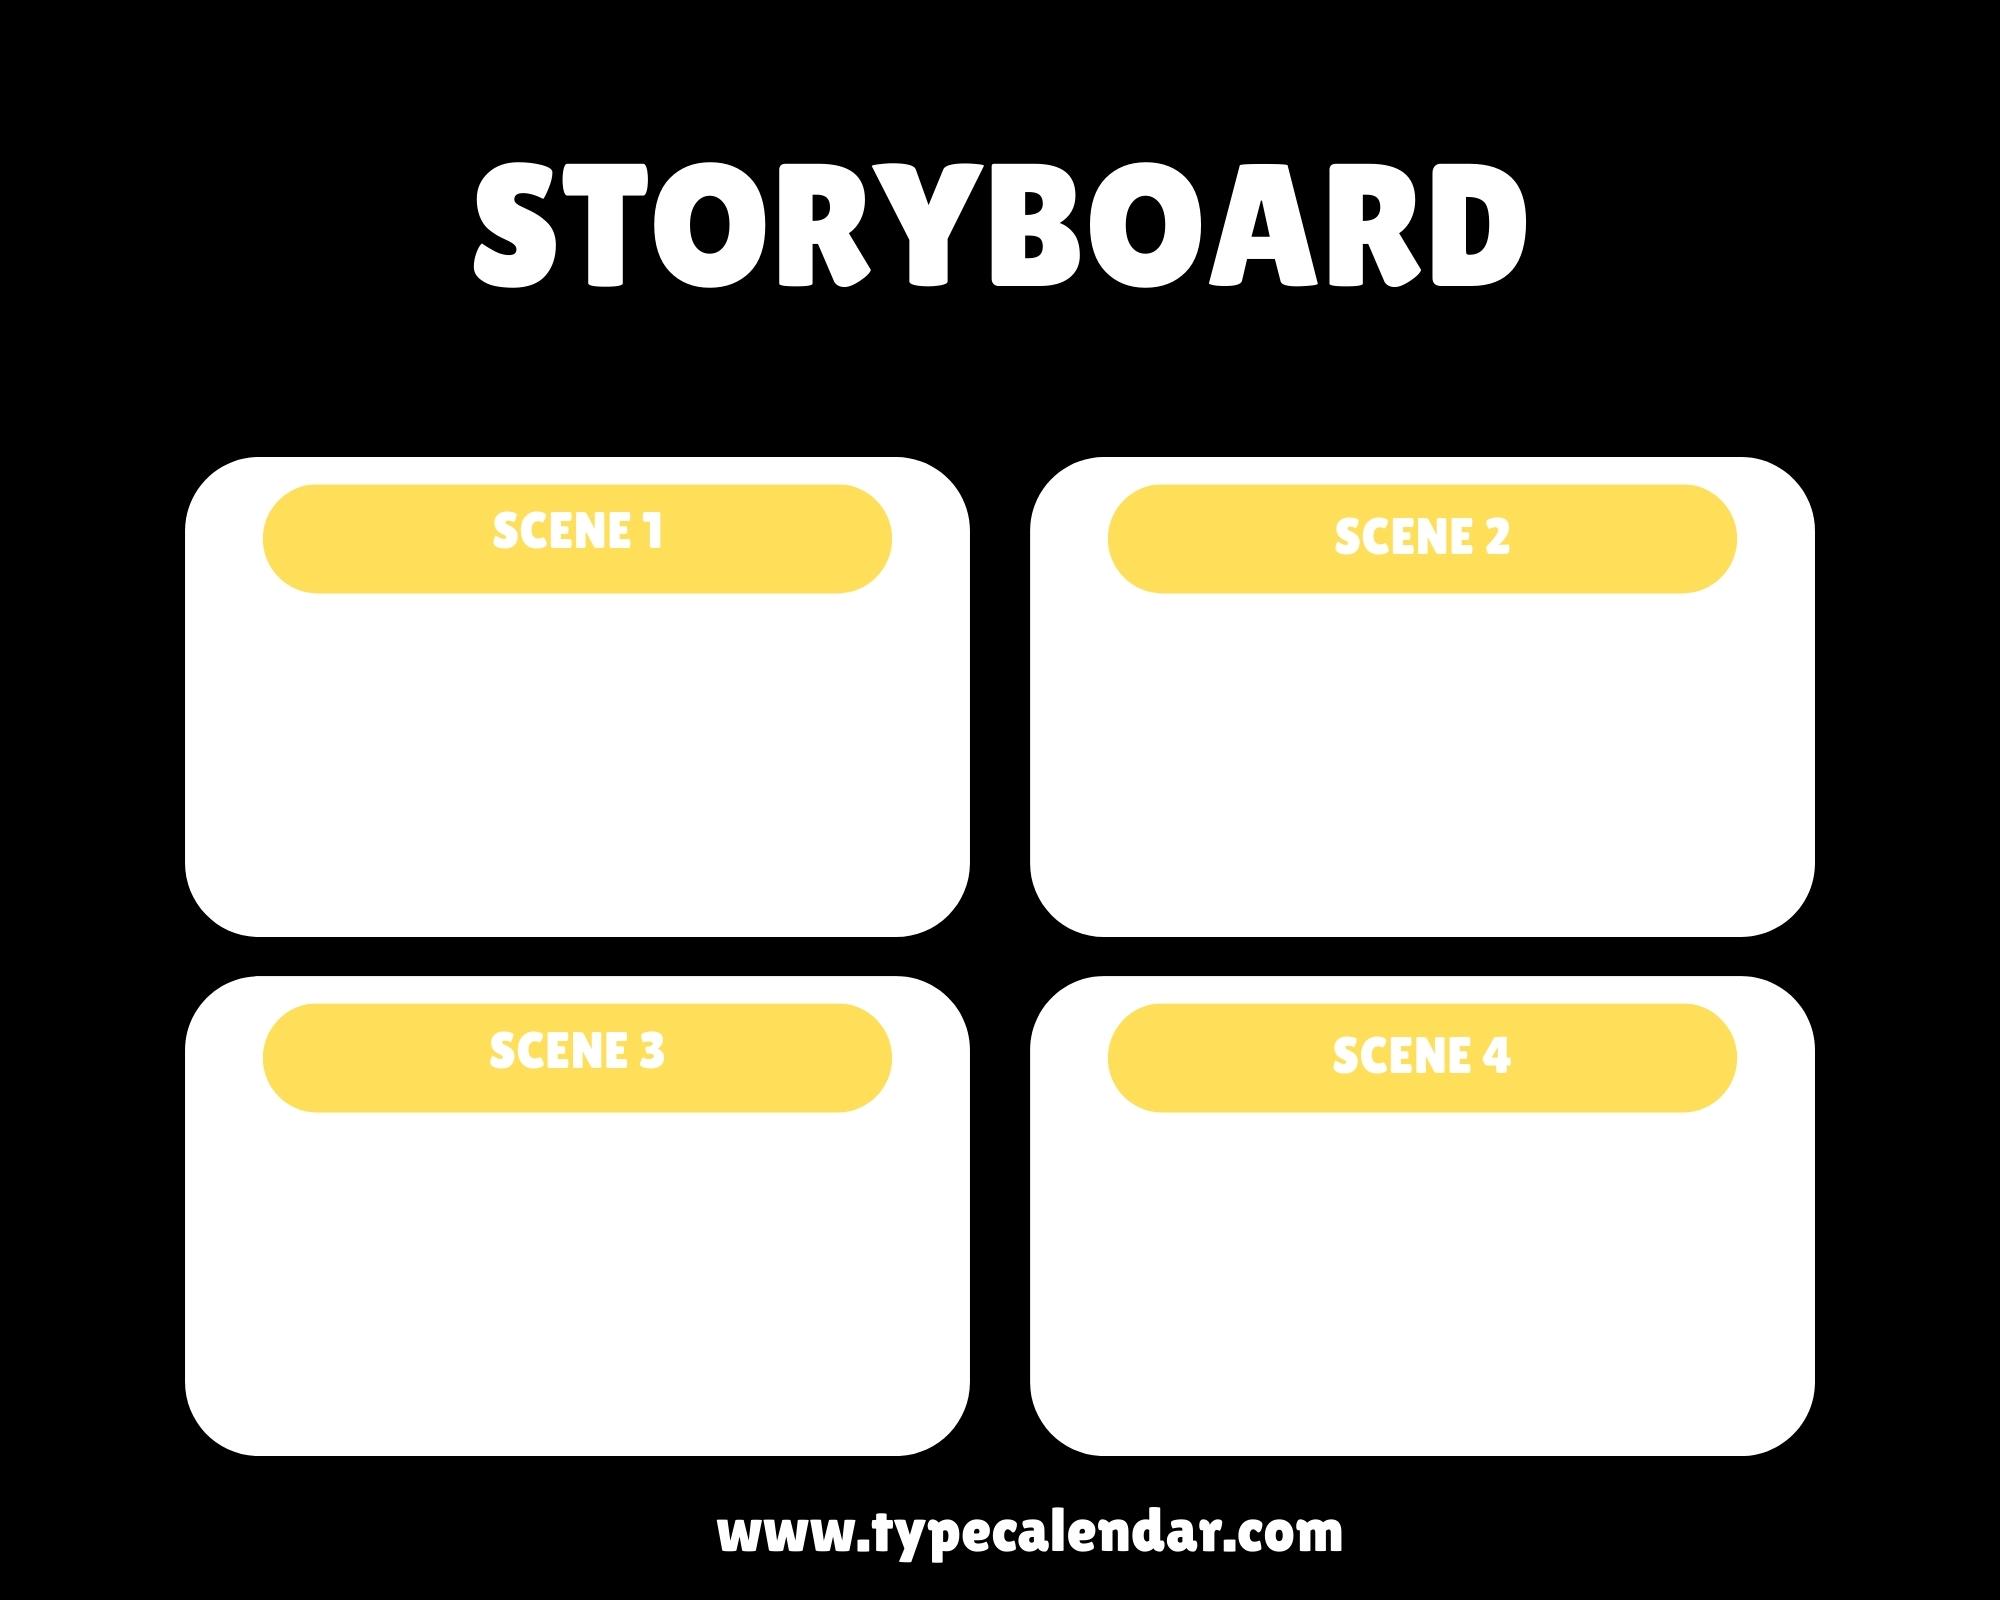
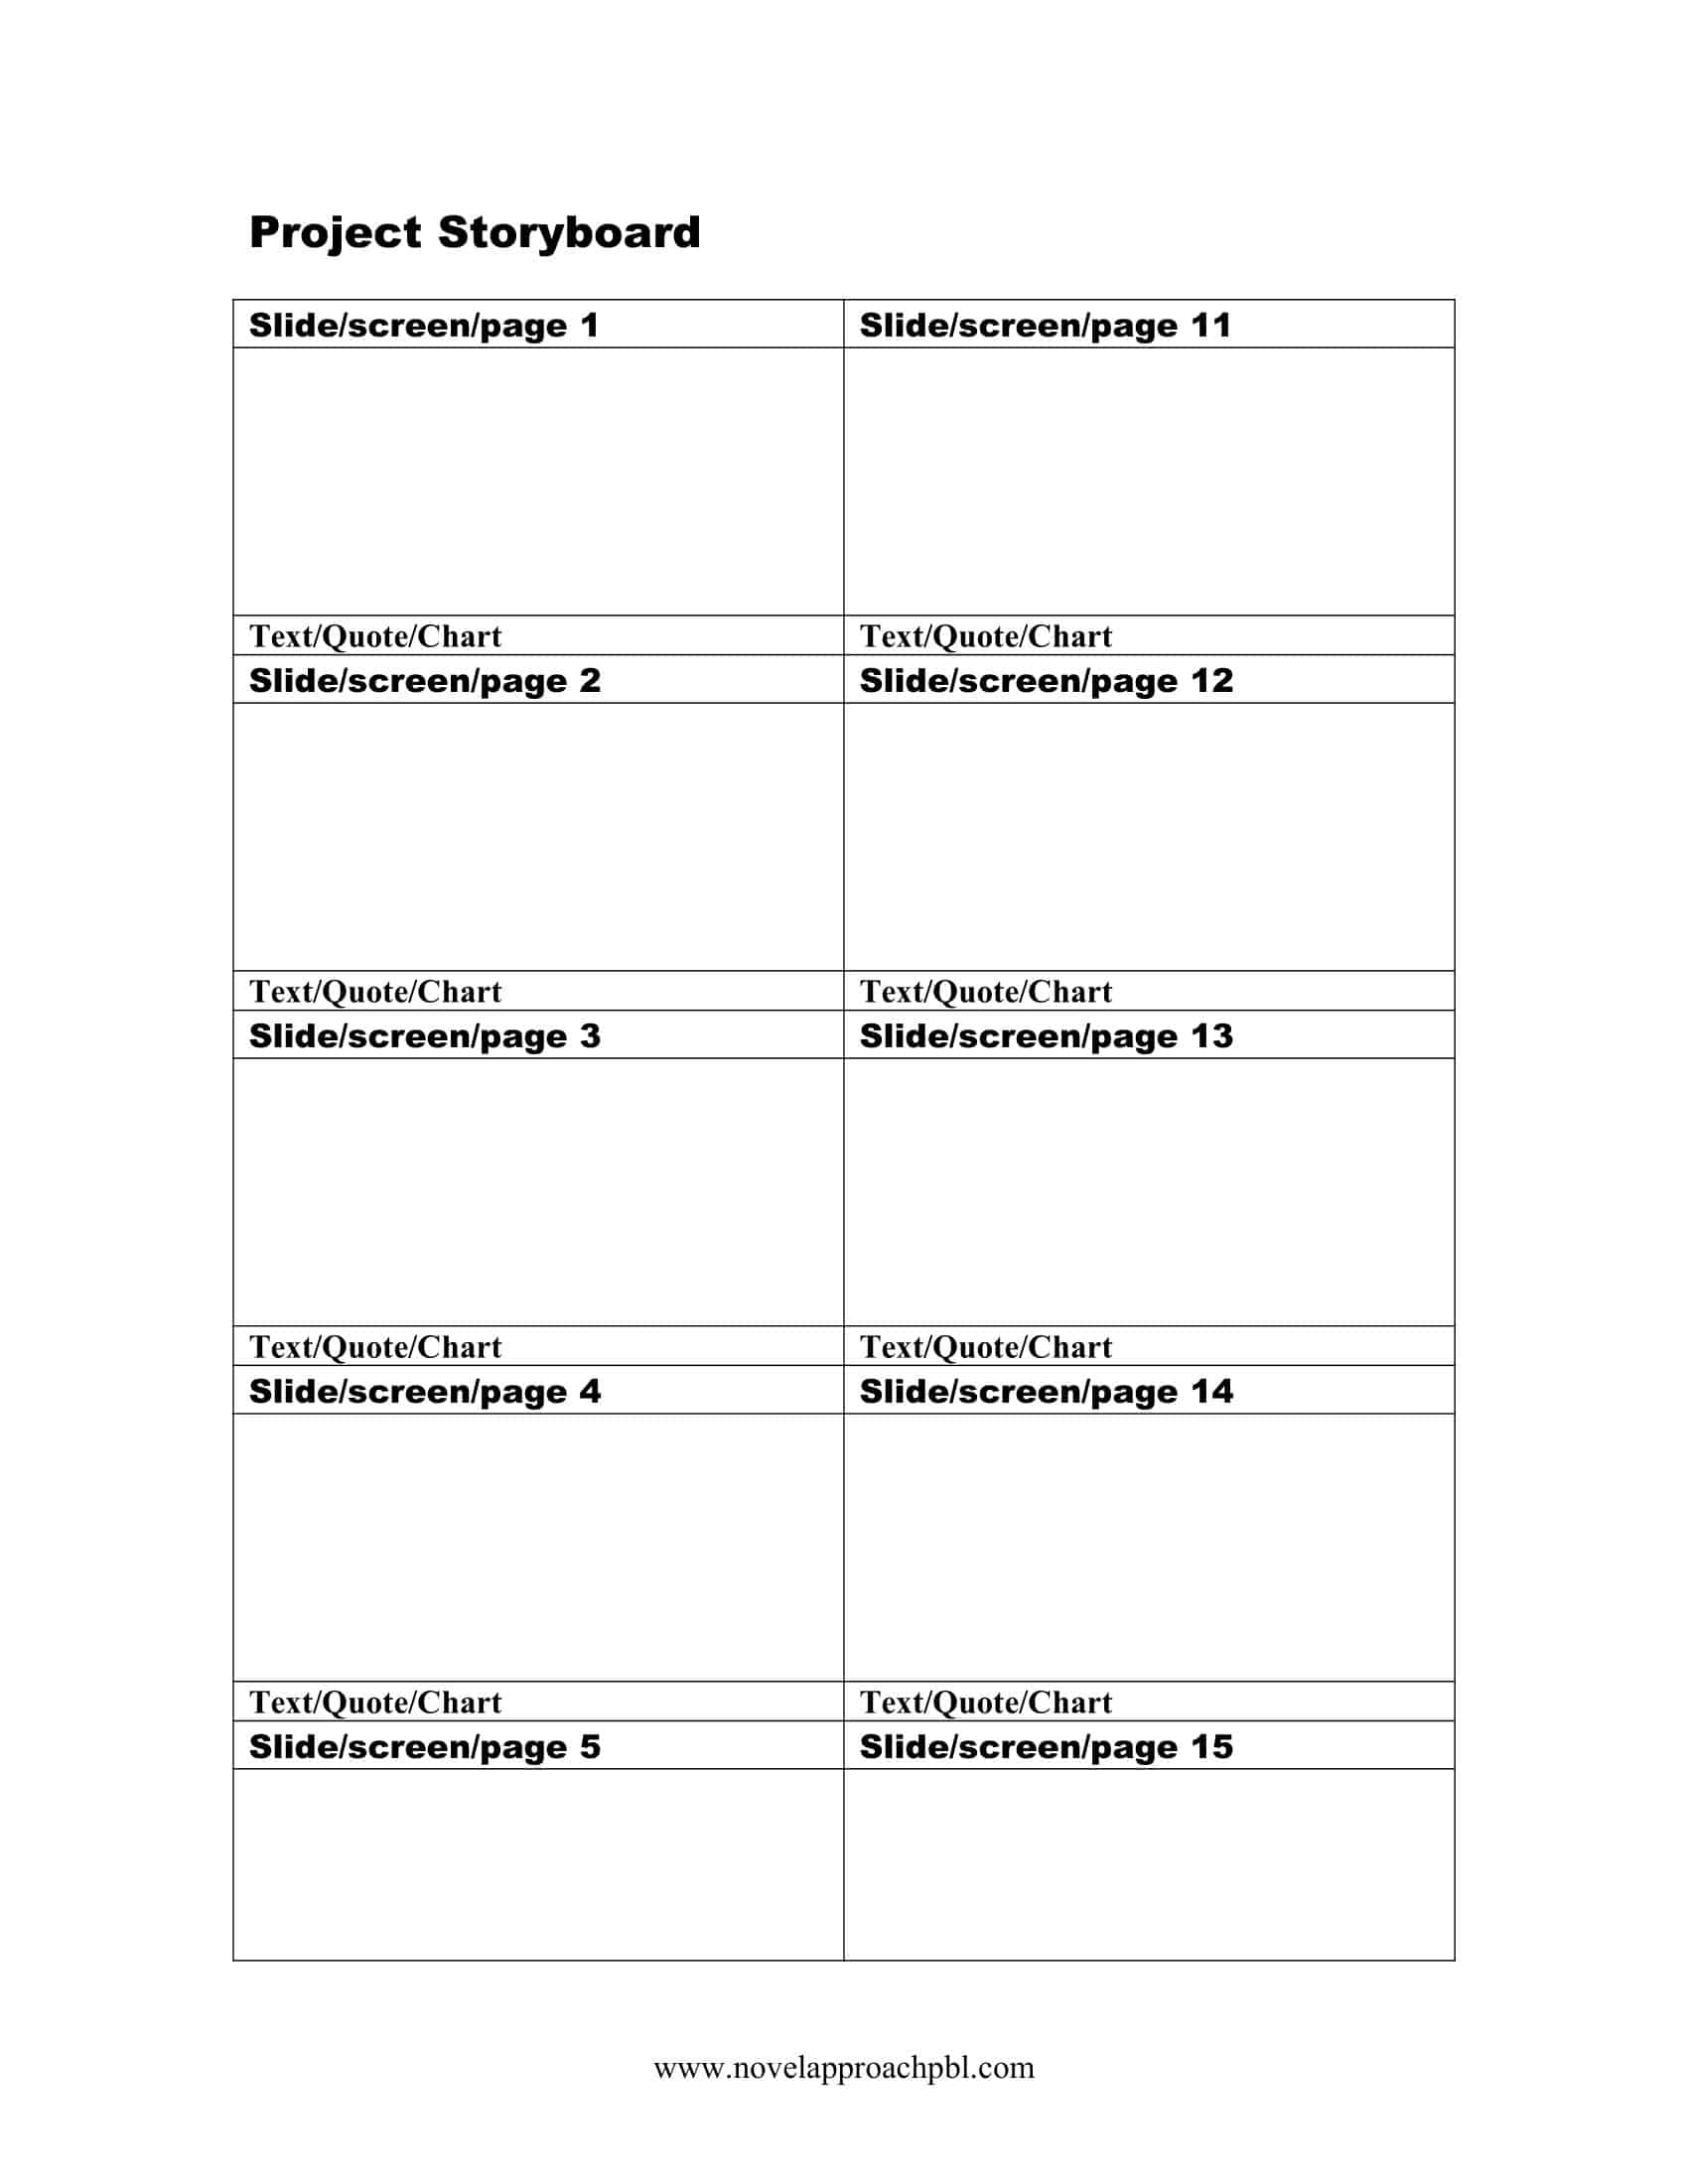
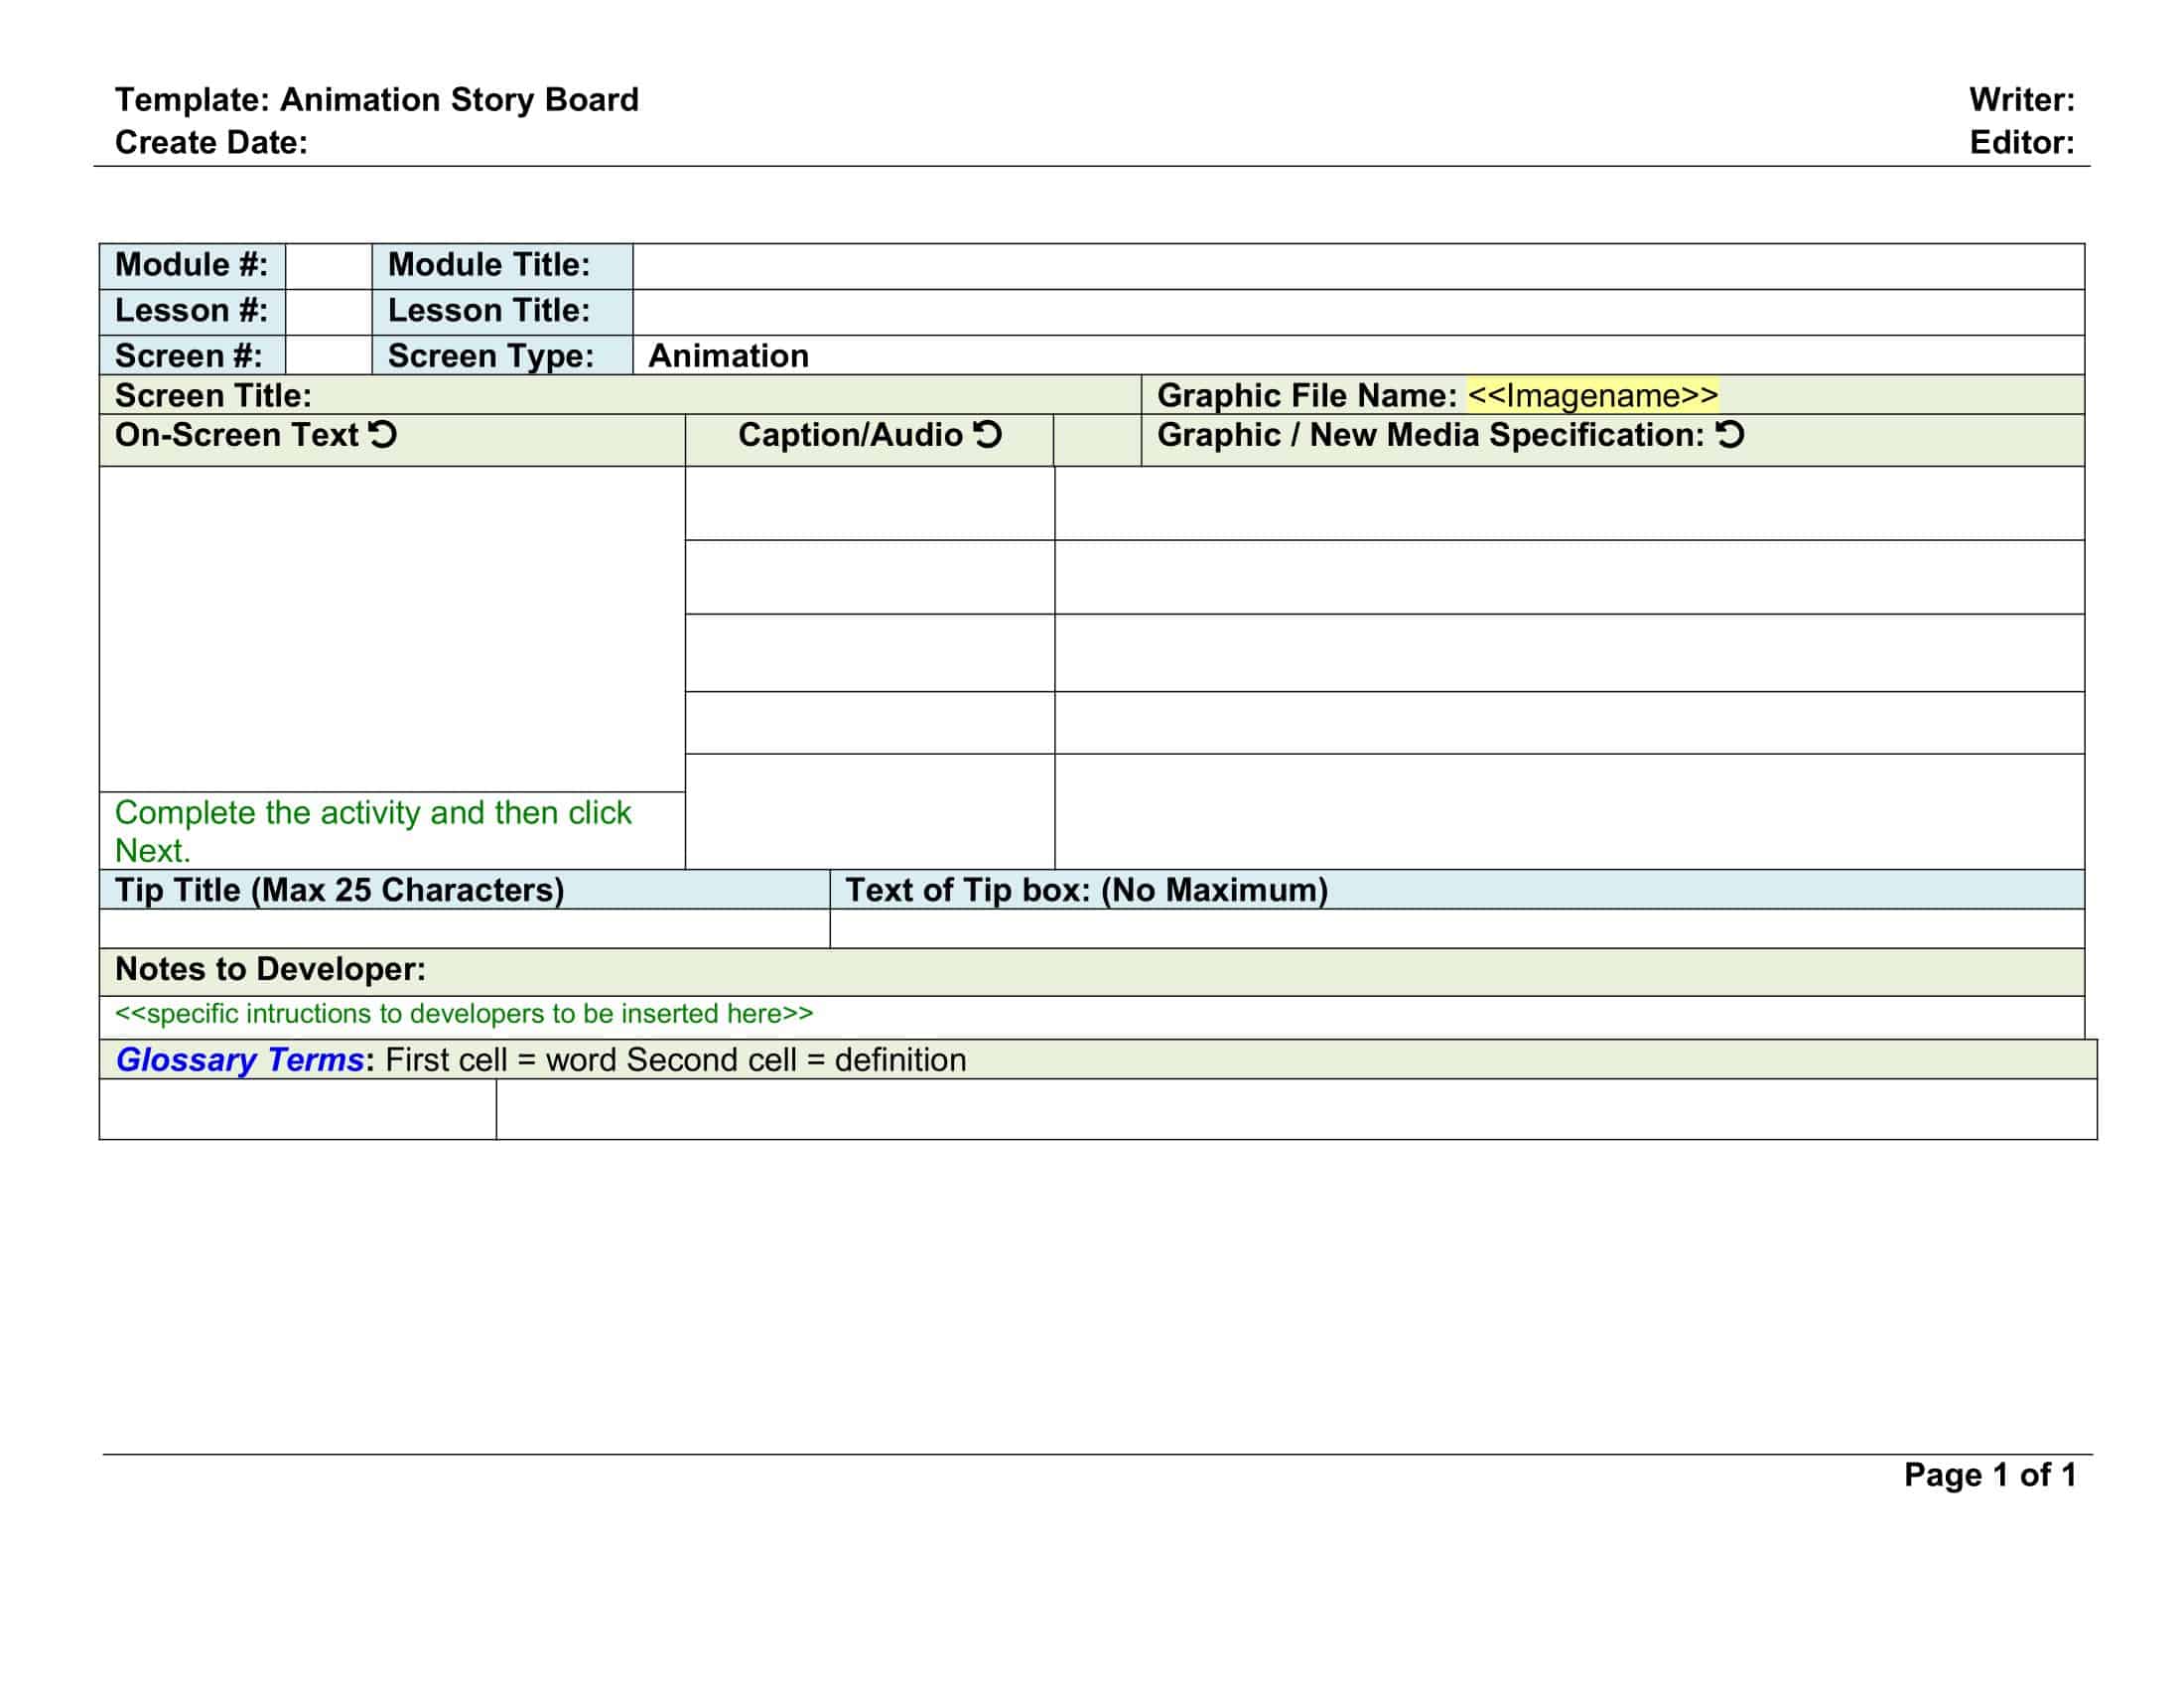
A storyboard template is a pre-designed document that can be used to create a storyboard. It includes all of the necessary formatting, layout, and design elements, and can be customized with the specific details and elements of your story. Storyboard templates can be created in a variety of software programs, such as Microsoft Word or Adobe Photoshop, and can be printed or saved as a digital document.
Storyboard Templates
Storyboard Templates are pre-designed formats used by visual storytellers, such as filmmakers, animators, or graphic designers, to plan and visualize the sequence of events in a story or project. These templates provide a structured framework for organizing and illustrating the key moments, scenes, or frames that make up the narrative or visual presentation. Storyboard Templates ensure consistency, clarity, and effective communication of the story or project concept, enabling creative professionals to visualize and refine their ideas before production or execution.
Storyboard Templates offer a visual and systematic approach to planning and communicating a story or project. By using these templates, visual storytellers can effectively organize and illustrate the sequence of events, visualize the composition and flow of each scene, and refine their ideas before production or execution. These templates facilitate effective communication, collaboration, and feedback among creative professionals, ensuring a shared understanding of the story or project concept. Storyboard Templates serve as valuable tools in film production, animation, advertising, graphic design, and other visual storytelling fields, enabling creators to map out their ideas and guide the production process with clarity and visual coherence.
Why Do You Need a Storyboard?
A storyboard is a valuable tool that can help you communicate your vision, plan the production process, visualize the final product, and make changes and adjustments.
There are many reasons why you might need a storyboard. Here are a few:
To communicate your vision: A storyboard is a powerful tool for communicating your vision for a film, video, or other media project. It allows you to outline the key elements of the story and how they will be presented, making it easier for others to understand your ideas.
To plan the production process: A storyboard can help you plan the production process by outlining the various shots and scenes that will be needed, as well as the locations, props, and other elements that will be required.
To visualize the final product: A storyboard can help you visualize the final product by showing you what the finished project will look like. This can be especially helpful when working with a team, as it allows everyone to see the big picture and understand how their contributions fit into the overall project.
To make changes and adjustments: A storyboard can be a useful tool for making changes and adjustments to your project. It is much easier to make changes on a storyboard than it is to make changes during the production process, so using a storyboard can help you avoid costly and time-consuming mistakes.
To stay on track: A storyboard can help you stay on track and keep your project moving forward. By outlining the key elements of the story and the production process, a storyboard can help you stay focused and avoid distractions.
To save time and money: A storyboard can help you save time and money by allowing you to plan and visualize the project in advance. By identifying potential issues and making changes on the storyboard, you can avoid costly mistakes and delays during the production process.
To attract funding and support: A storyboard can be a useful tool for attracting funding and support for your project. By showing potential investors or partners what the final product will look like, you can demonstrate the value and potential of your project.
To create a sense of ownership: A storyboard can create a sense of ownership among the team by outlining the key elements of the project and how each person’s contributions fit into the overall vision. This can help to build teamwork and collaboration, and can lead to a more successful project.
Storyboard Methods
There are many popular storyboarding methods to choose from, and the best one for you will depend on your skills, preferences, and the specific needs of your project.
There are several popular storyboarding methods that are commonly used in the media industry. Here are a few:
1.The traditional method
The traditional method involves drawing each frame of the storyboard by hand on paper or card. This method is best for those who are comfortable with drawing, and allows for a lot of creativity and flexibility.
2.The thumbnail method
The thumbnail method involves creating small, rough sketches of each frame of the storyboard. This method is quicker and more efficient than the traditional method, and is often used when working on tight deadlines.
3.The digital method
The digital method involves creating the storyboard using computer software such as Photoshop or Illustrator. This method is best for those who are comfortable with using digital tools, and allows for easy editing and customization.
4.The hybrid method
The hybrid method involves combining the traditional method with the digital method, by drawing the storyboard by hand and then scanning it into a computer to create a digital version. This method is best for those who want the benefits of both the traditional and digital methods.
5.The stick figure method
The stick figure method involves using simple stick figures to represent characters and objects in the storyboard. This method is quick and easy, and is often used when working on rough drafts or when time is limited.
6.The 3D modeling method
The 3D modeling method involves creating a storyboard using 3D modeling software such as Maya or Blender. This method is best for those who are comfortable with 3D modeling, and allows for a more realistic and detailed representation of the project.
7.The photo collage method
The photo collage method involves using photographs to represent the different frames of the storyboard. This method is best for those who are comfortable with photography, and allows for a more realistic and visual representation of the project.
8.The storyboard app method
There are many different storyboard apps available that allow you to create a storyboard on your phone or tablet. These apps are quick and easy to use, and are often used when working on the go or when access to a computer is limited.
Best Storyboarding Softwares
There are many popular storyboarding software programs to choose from, and the best one for you will depend on your needs and preferences.
Photoshop
Photoshop is a powerful photo editing and design software that can be used to create professional-quality storyboards. It has a wide range of features and tools, and is suitable for both beginners and advanced users.
Illustrator
Illustrator is a vector graphics software that is commonly used for creating storyboards. It has a wide range of features and tools, and is suitable for both beginners and advanced users.
Storyboard That
Storyboard That is a dedicated storyboarding software that is easy to use and suitable for all skill levels. It has a wide range of templates and features, and allows you to create both printed and digital storyboards.
Celtx
Celtx is a comprehensive media production software that includes a powerful storyboarding feature. It is suitable for both beginners and advanced users, and allows you to create both printed and digital storyboards.
Toon Boom Storyboard Pro
Toon Boom Storyboard Pro is a professional-grade storyboarding software that is used by many studios and production companies. It has a wide range of features and tools, and is suitable for advanced users.
Adobe Premiere
Adobe Premiere is a video editing software that includes a storyboarding feature. It is suitable for both beginners and advanced users, and allows you to create both printed and digital storyboards.
FrameForge
FrameForge is a professional-grade storyboarding software that is used by many studios and production companies. It has a wide range of features and tools, and is suitable for advanced users.
Pencil2D
Pencil2D is a free and open-source 2D animation software that includes a storyboarding feature. It is suitable for both beginners and advanced users, and allows you to create both printed and digital storyboards.
Animatics
Animatics is a professional-grade storyboarding software that is used by many studios and production companies. It has a wide range of features and tools, and is suitable for advanced users.
Fade In
Fade In is a screenwriting and storyboarding software that is suitable for both beginners and advanced users. It has a wide range of features and tools, and allows you to create both printed and digital storyboards.
How to create a storyboard
Creating a storyboard requires careful planning and attention to detail, but can be a very valuable tool for communicating your ideas and vision.
Step 1: Determine the purpose and scope of the storyboard
The first step in creating a storyboard is to determine the purpose and scope of the storyboard. Consider what you want to include in the storyboard, who you want to include in the storyboard, and how you will use the storyboard.
Step 2 : Gather the necessary information
Once you have determined the purpose and scope of the storyboard, the next step is to gather the necessary information. This may include names, addresses, phone numbers, email addresses, and other relevant details.
Step 3: Choose a format and technology
There are many different formats and technologies available for creating a storyboard. Consider factors such as cost, ease of use, and accessibility when selecting a format and technology.
Step 4 : Design and layout the storyboard
Once you have gathered the necessary information and chosen a format and technology, the next step is to design and layout the storyboard. This may involve selecting a template or creating a custom design, and organizing the information in a logical and visually appealing way.
Step 5 : Print or publish the storyboard
Once the storyboard is designed and laid out, the final step is to print or publish the storyboard. If you are creating a printed storyboard, consider factors such as cost, quantity, and distribution. If you are creating a digital storyboard, consider factors such as accessibility and security.
FAQs
Is there a storyboard template in PowerPoint?
Yes, PowerPoint has storyboard templates with layouts for sketching scenes in slides and adding notes. The frames can be resized, inserted, and organized to visualize the story progression.
Is there a storyboard template in Word?
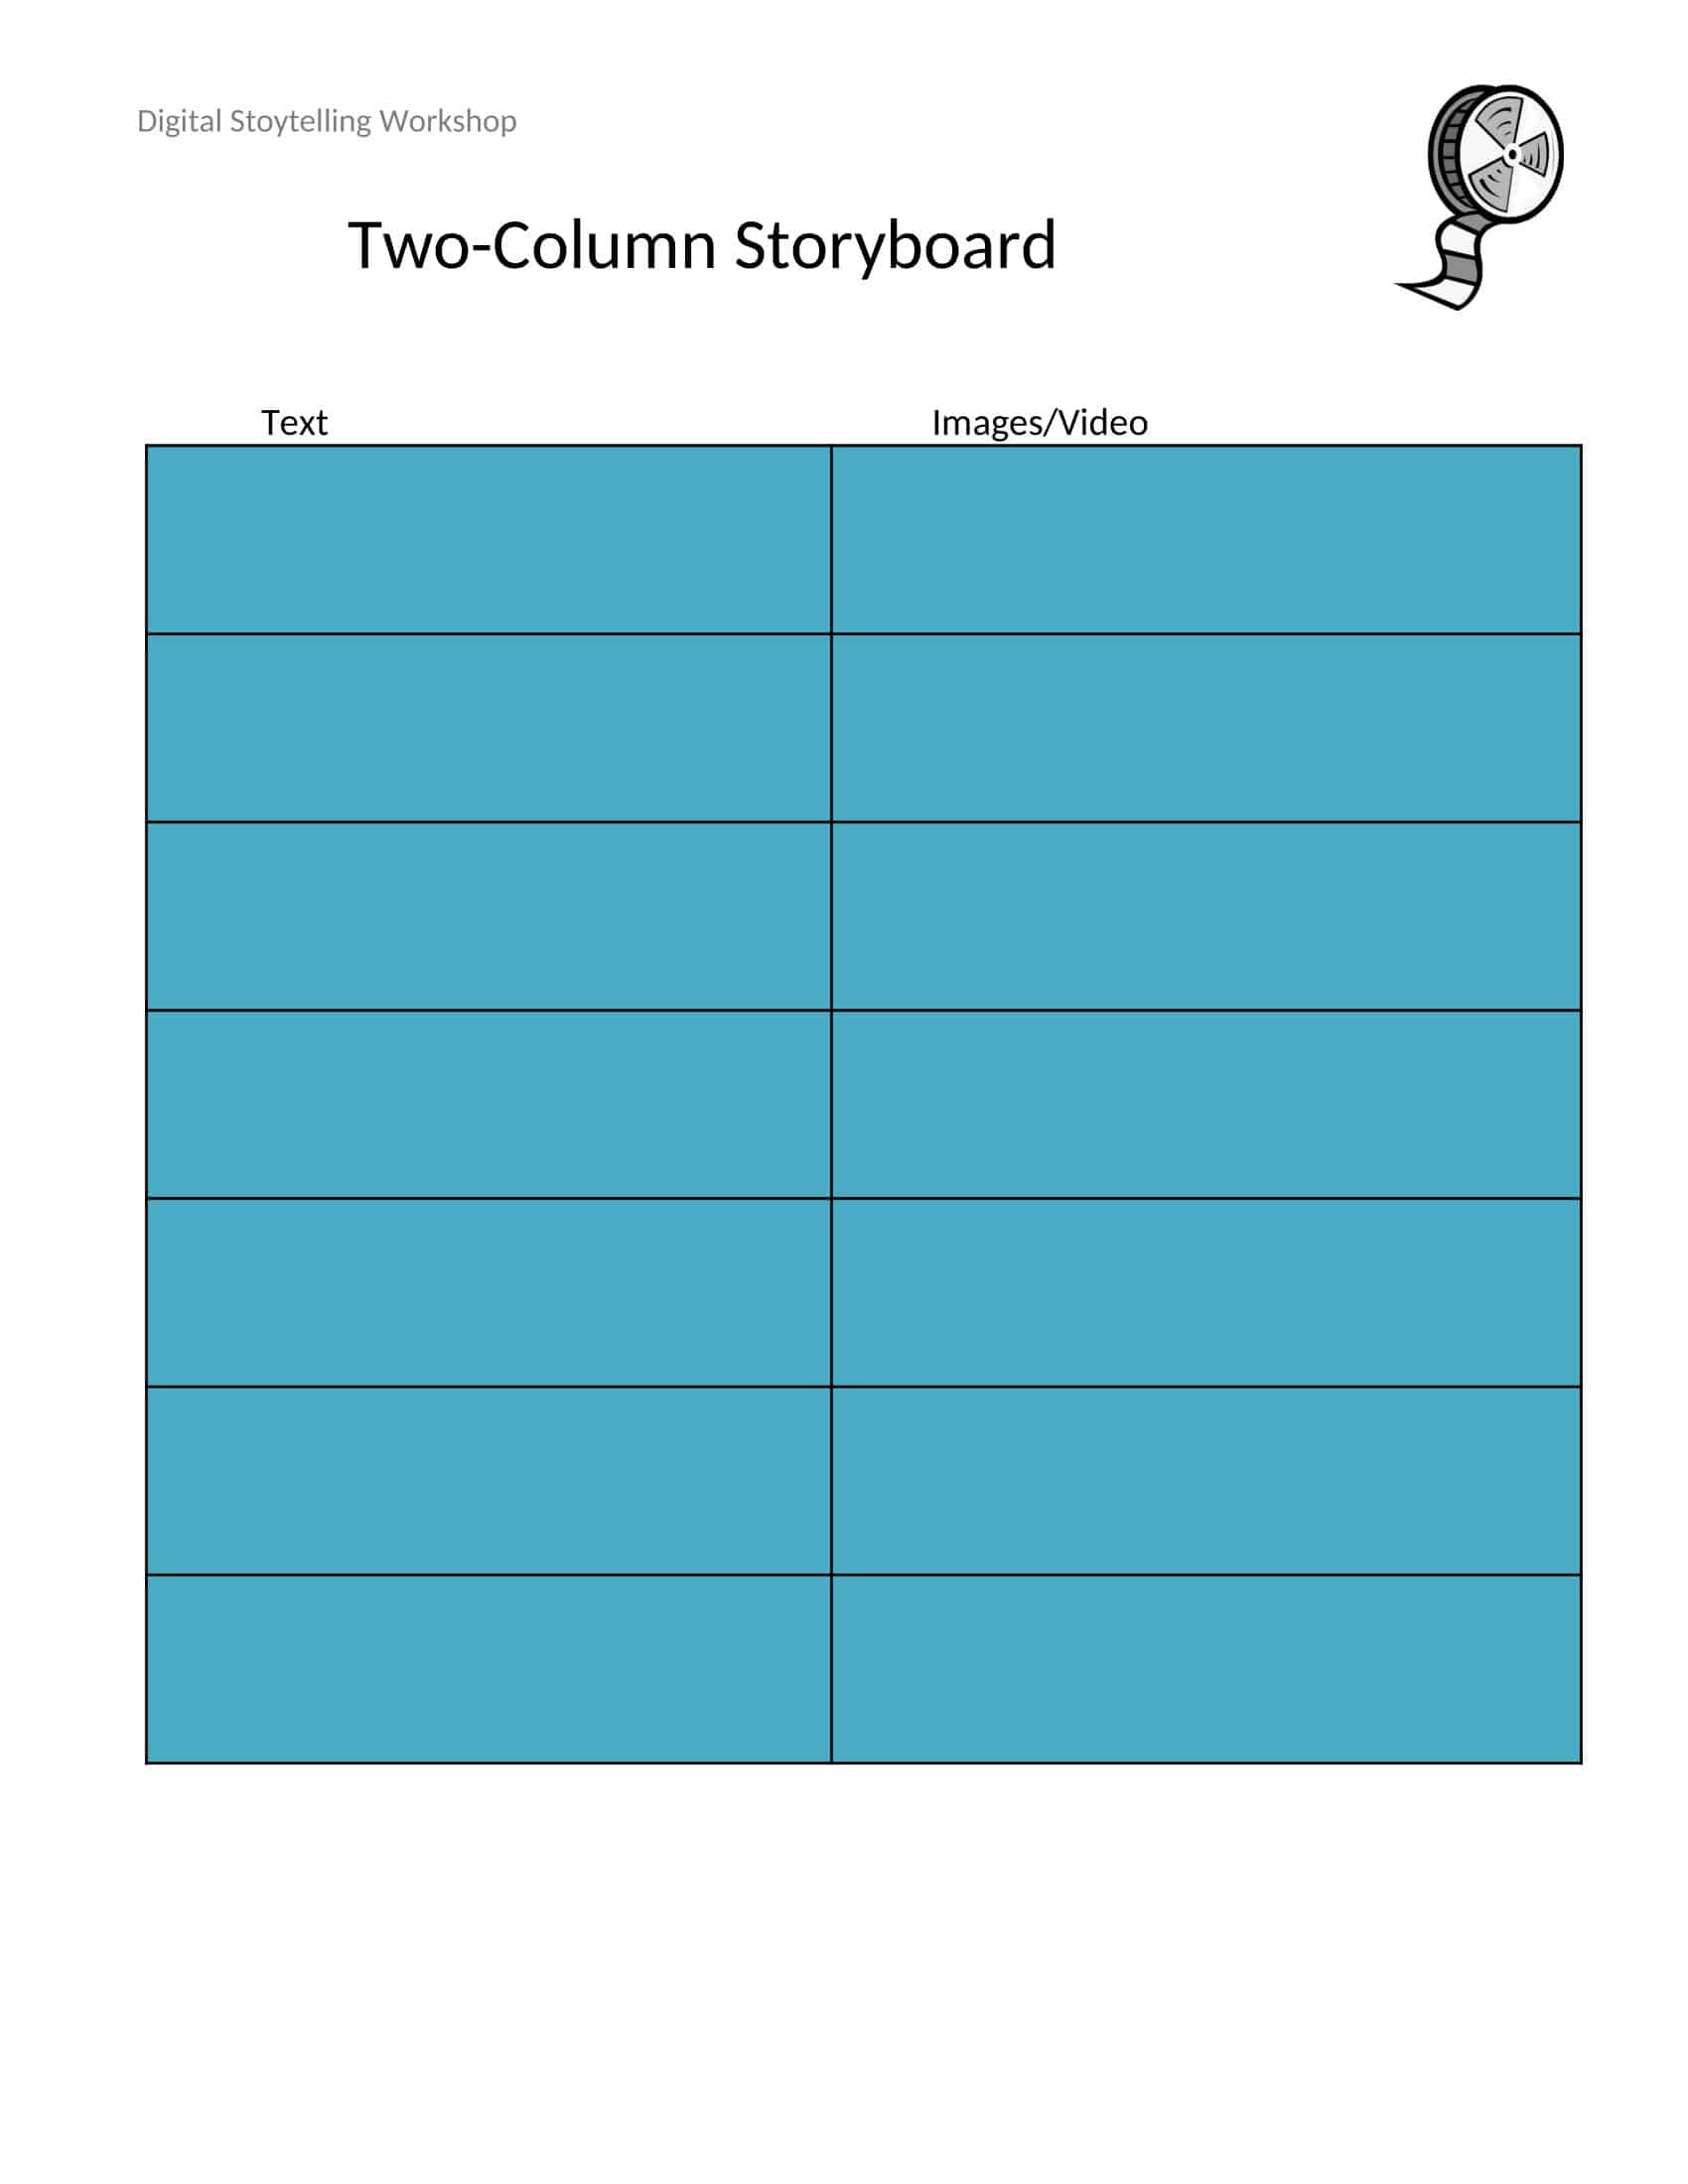
Word also provides storyboard templates featuring table layouts to illustrate story scenes. The rows and text boxes can be customized to contain sketches and descriptions. Printable and editable templates are available.
How do I make a storyboard?
To make a storyboard, first outline the narrative structure. Then break it down into separate scenes or sequences. Sketch visual frames representing key shots using pencils or software. Add descriptive text explaining the action and dialogue in each frame. Refine the flow and transitions.
Why is storyboarding useful?
Storyboarding is useful because it allows you to visualize the story structure, sequence events logically, refine the pacing and transitions, and clearly communicate the overall narrative before production.
What is usually included in a storyboard frame?
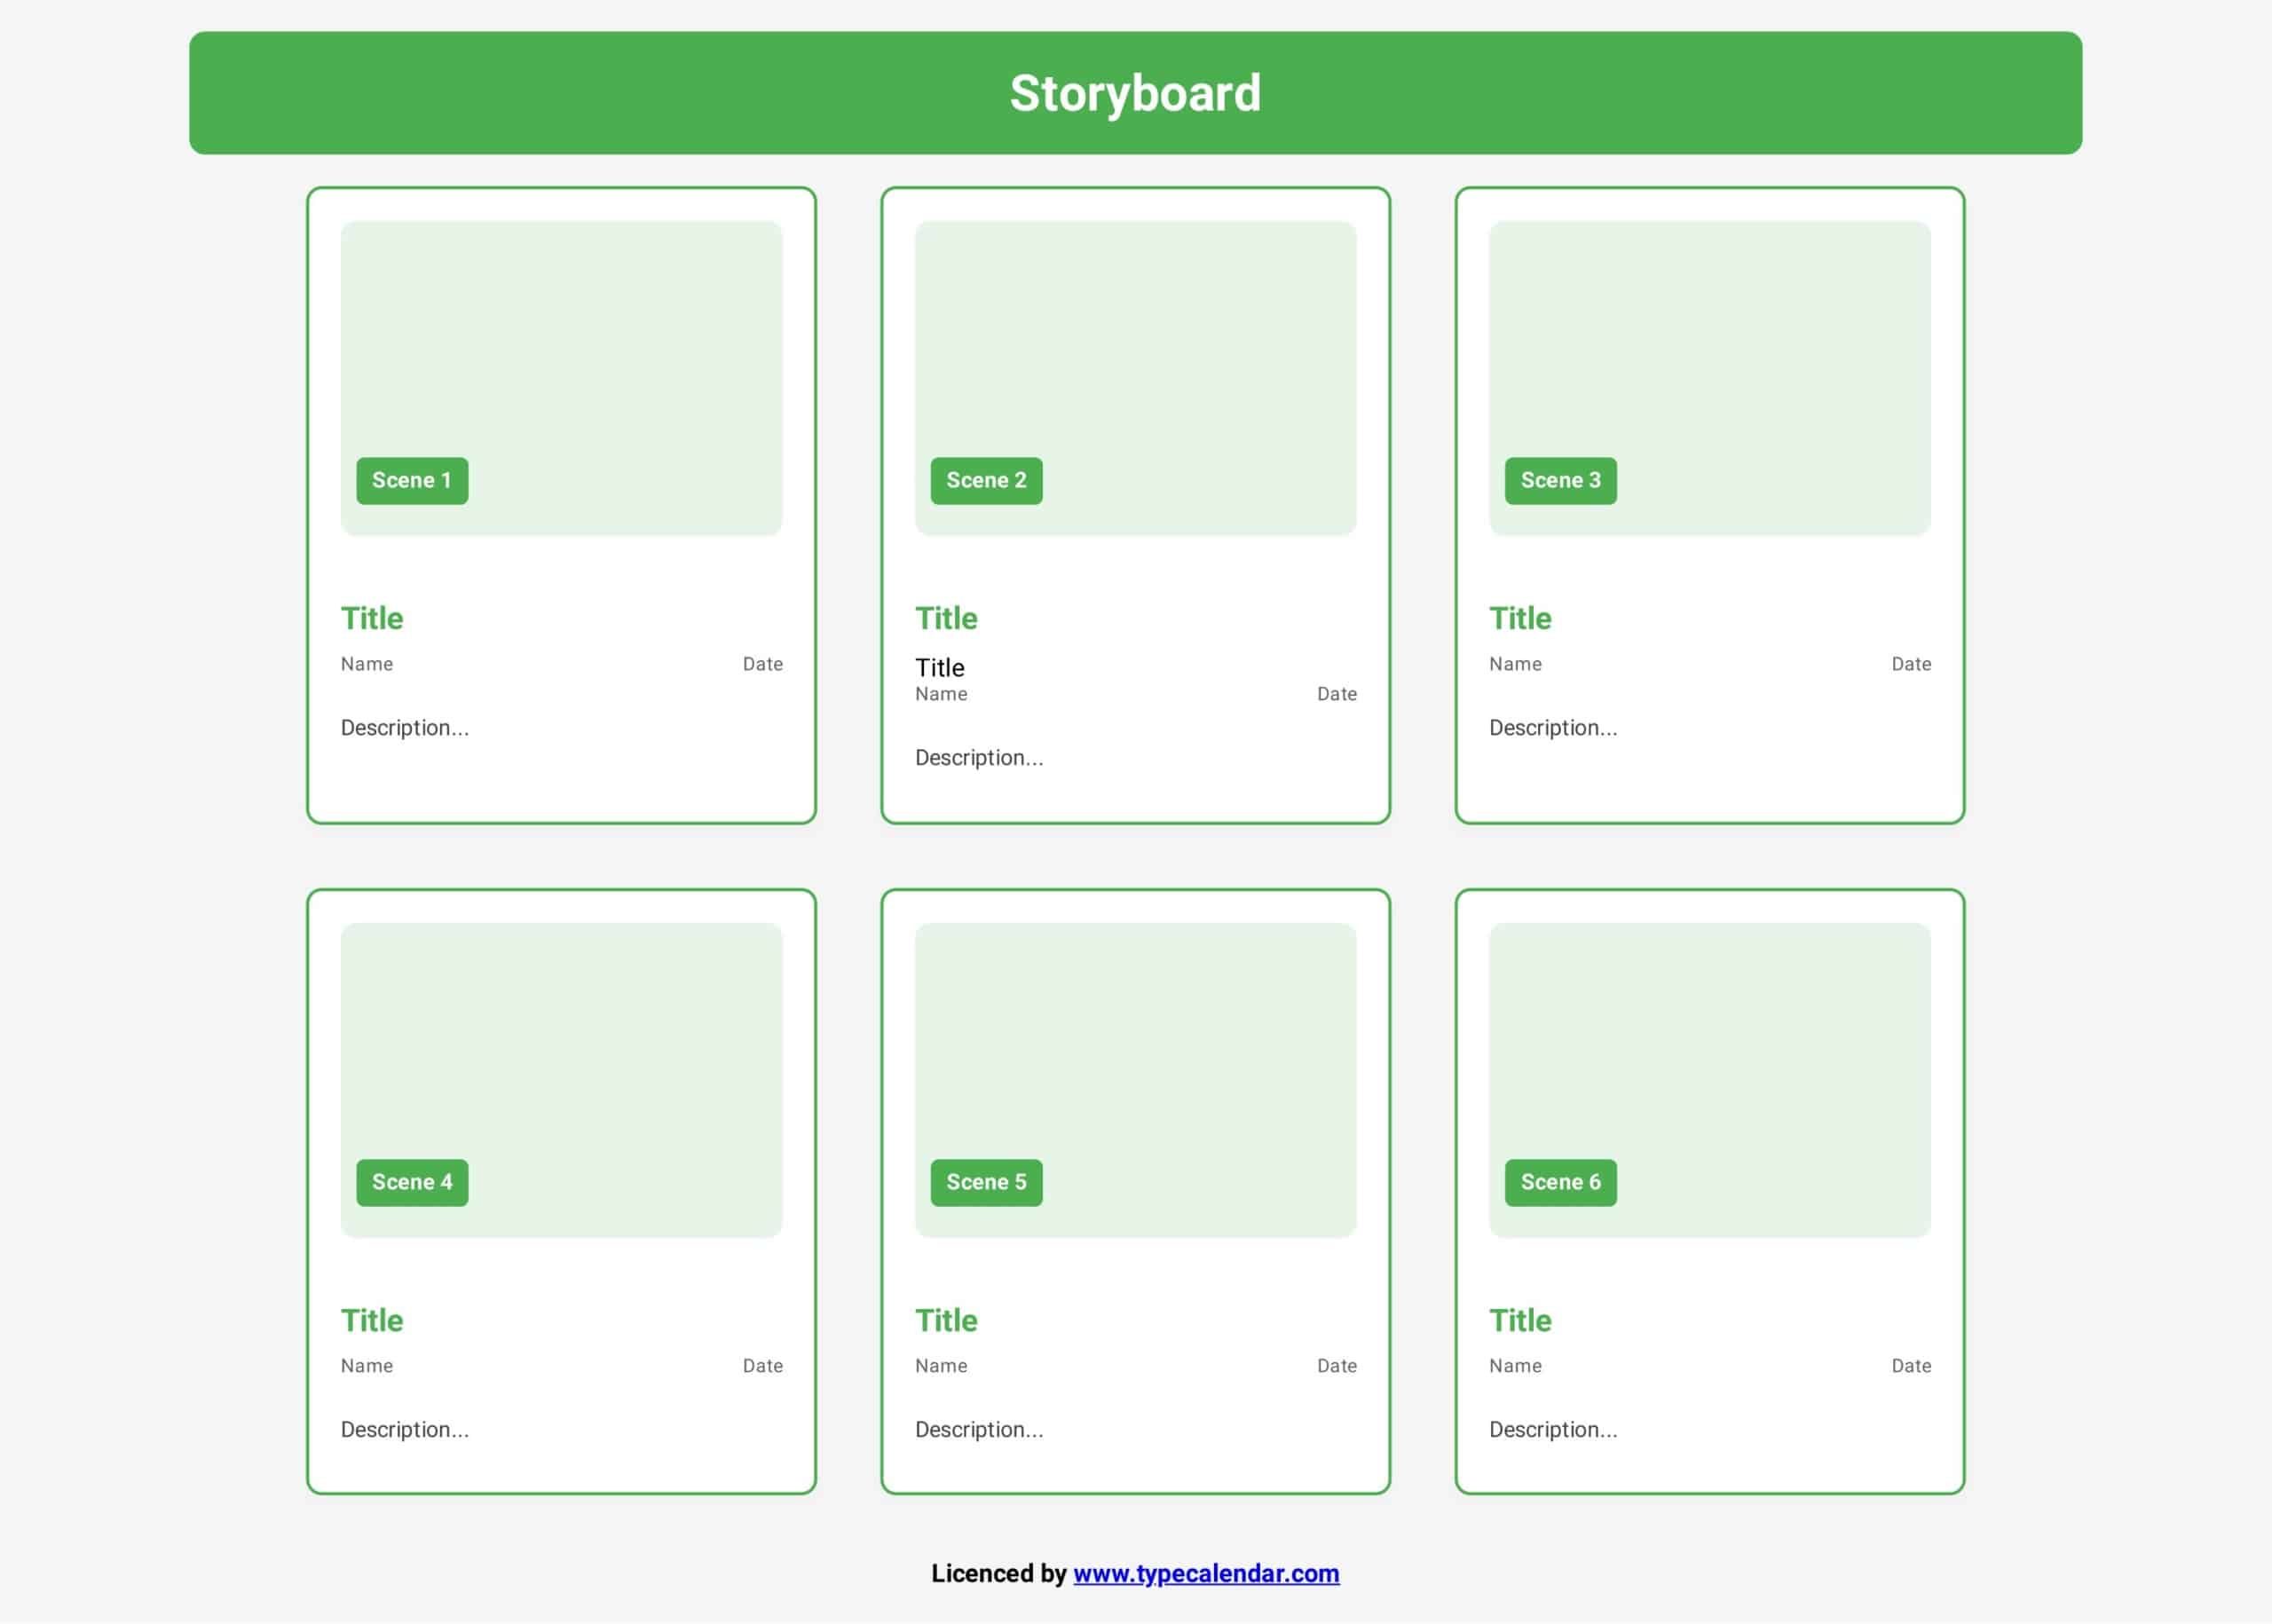
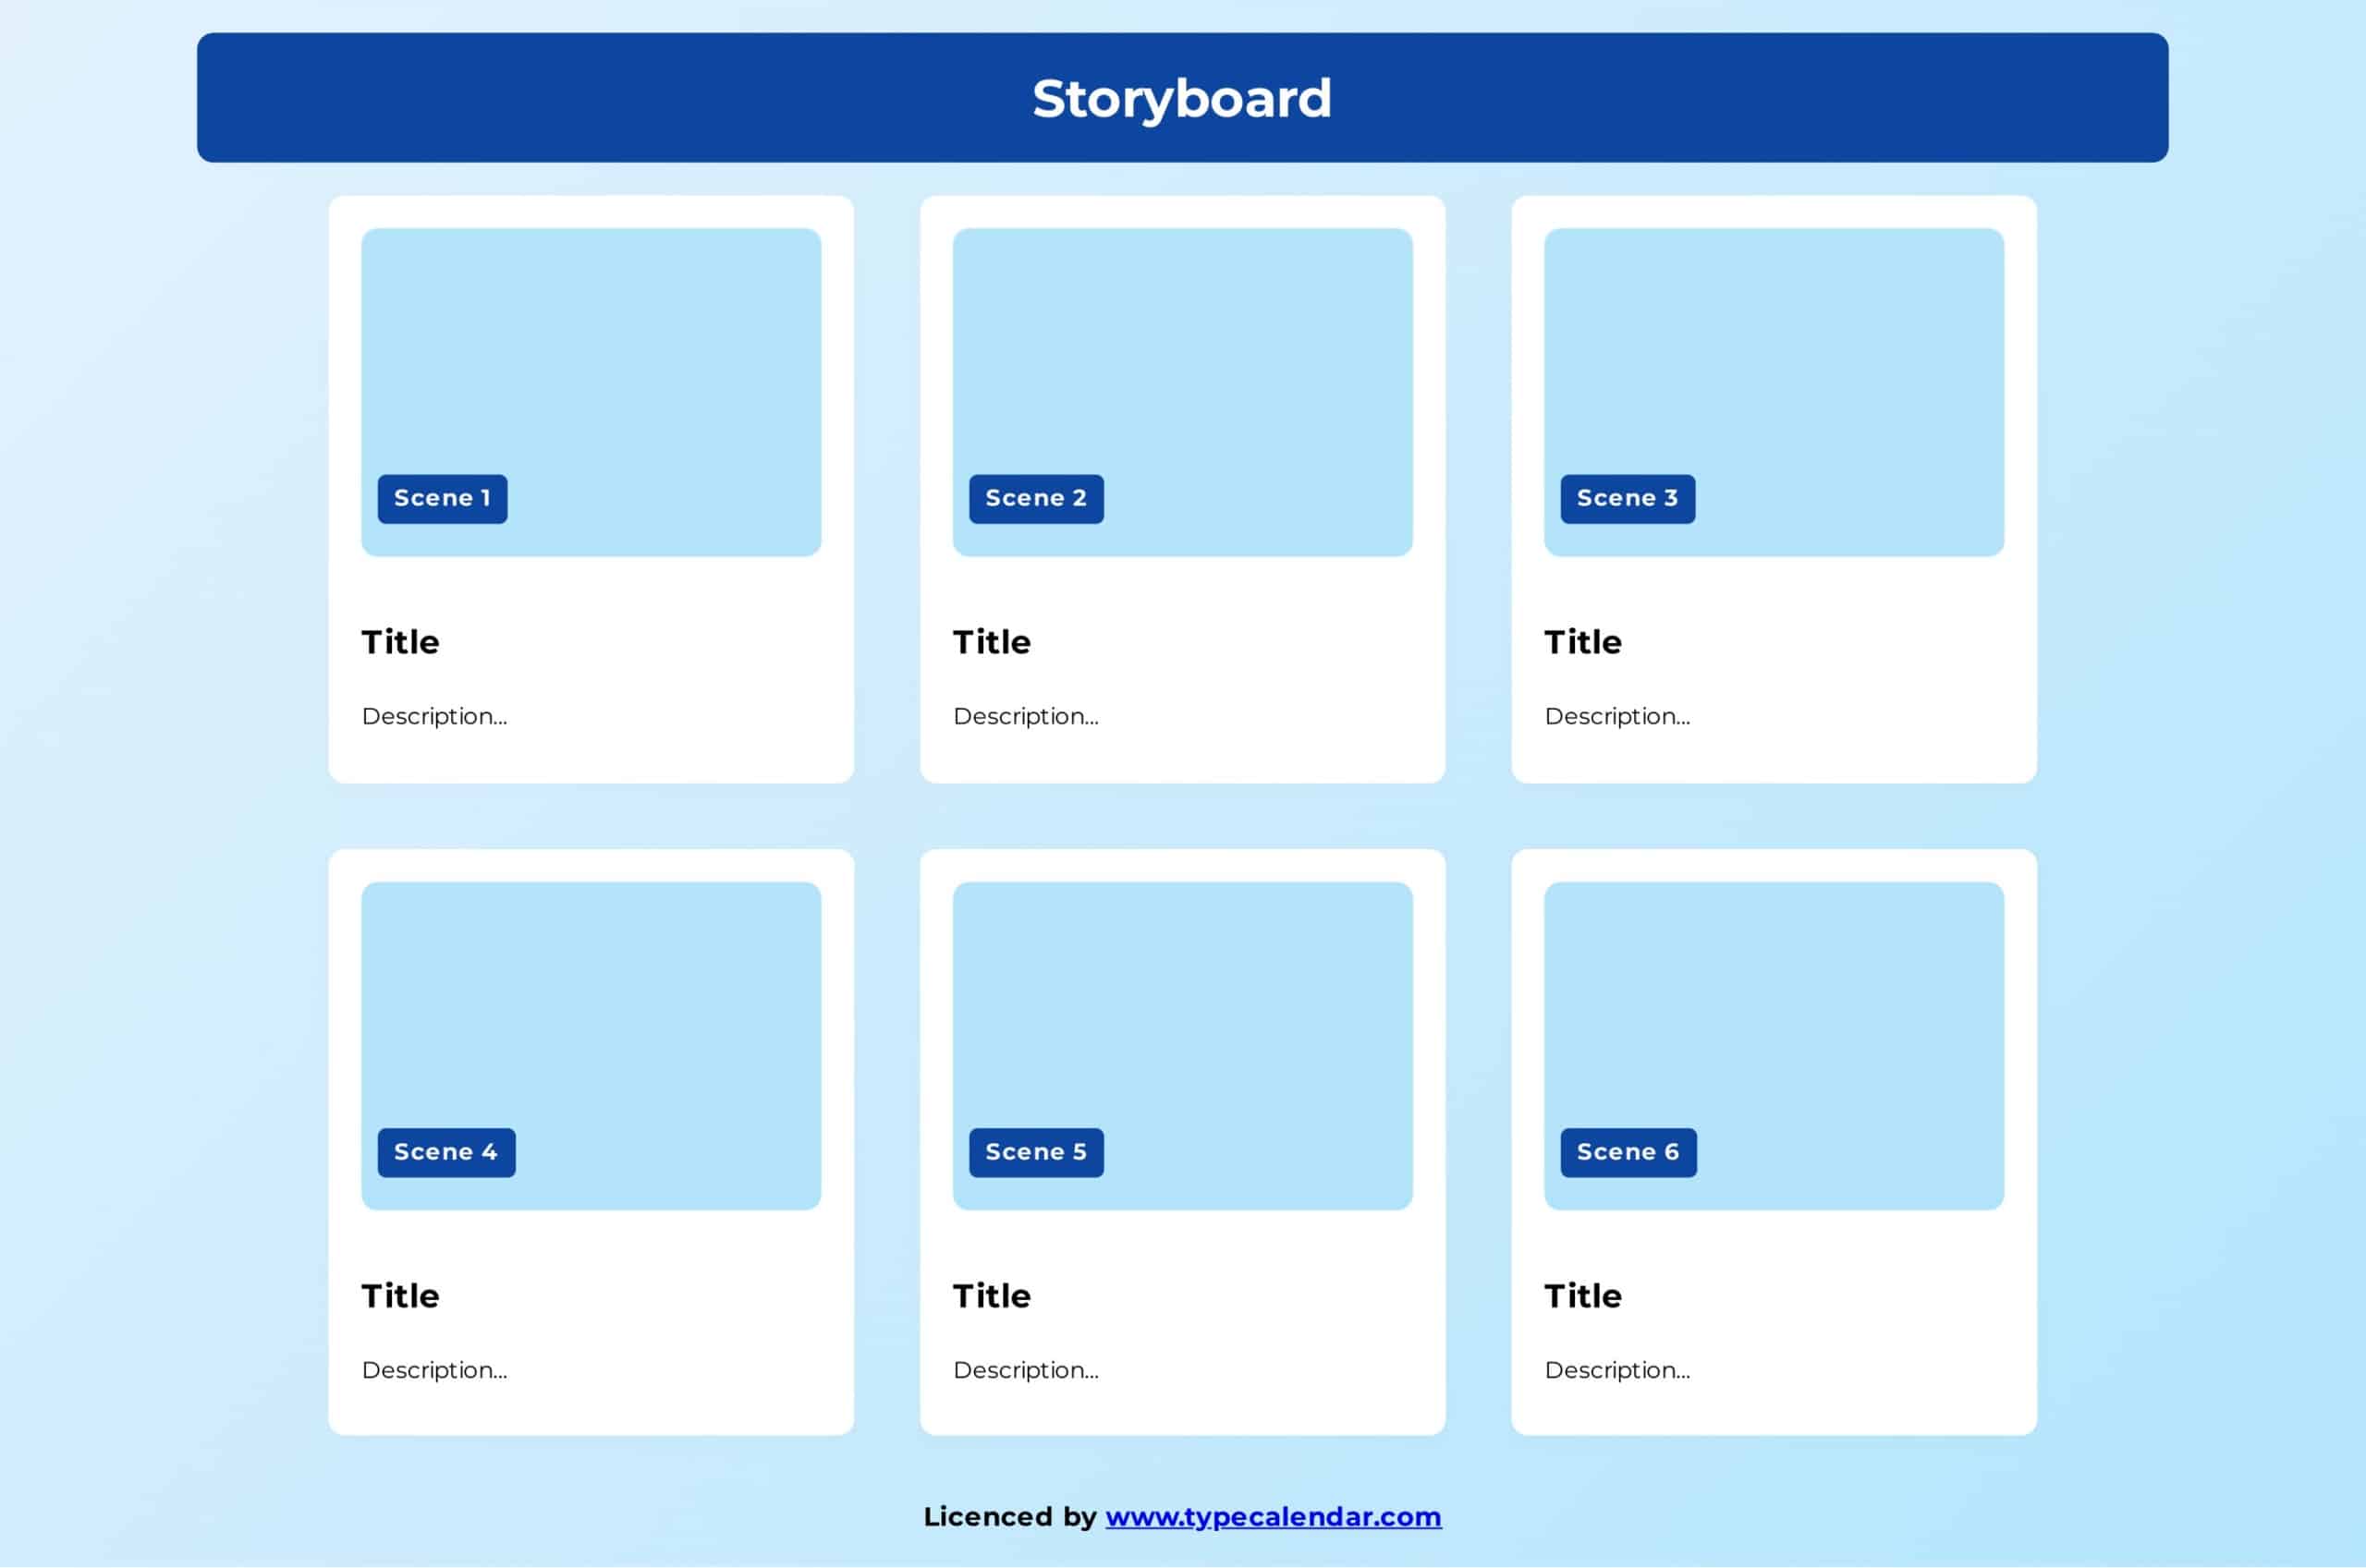
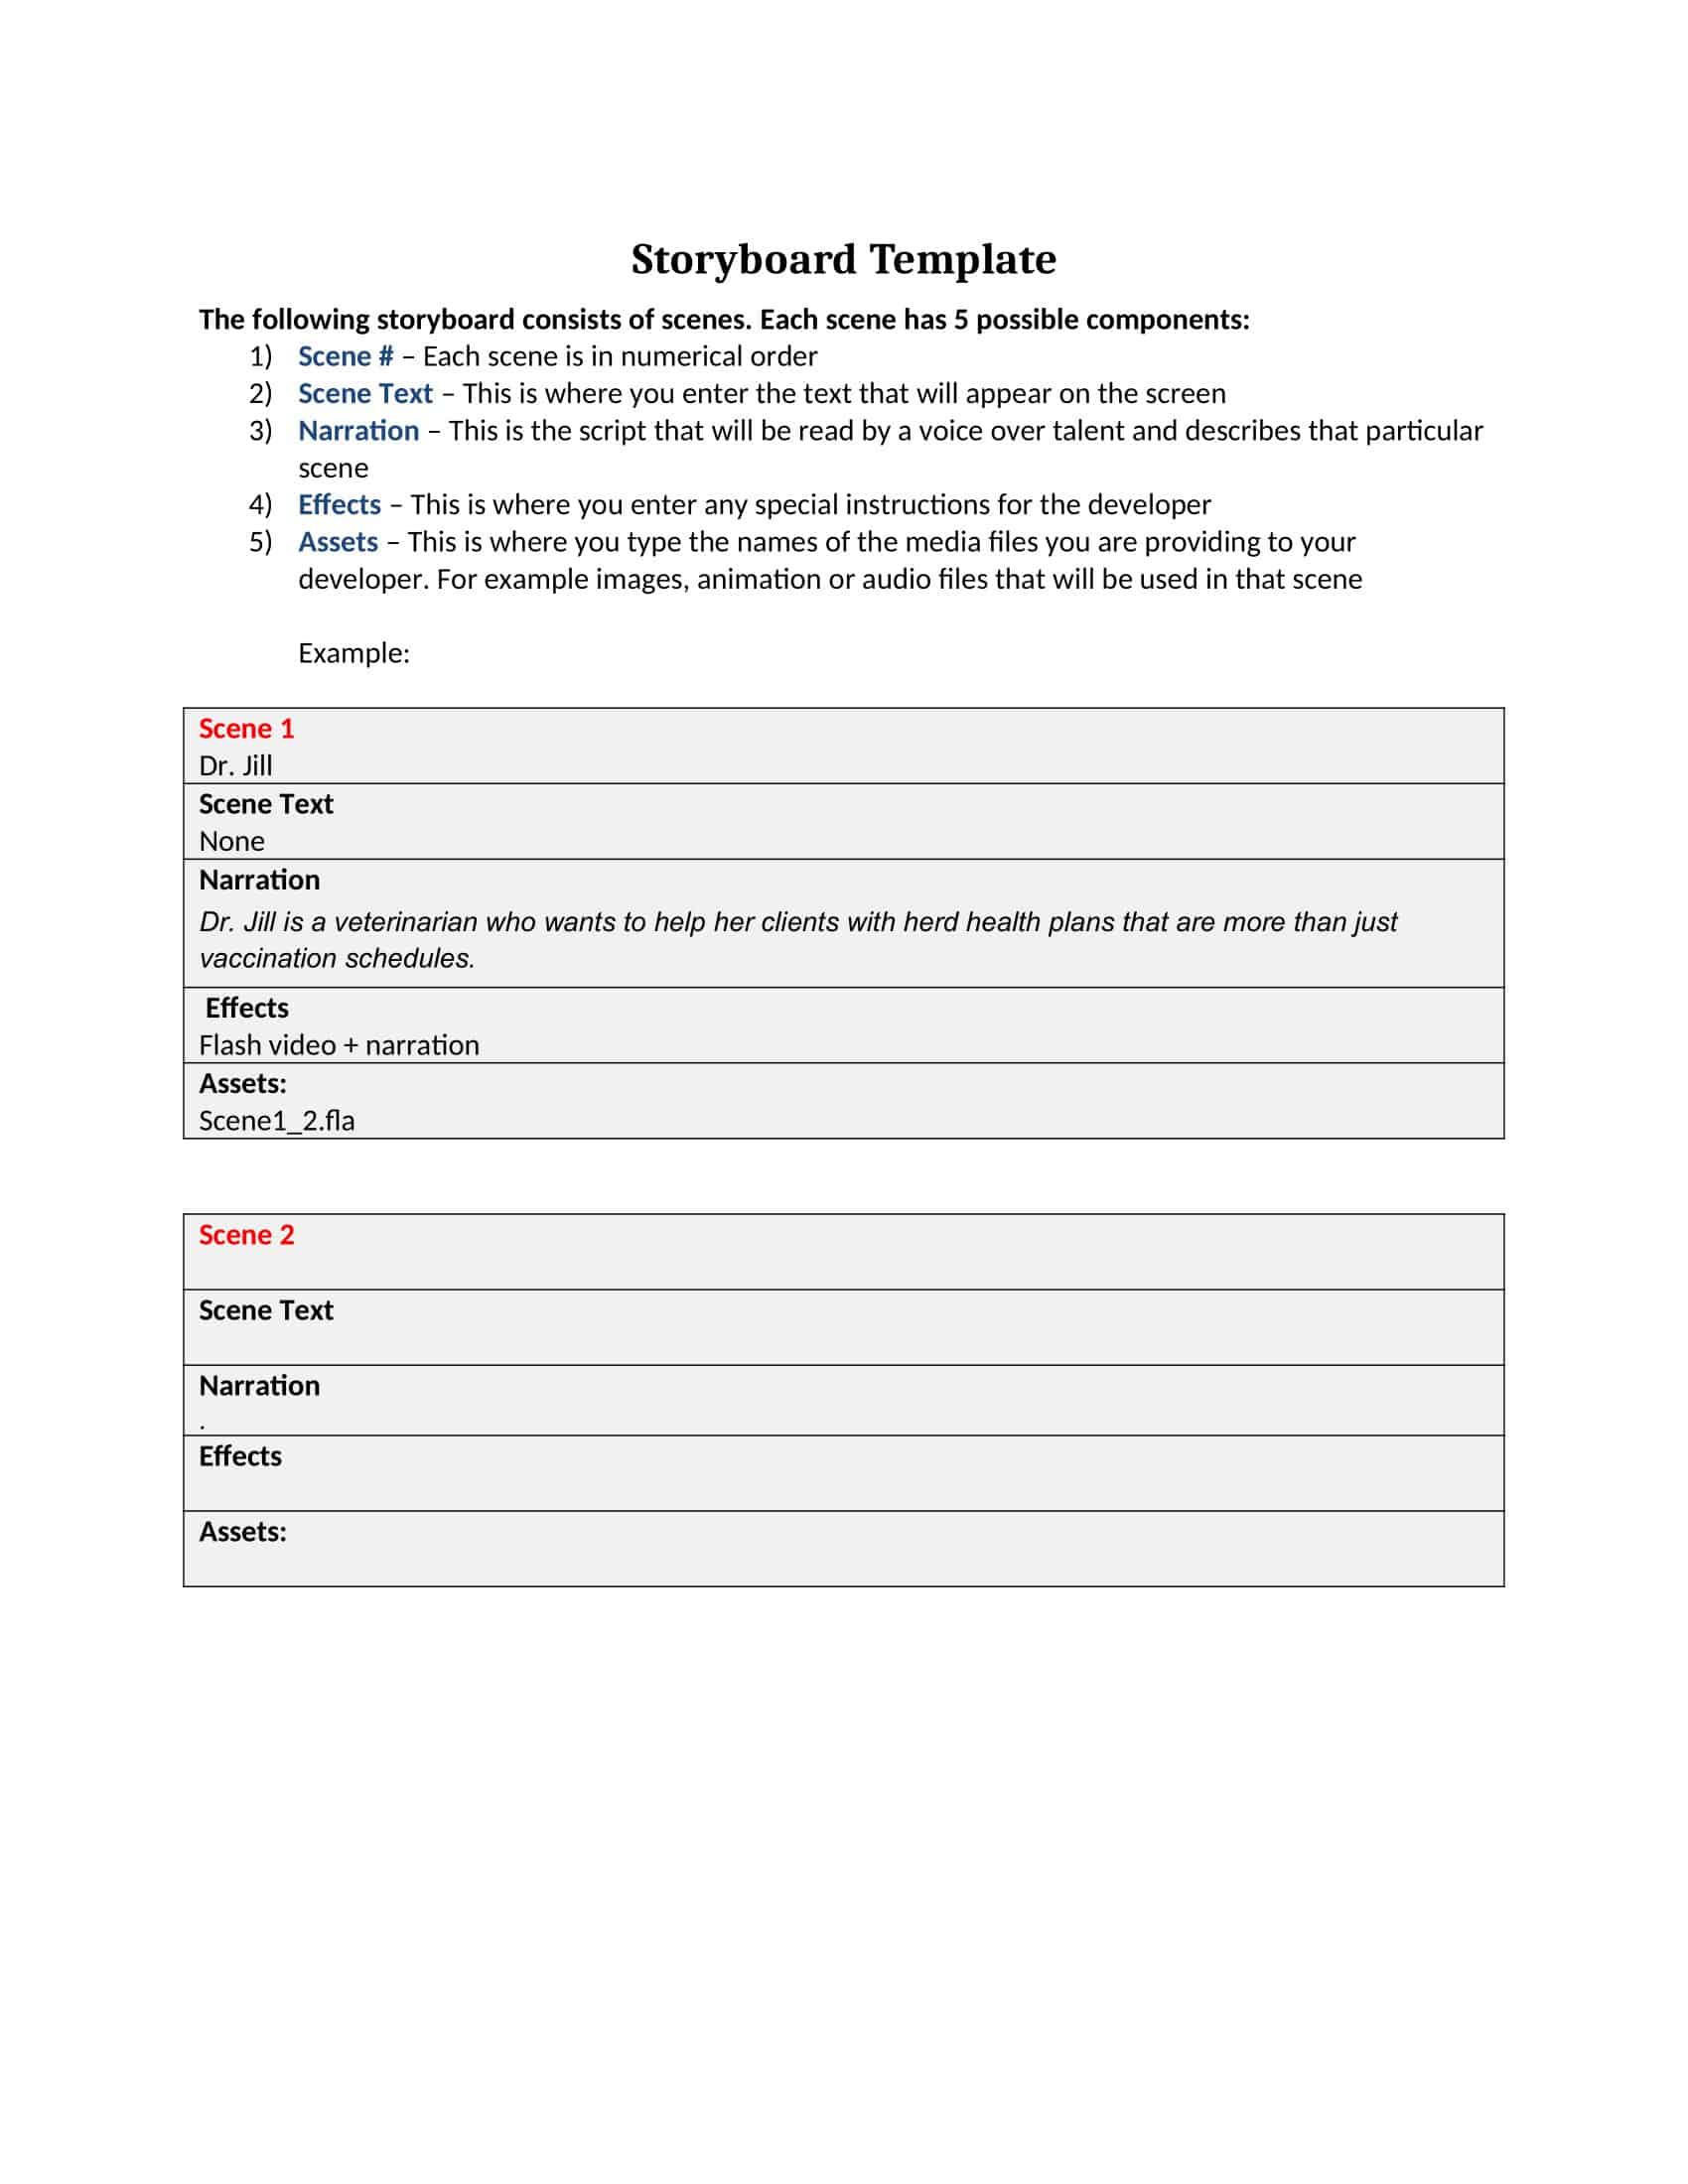
Each frame in a storyboard usually includes a sketch, captions or dialogue, scene number, transition notes, and technical details like camera angles, movement, lighting, etc.
How many frames should be in a storyboard?
The number of frames in a storyboard can vary greatly depending on the story length and medium. Typical ranges are from 6 to 20 frames for short films, up to 40-50 for feature length films, and 10-15 per commercial spot or sequence.
What are the 7 steps in storyboarding?
The 7 main steps in storyboarding are:
- Conceptualize – Decide the overall concept or message.
- Determine scenes – Break the story down into key scenes or sequences.
- Sketch scenes – Draw rough sketches representing important shots in each scene.
- Add details – Include dialogue, actions, camera angles to clarify the story.
- Refine sequencing – Organize the sequence of events in chronological order.
- Polish visuals – Clean up sketches and make them more finished looking.
- Present – Pitch or present the storyboard for feedback.
















![Free Printable Roommate Agreement Templates [Word, PDF] 1 Roommate Agreement](https://www.typecalendar.com/wp-content/uploads/2023/06/Roommate-Agreement-150x150.jpg)
![Free Printable Credit Card Authorization Form Templates [PDF, Word, Excel] 2 Credit Card Authorization Form](https://www.typecalendar.com/wp-content/uploads/2023/06/Credit-Card-Authorization-Form-150x150.jpg)
![Free Printable Stock Ledger Templates [Excel,PDF, Word] 3 Stock Ledger](https://www.typecalendar.com/wp-content/uploads/2023/08/Stock-Ledger-150x150.jpg)
