Skip to content

Printable Shot List Template: Elevate Your Film [FREE]

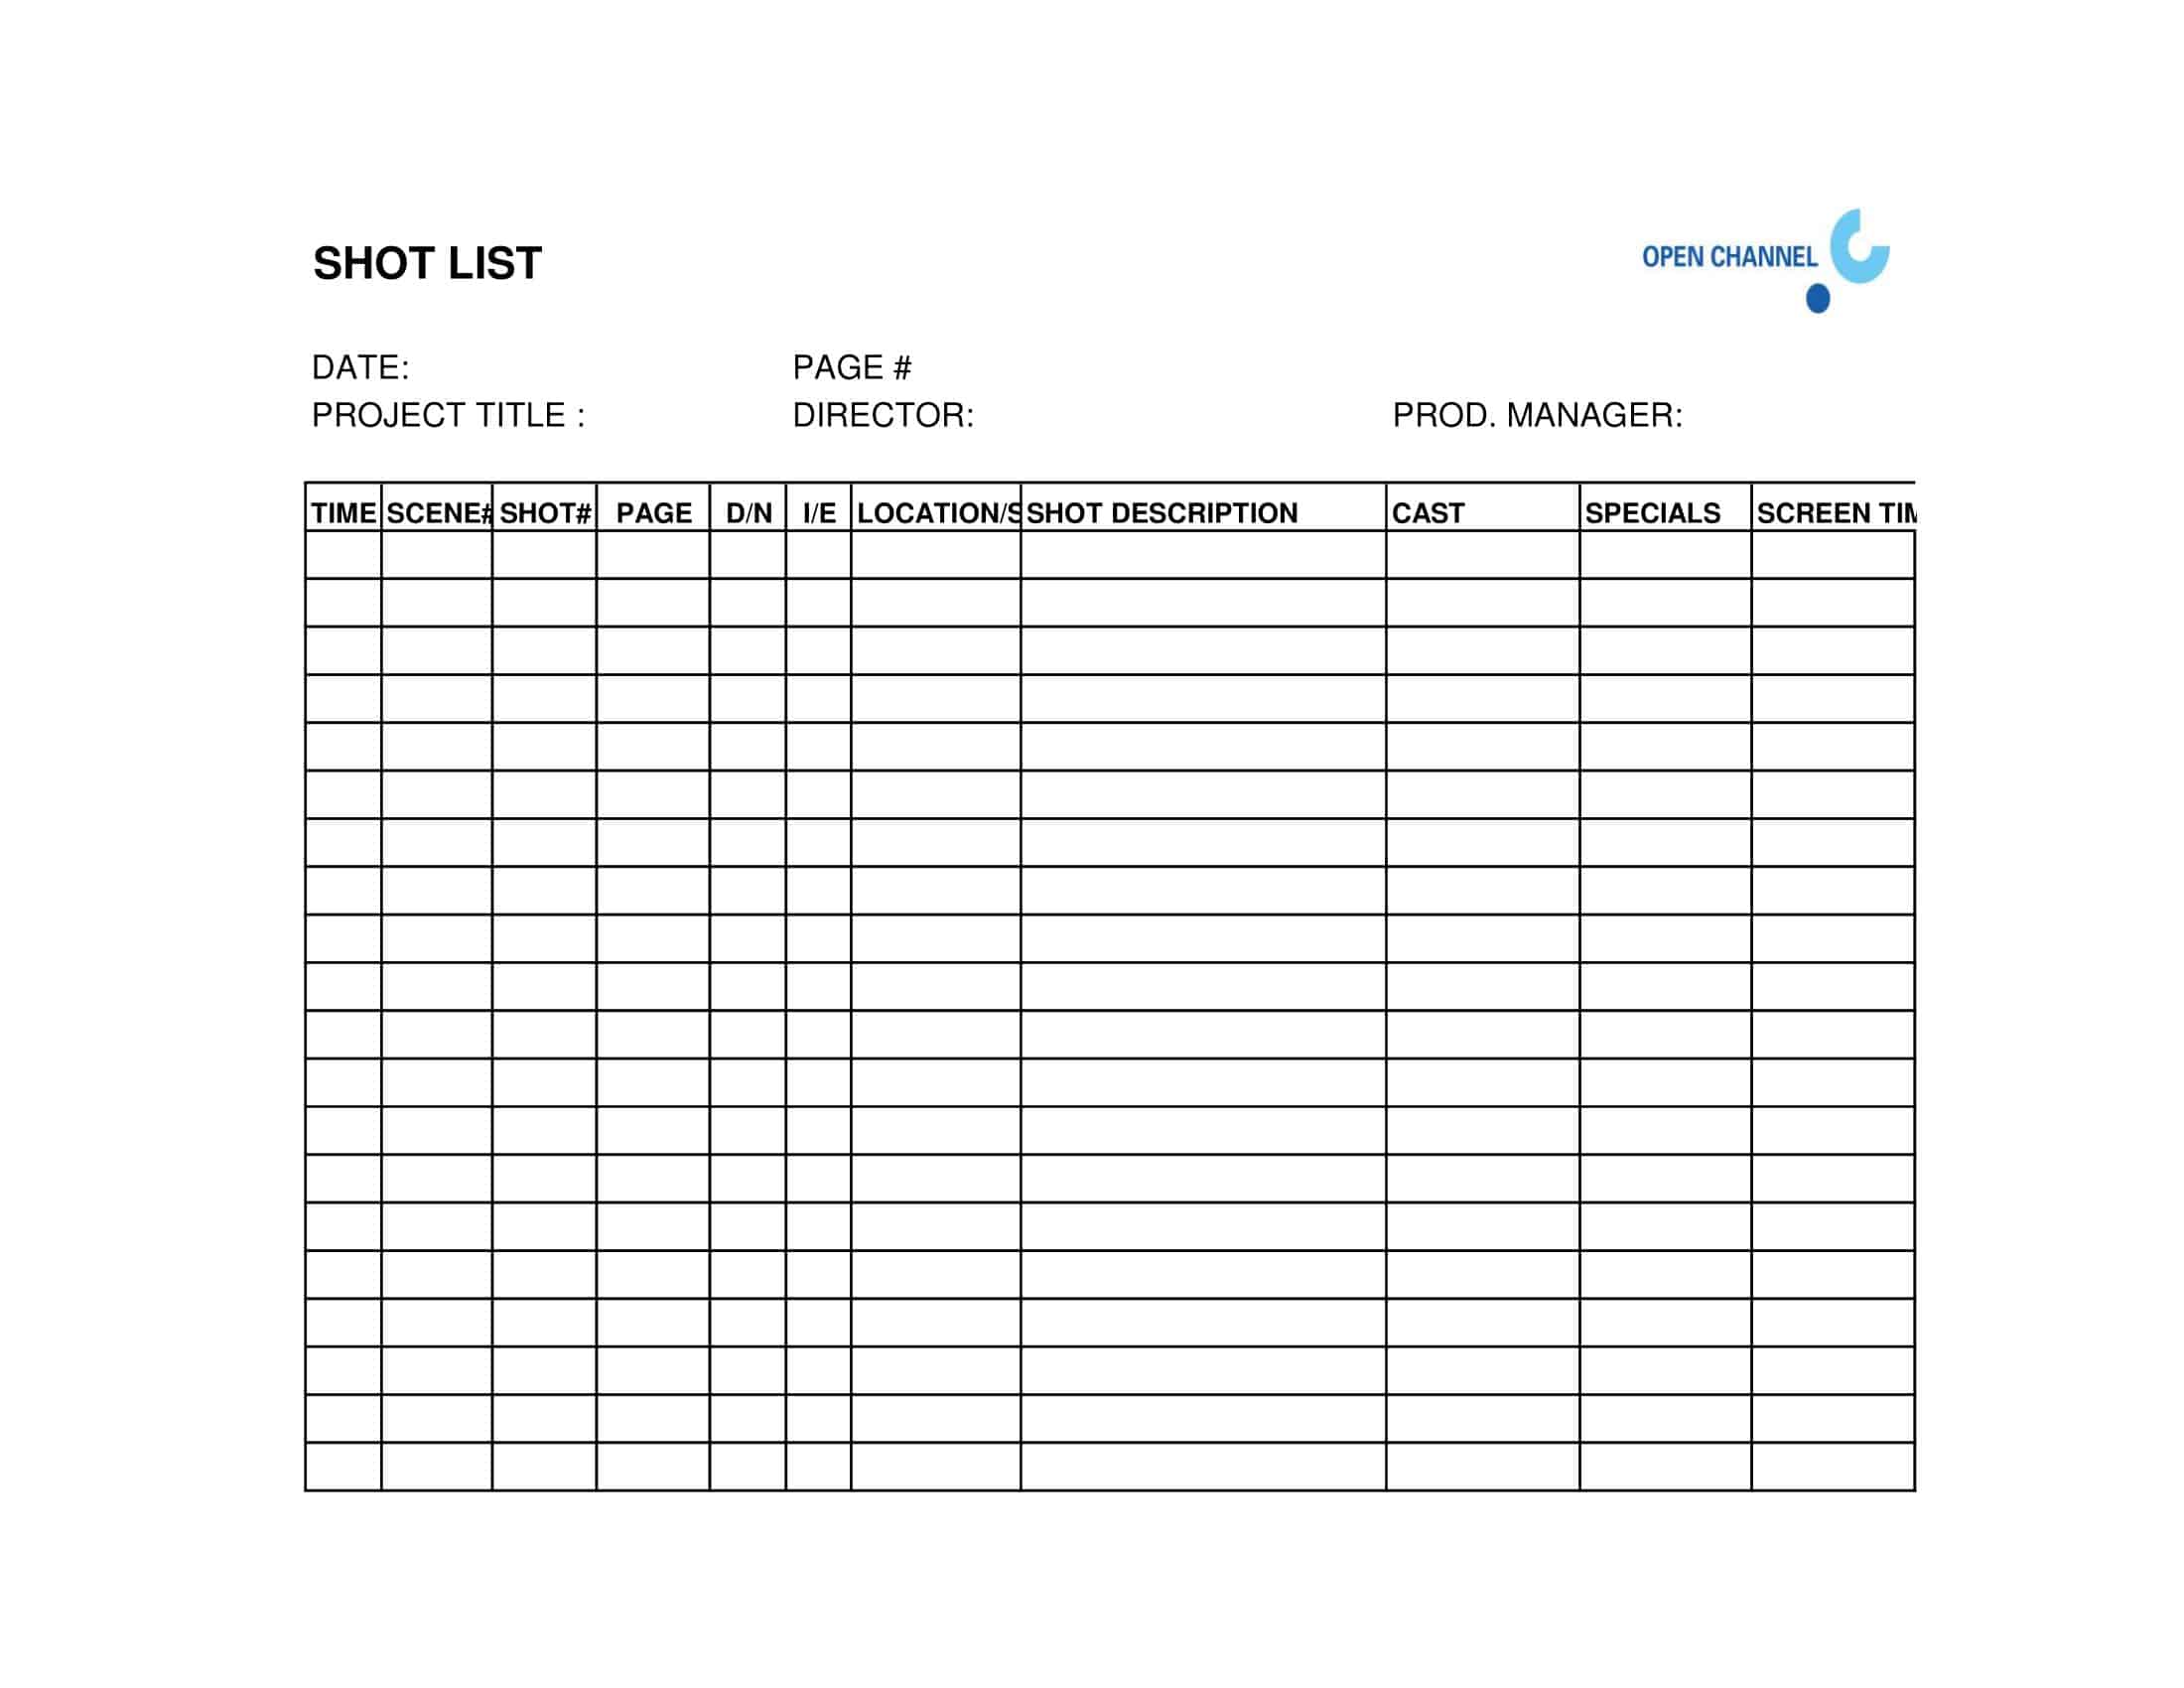
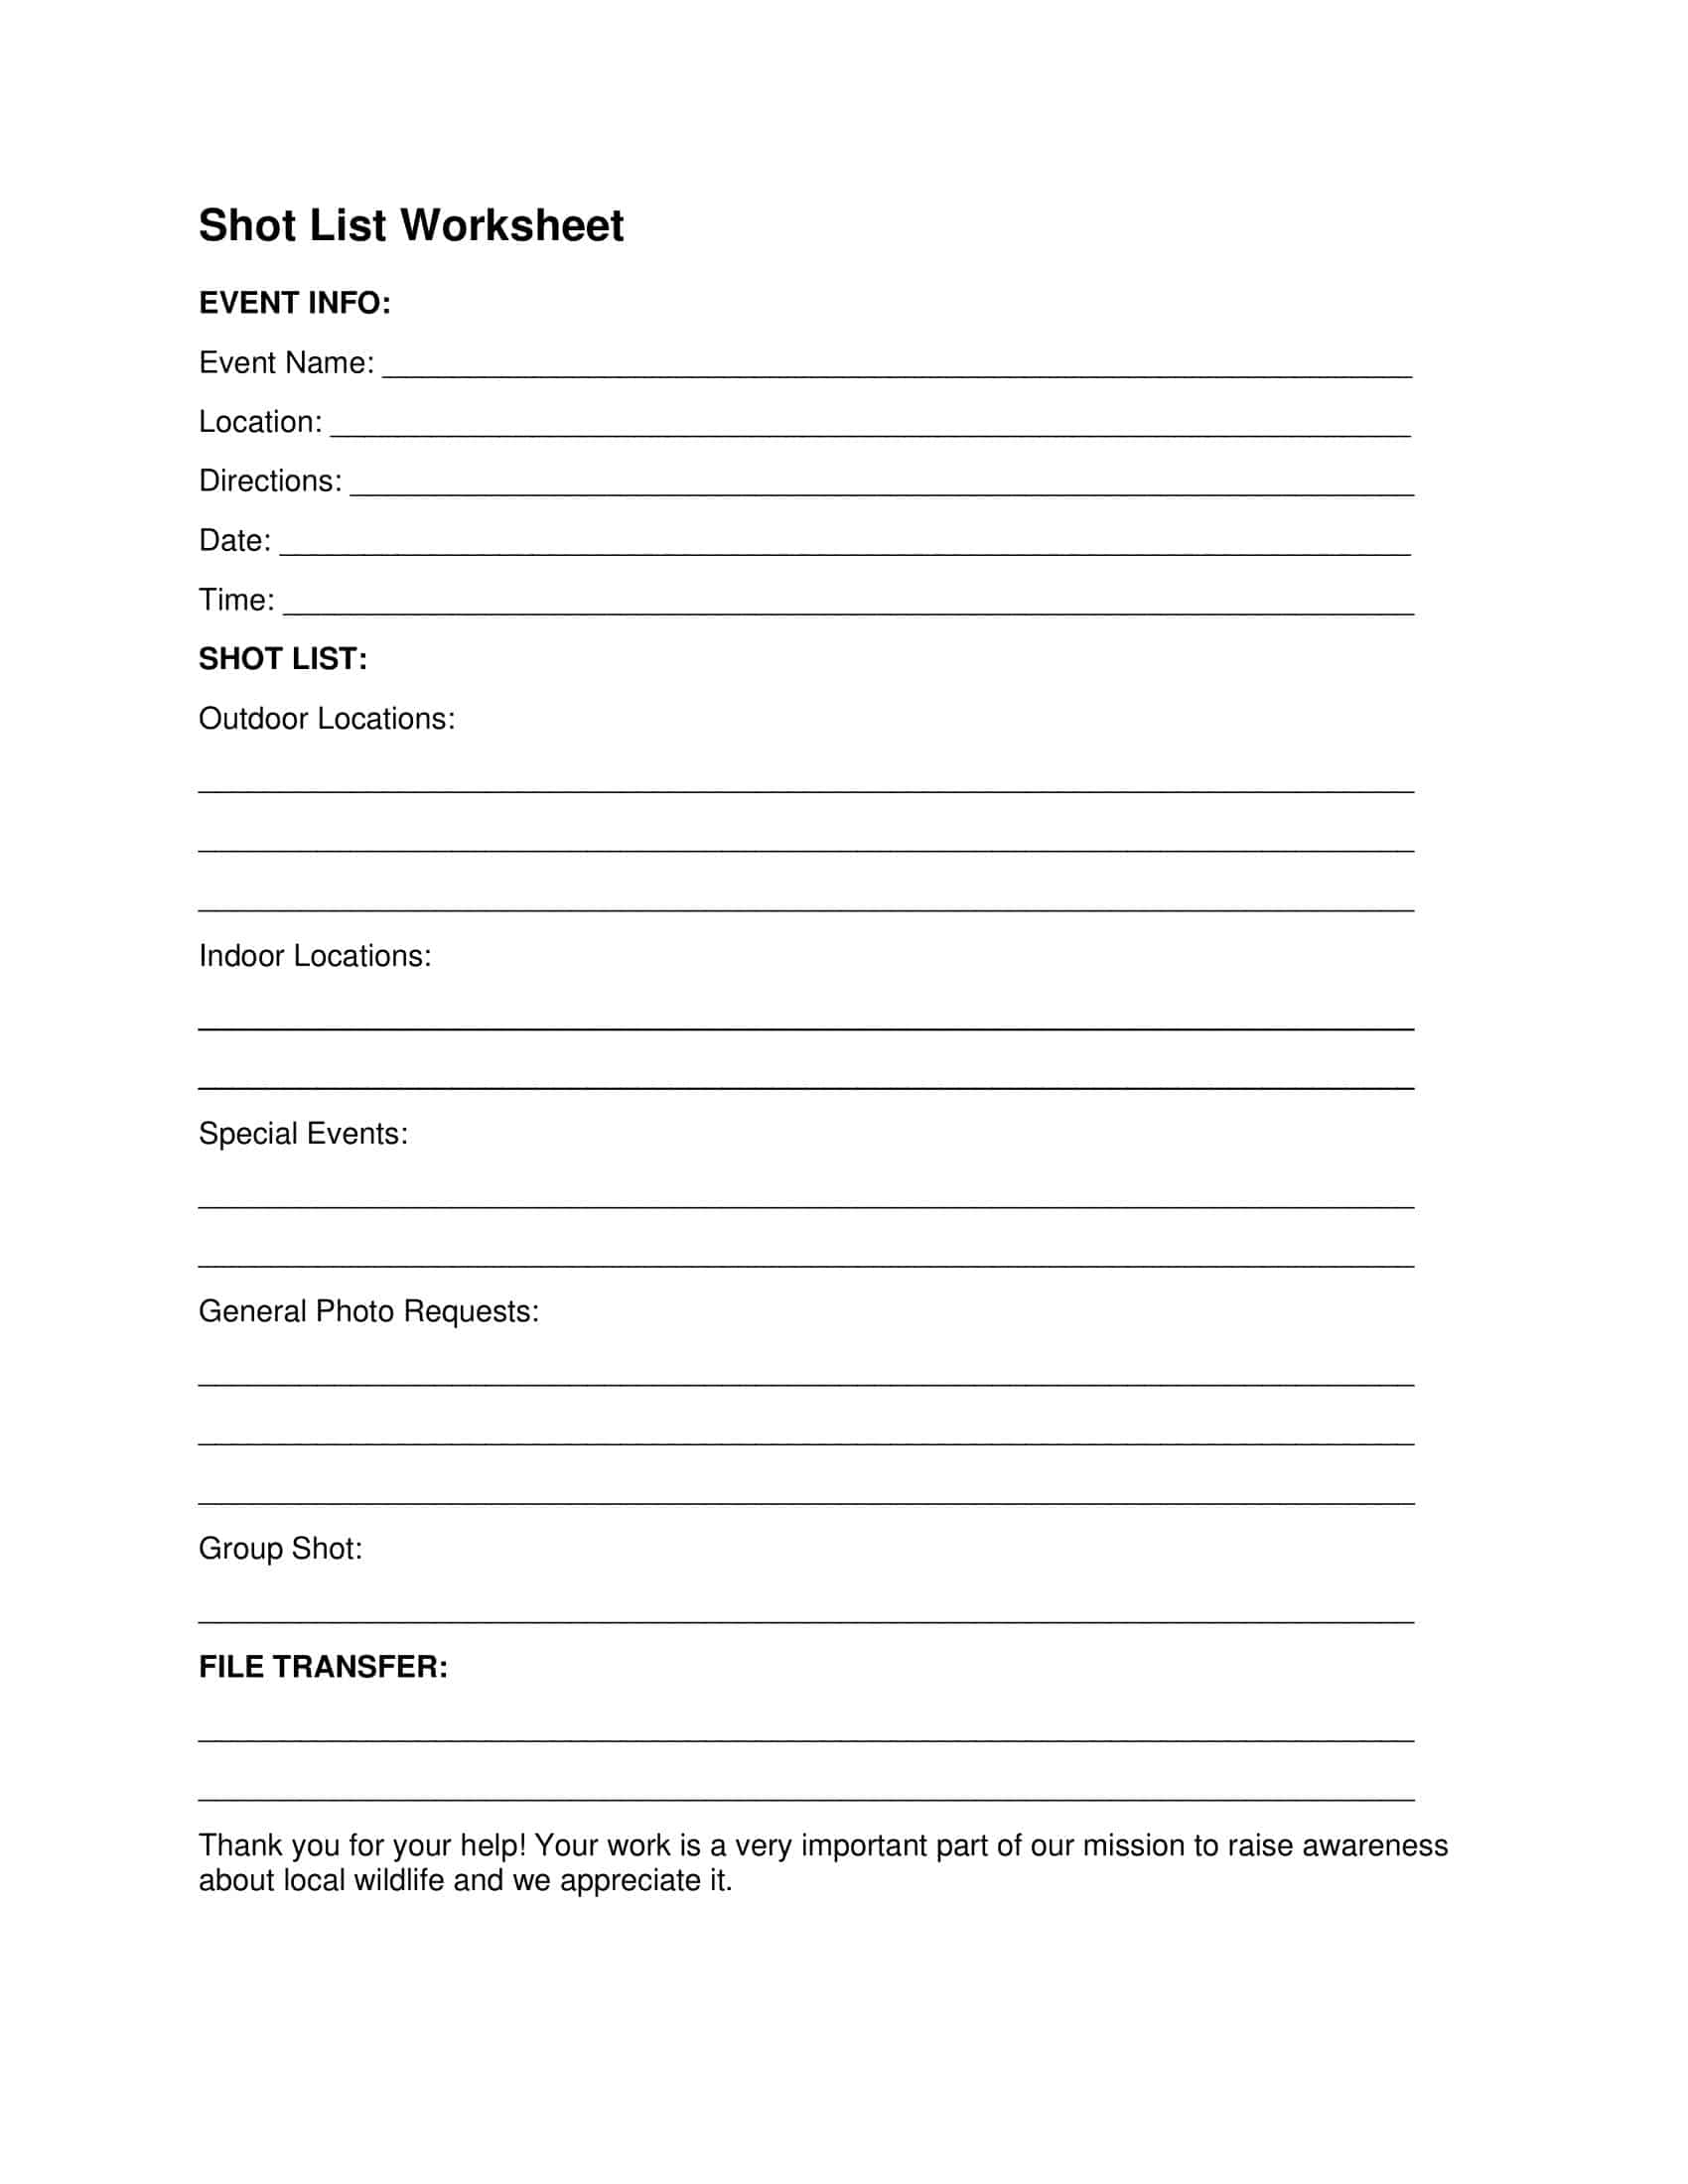
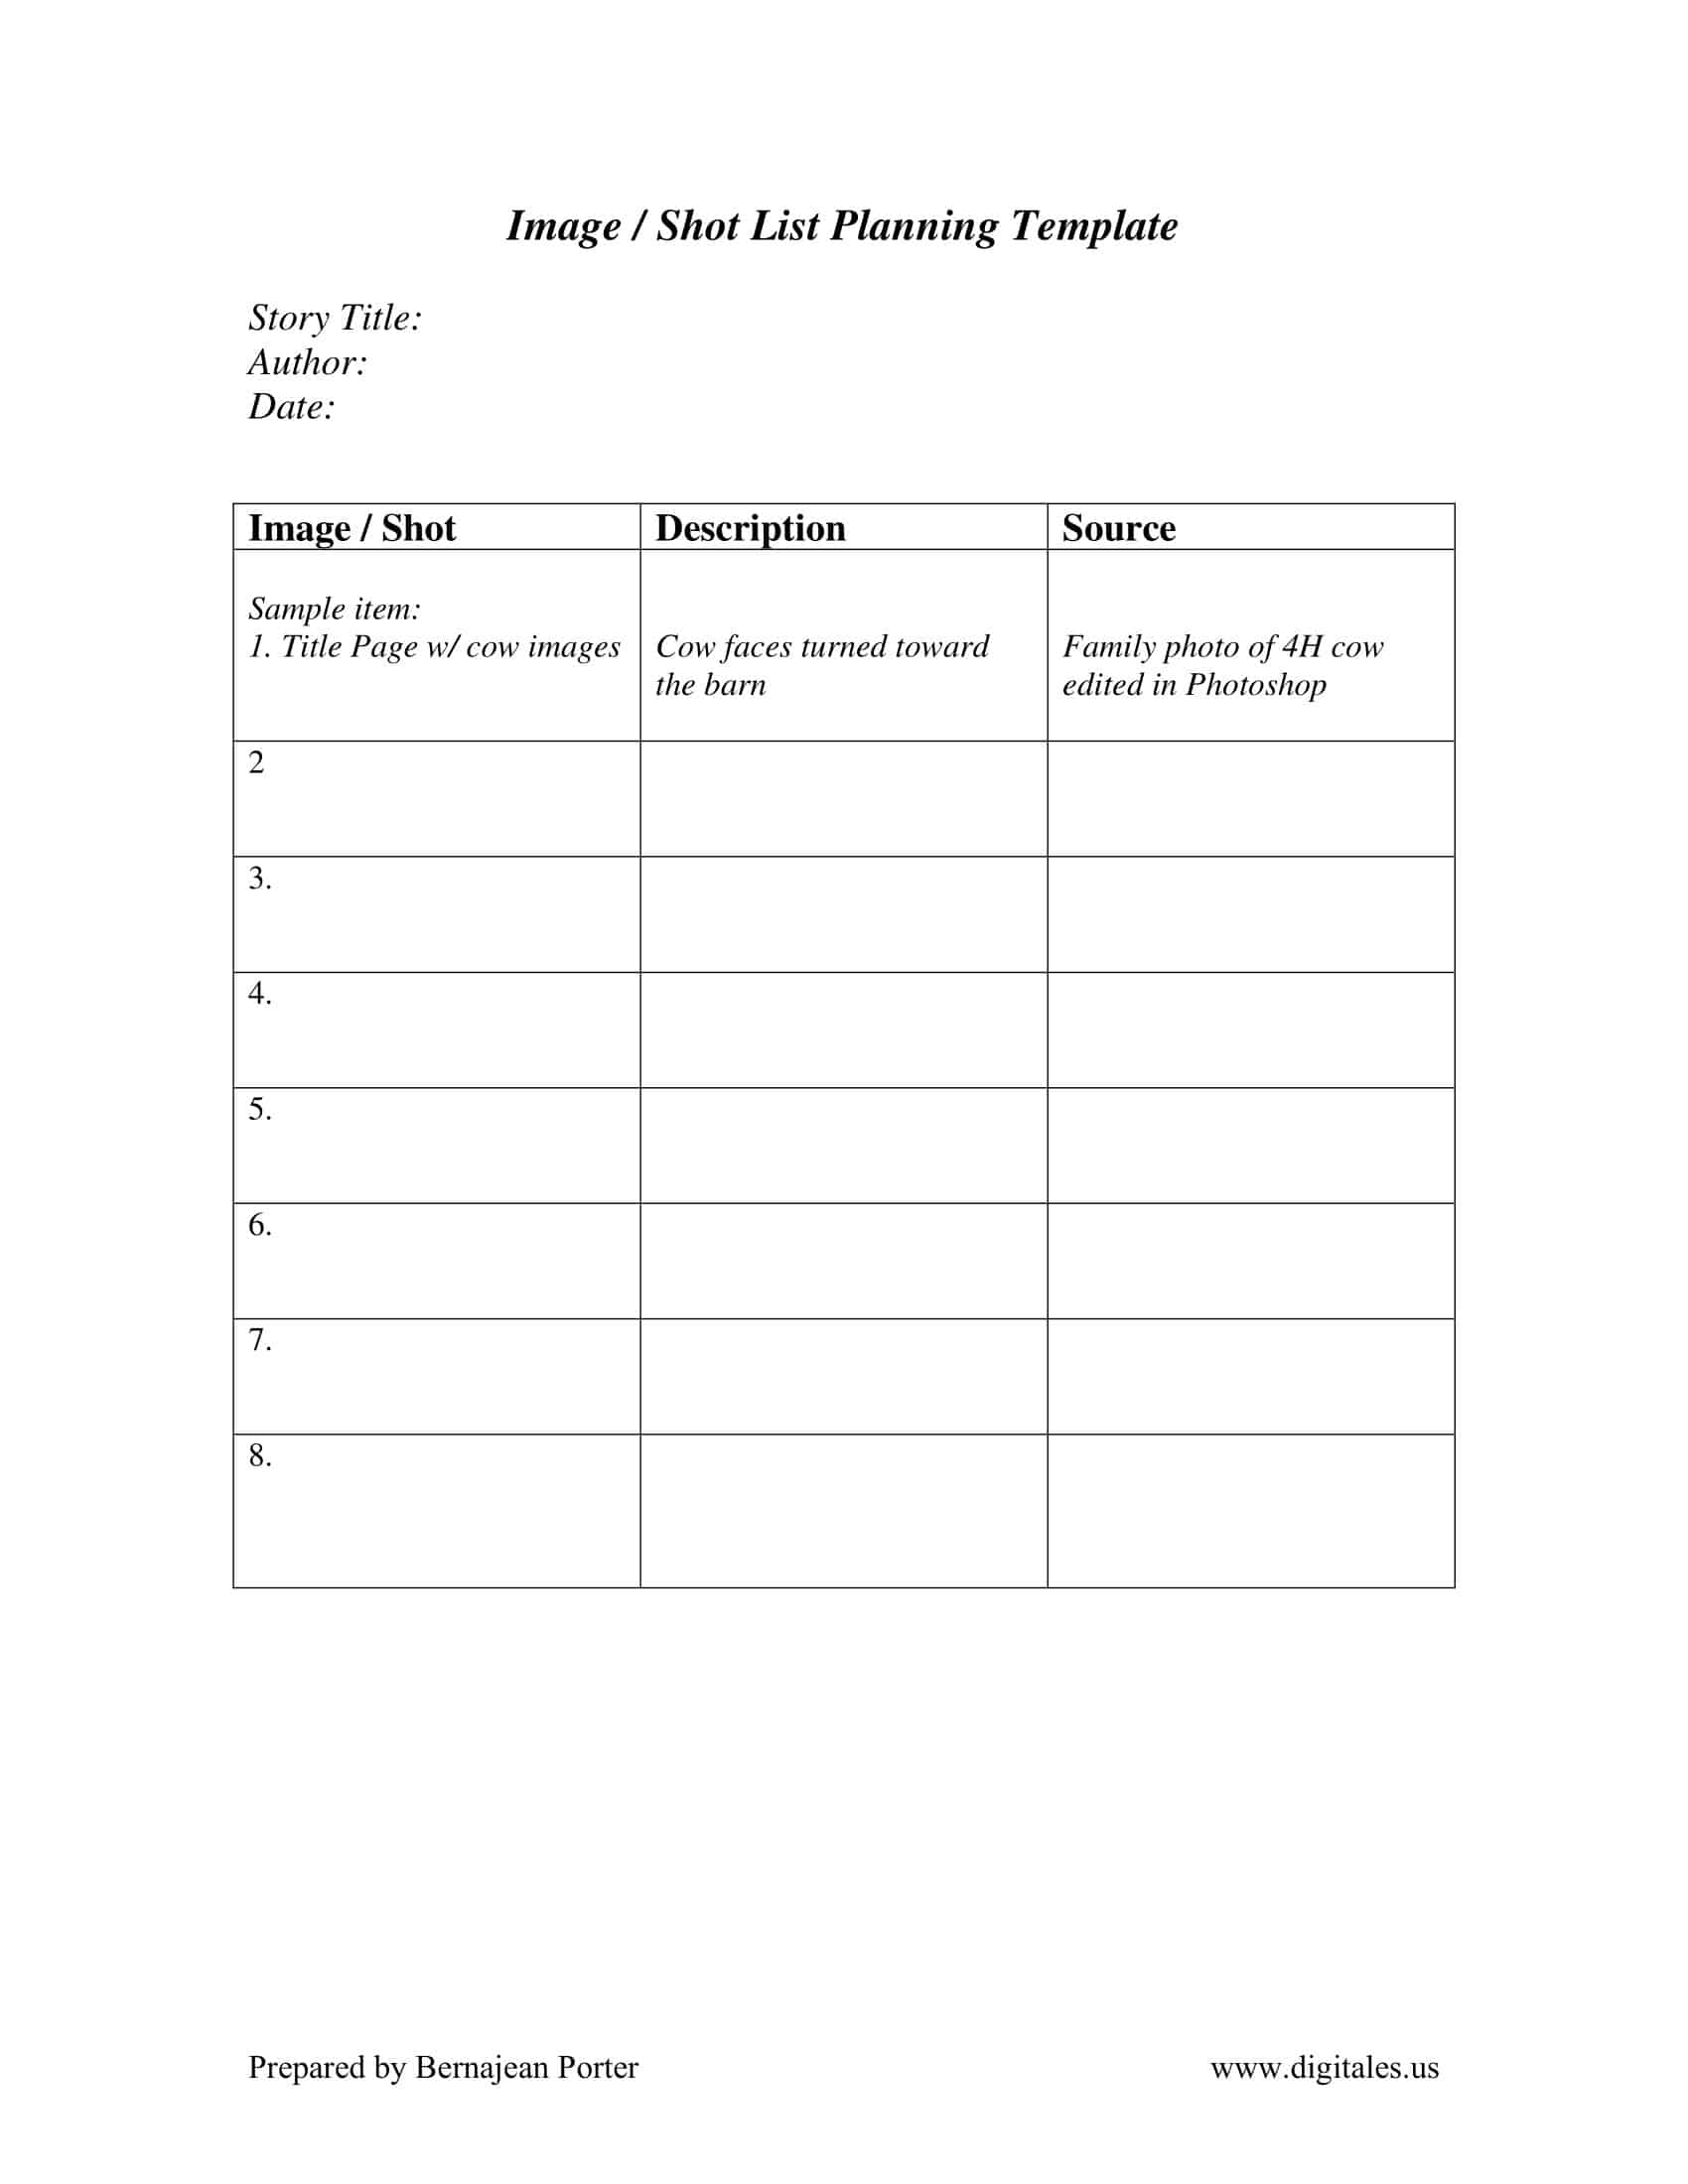
    Creating a shot list is a great way to ensure that the shots you need are in place and reviewed. A shot list divides the production into smaller segments so that you will have all your shots and know what needs to be done for each segment. A shot list helps you plan, organize and execute each day of shooting.

    What is a Shot List?

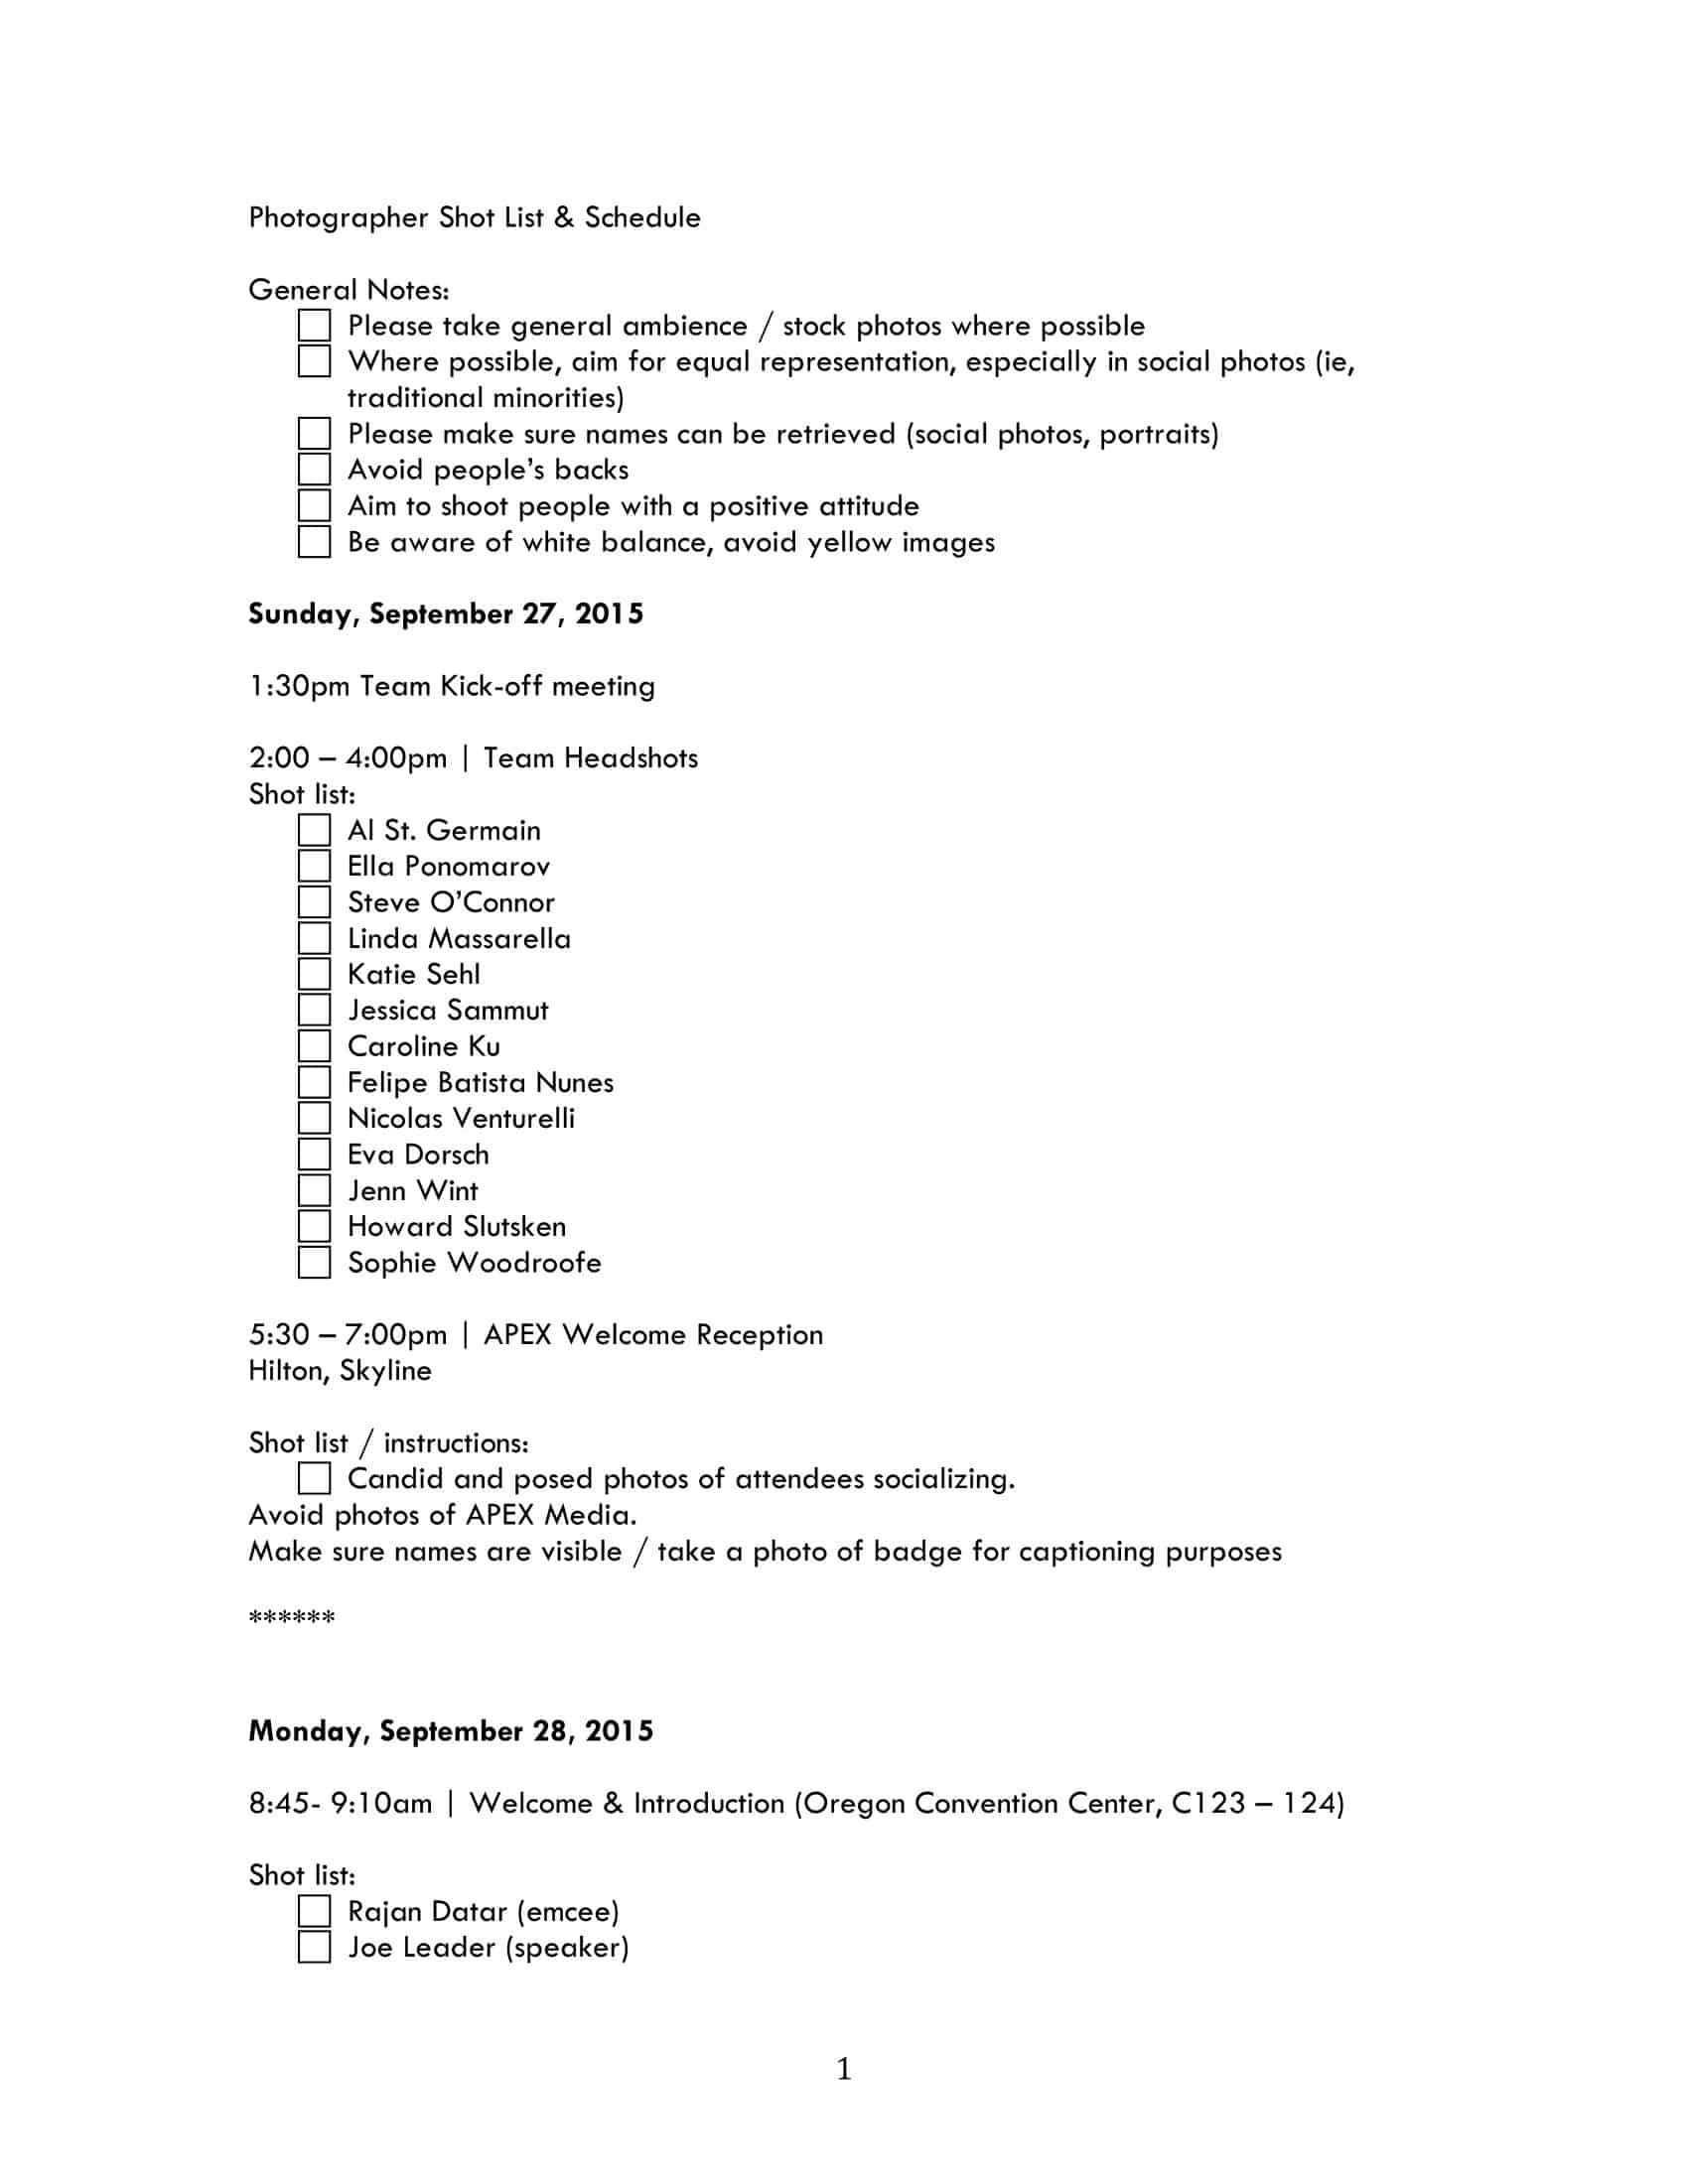
    Shot List
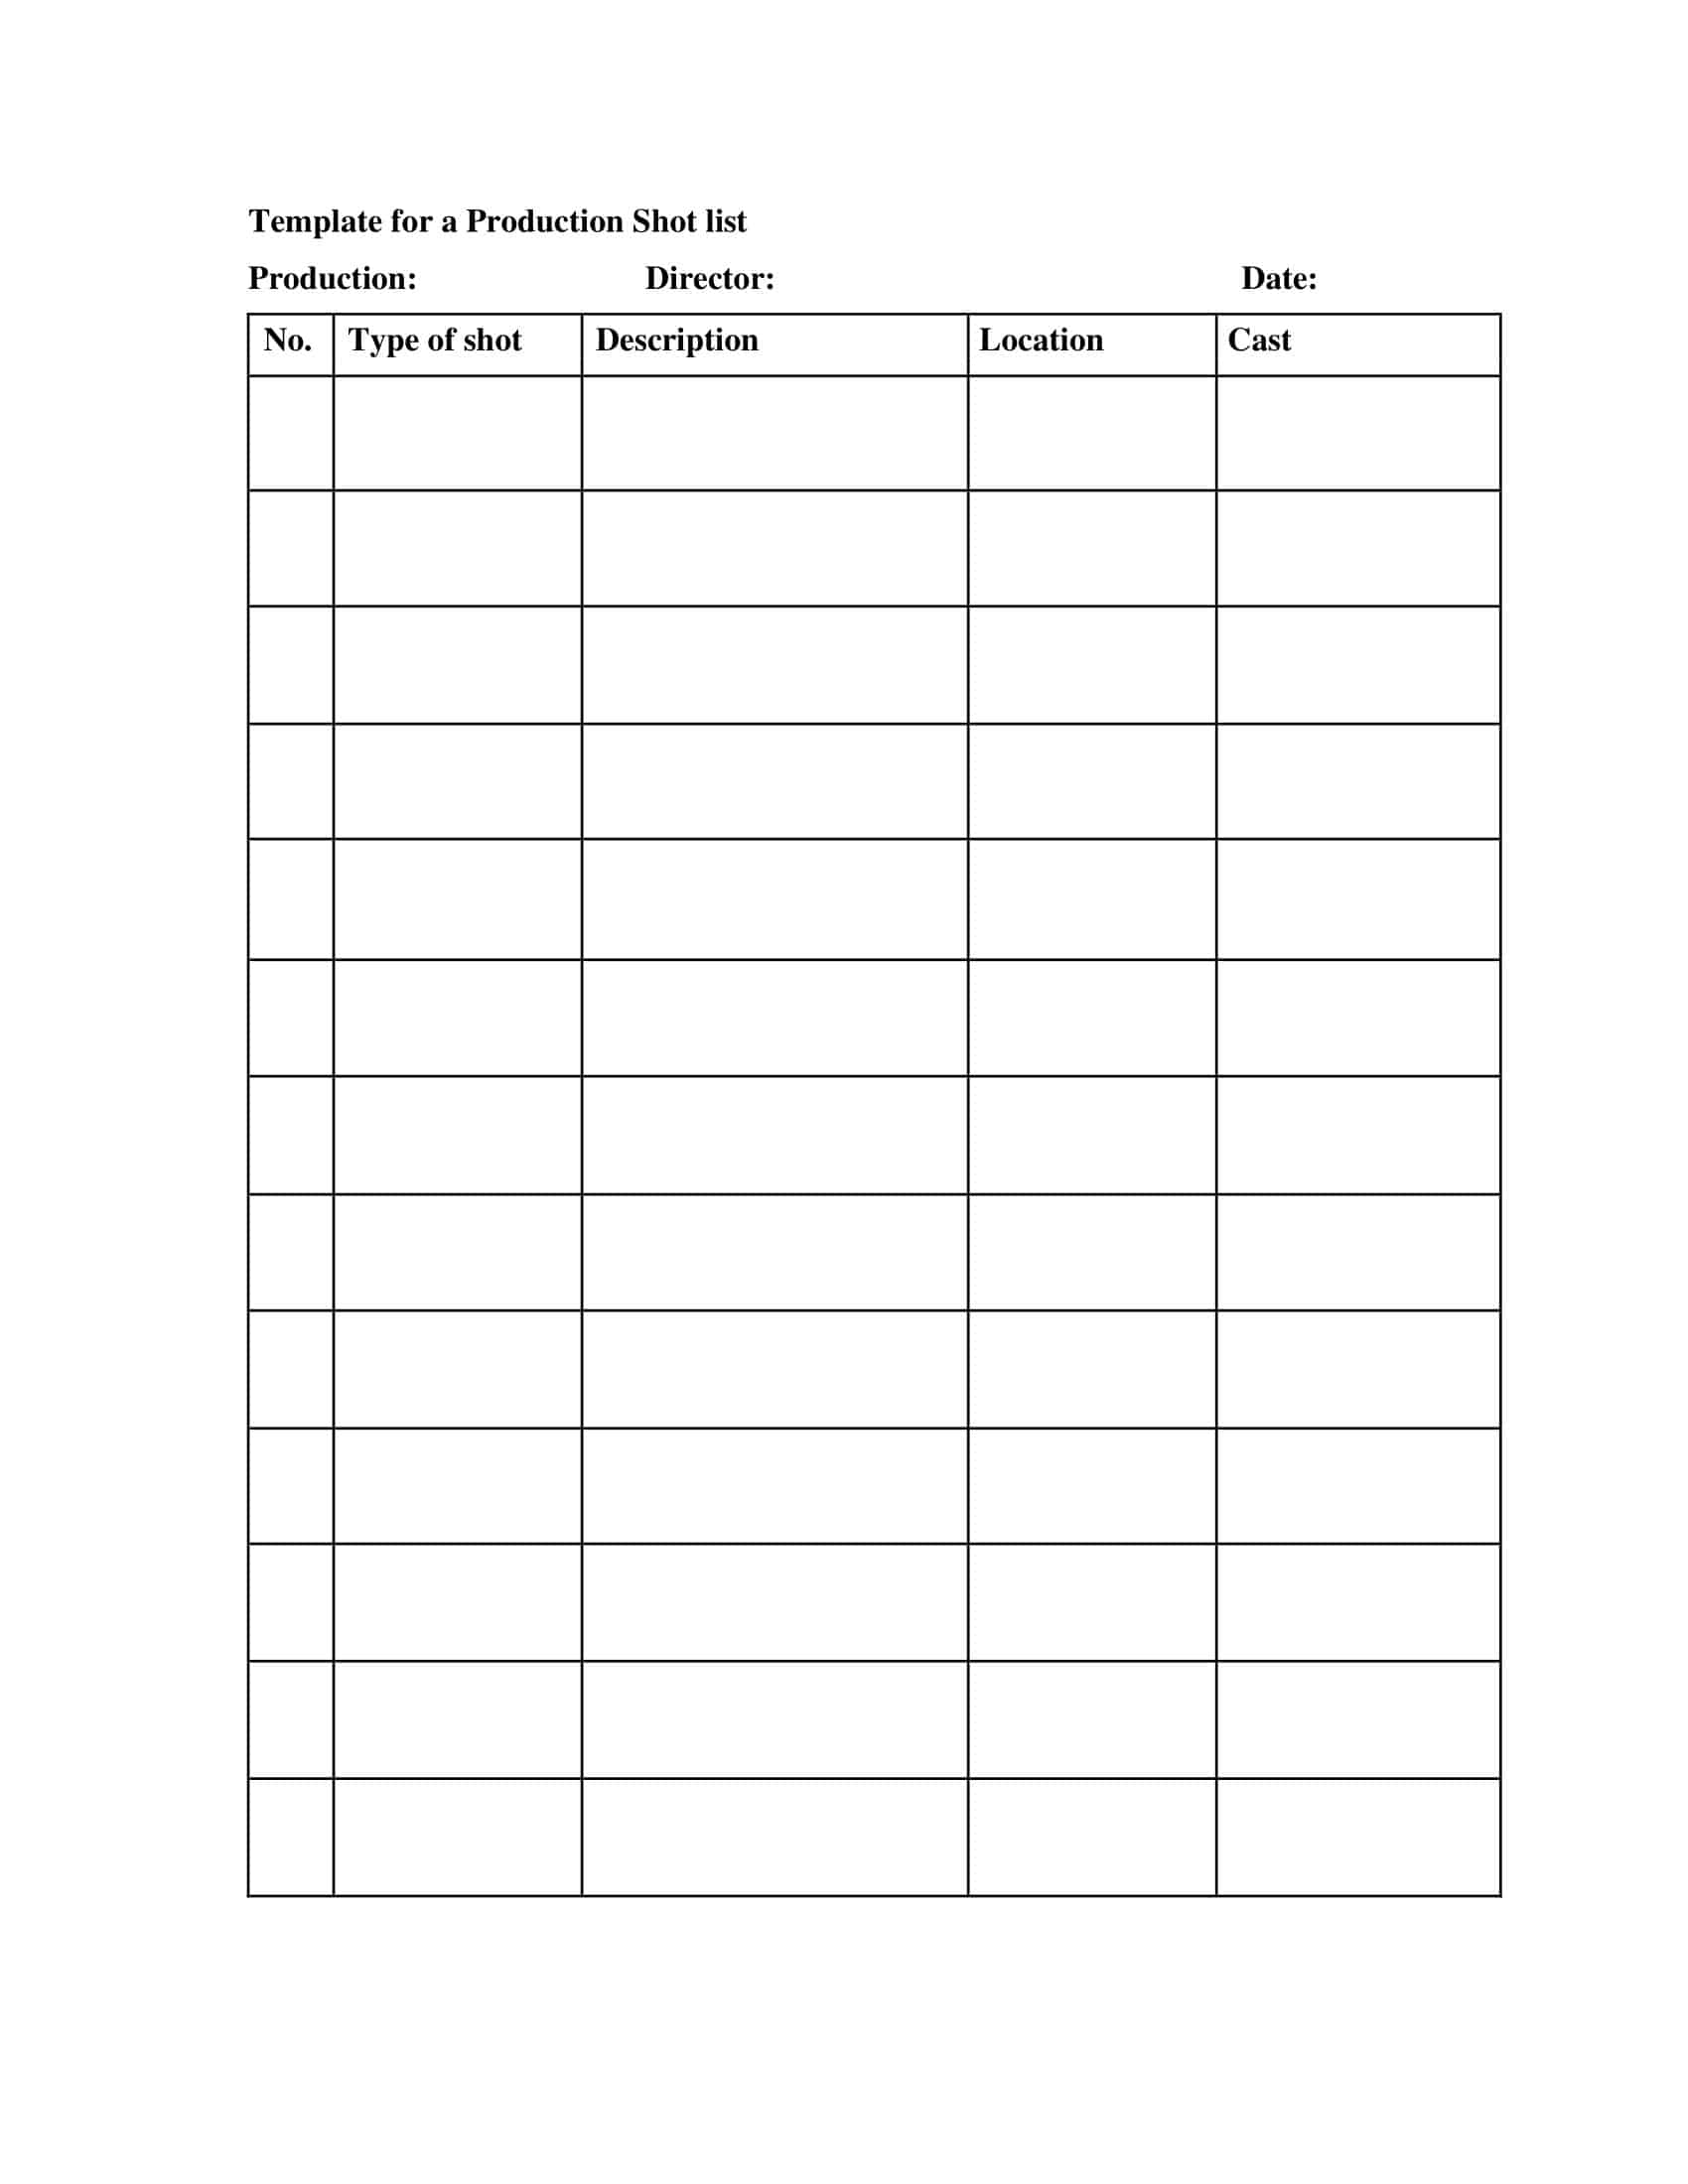
    Shot List

    A Shot List is a document that details the shots, angles, and camera movements for a production. This can be used for any production, from film and television to commercials and music videos.

    It allows the director to track how long each shot should last and how many takes they need to get it right. This helps ensure that every scene runs smoothly without delays or problems arising during filming.

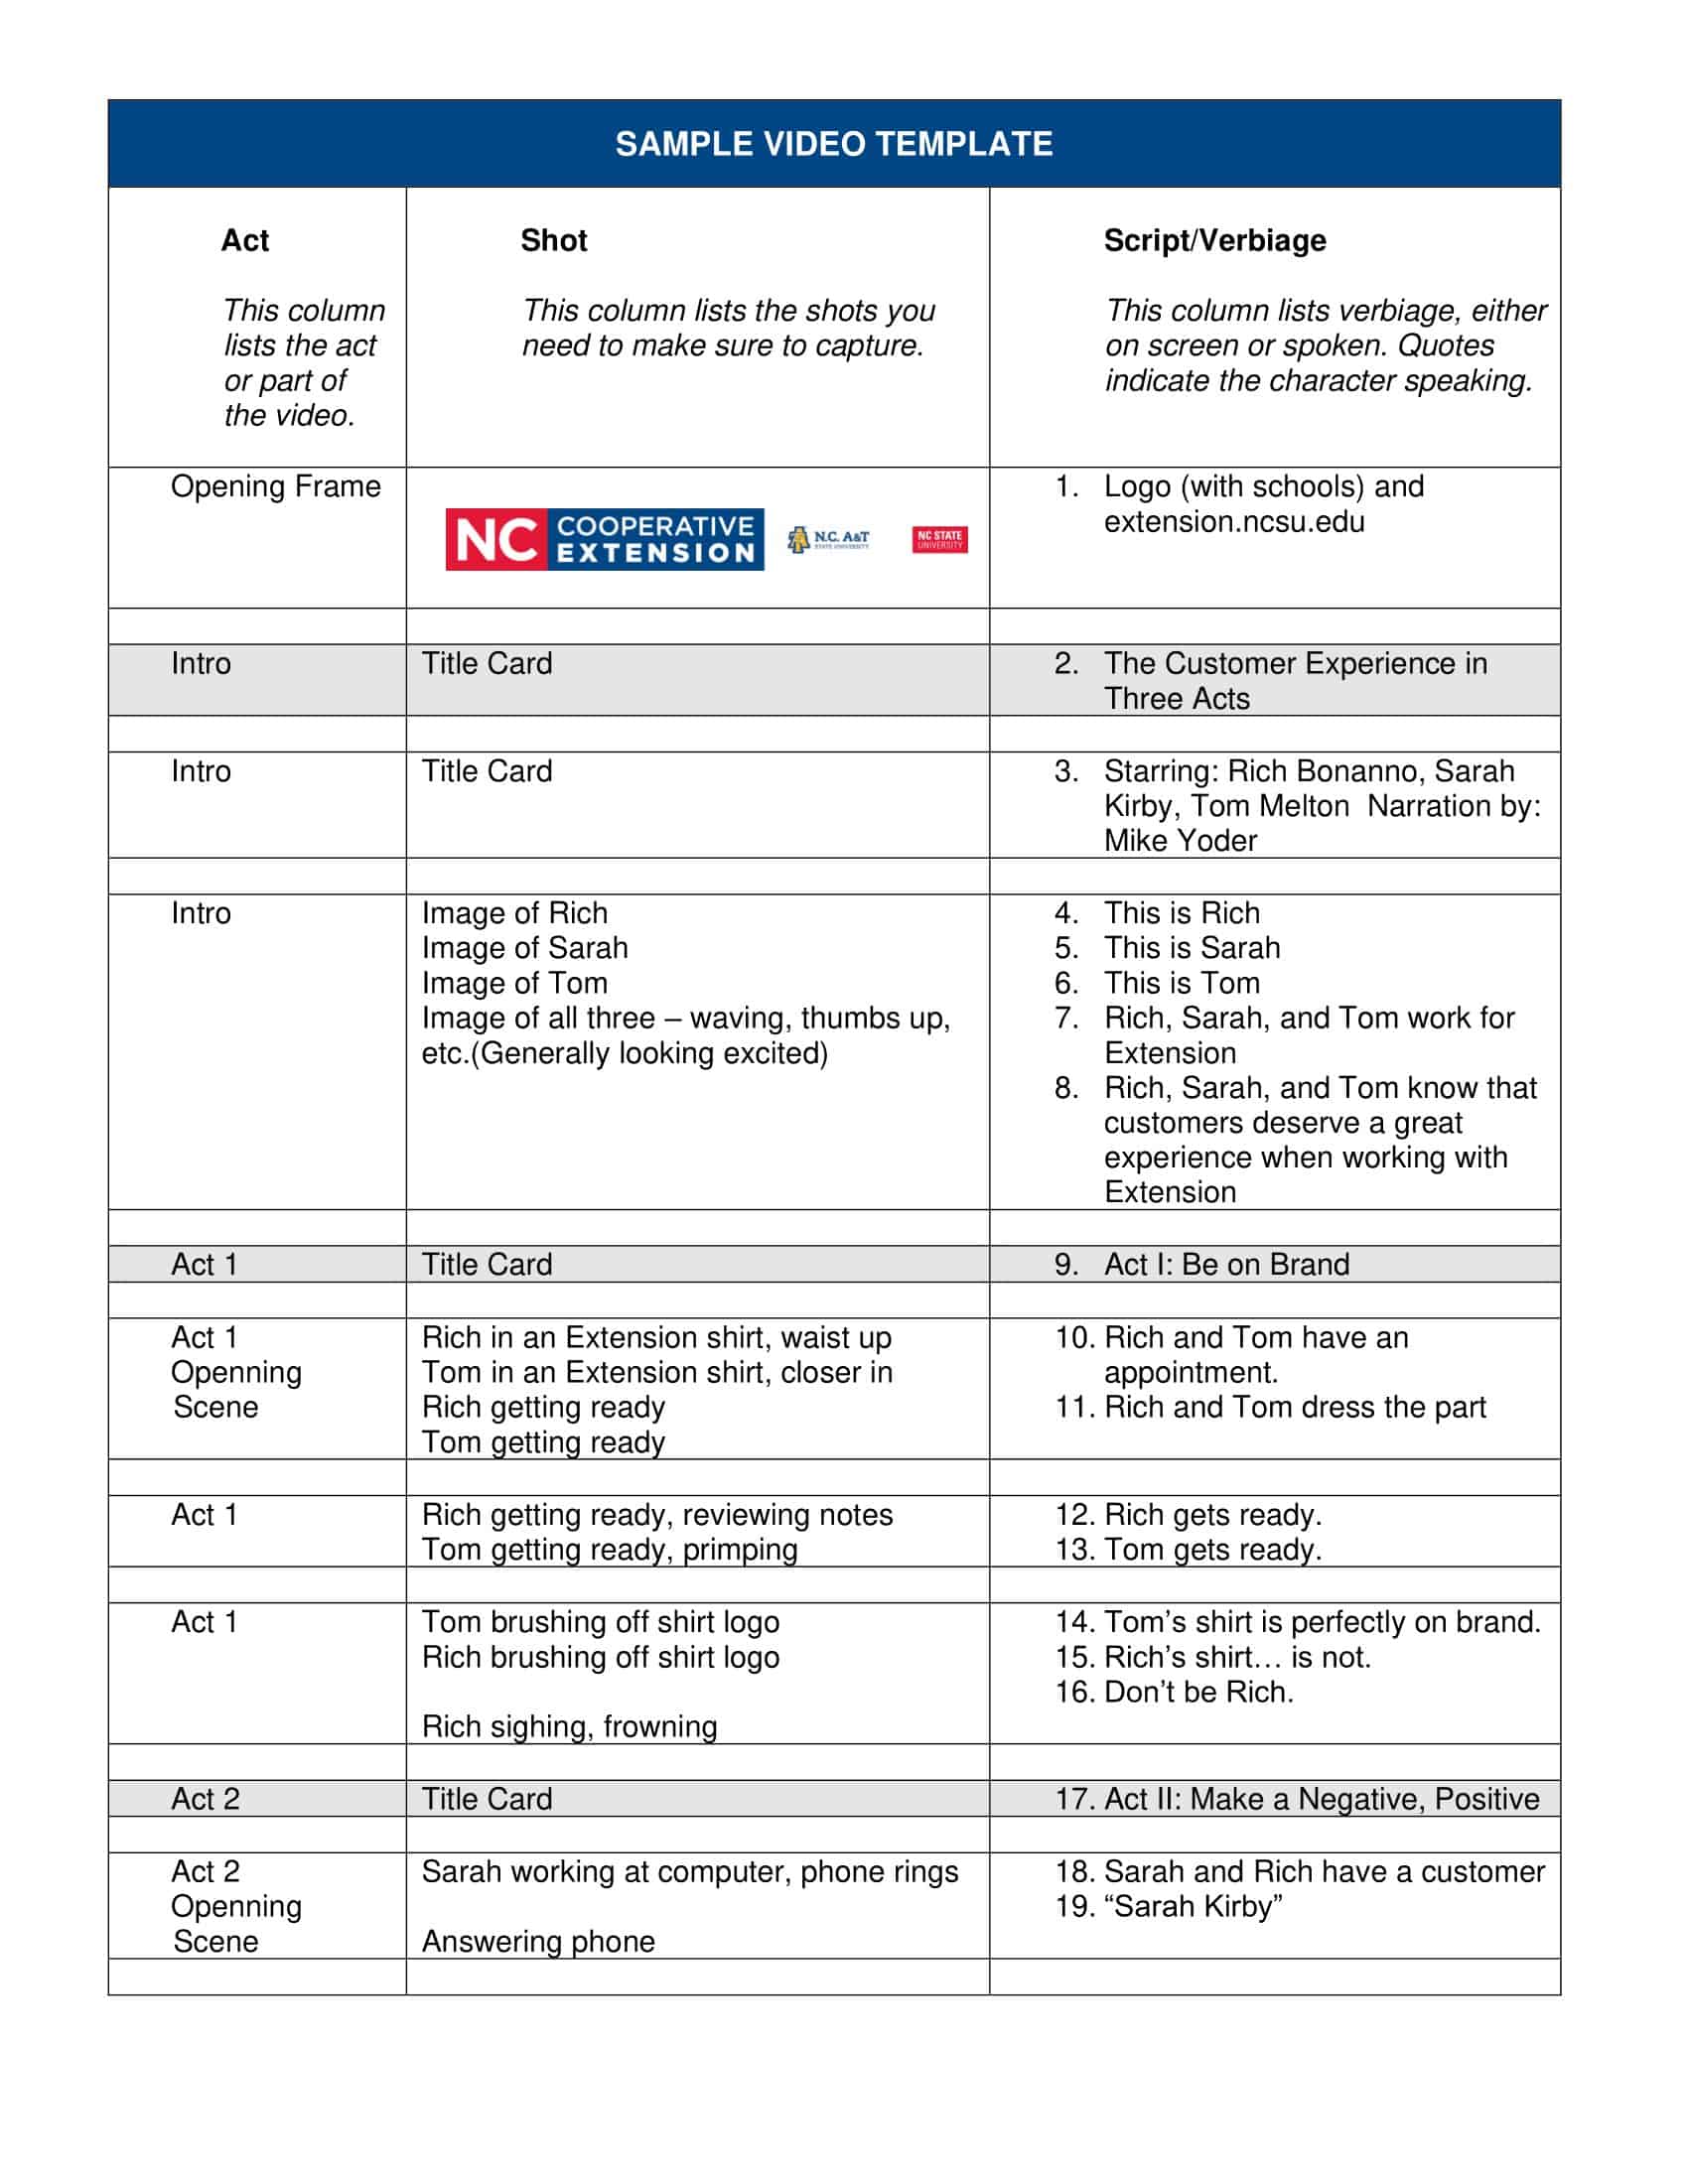
    Shot List Templates

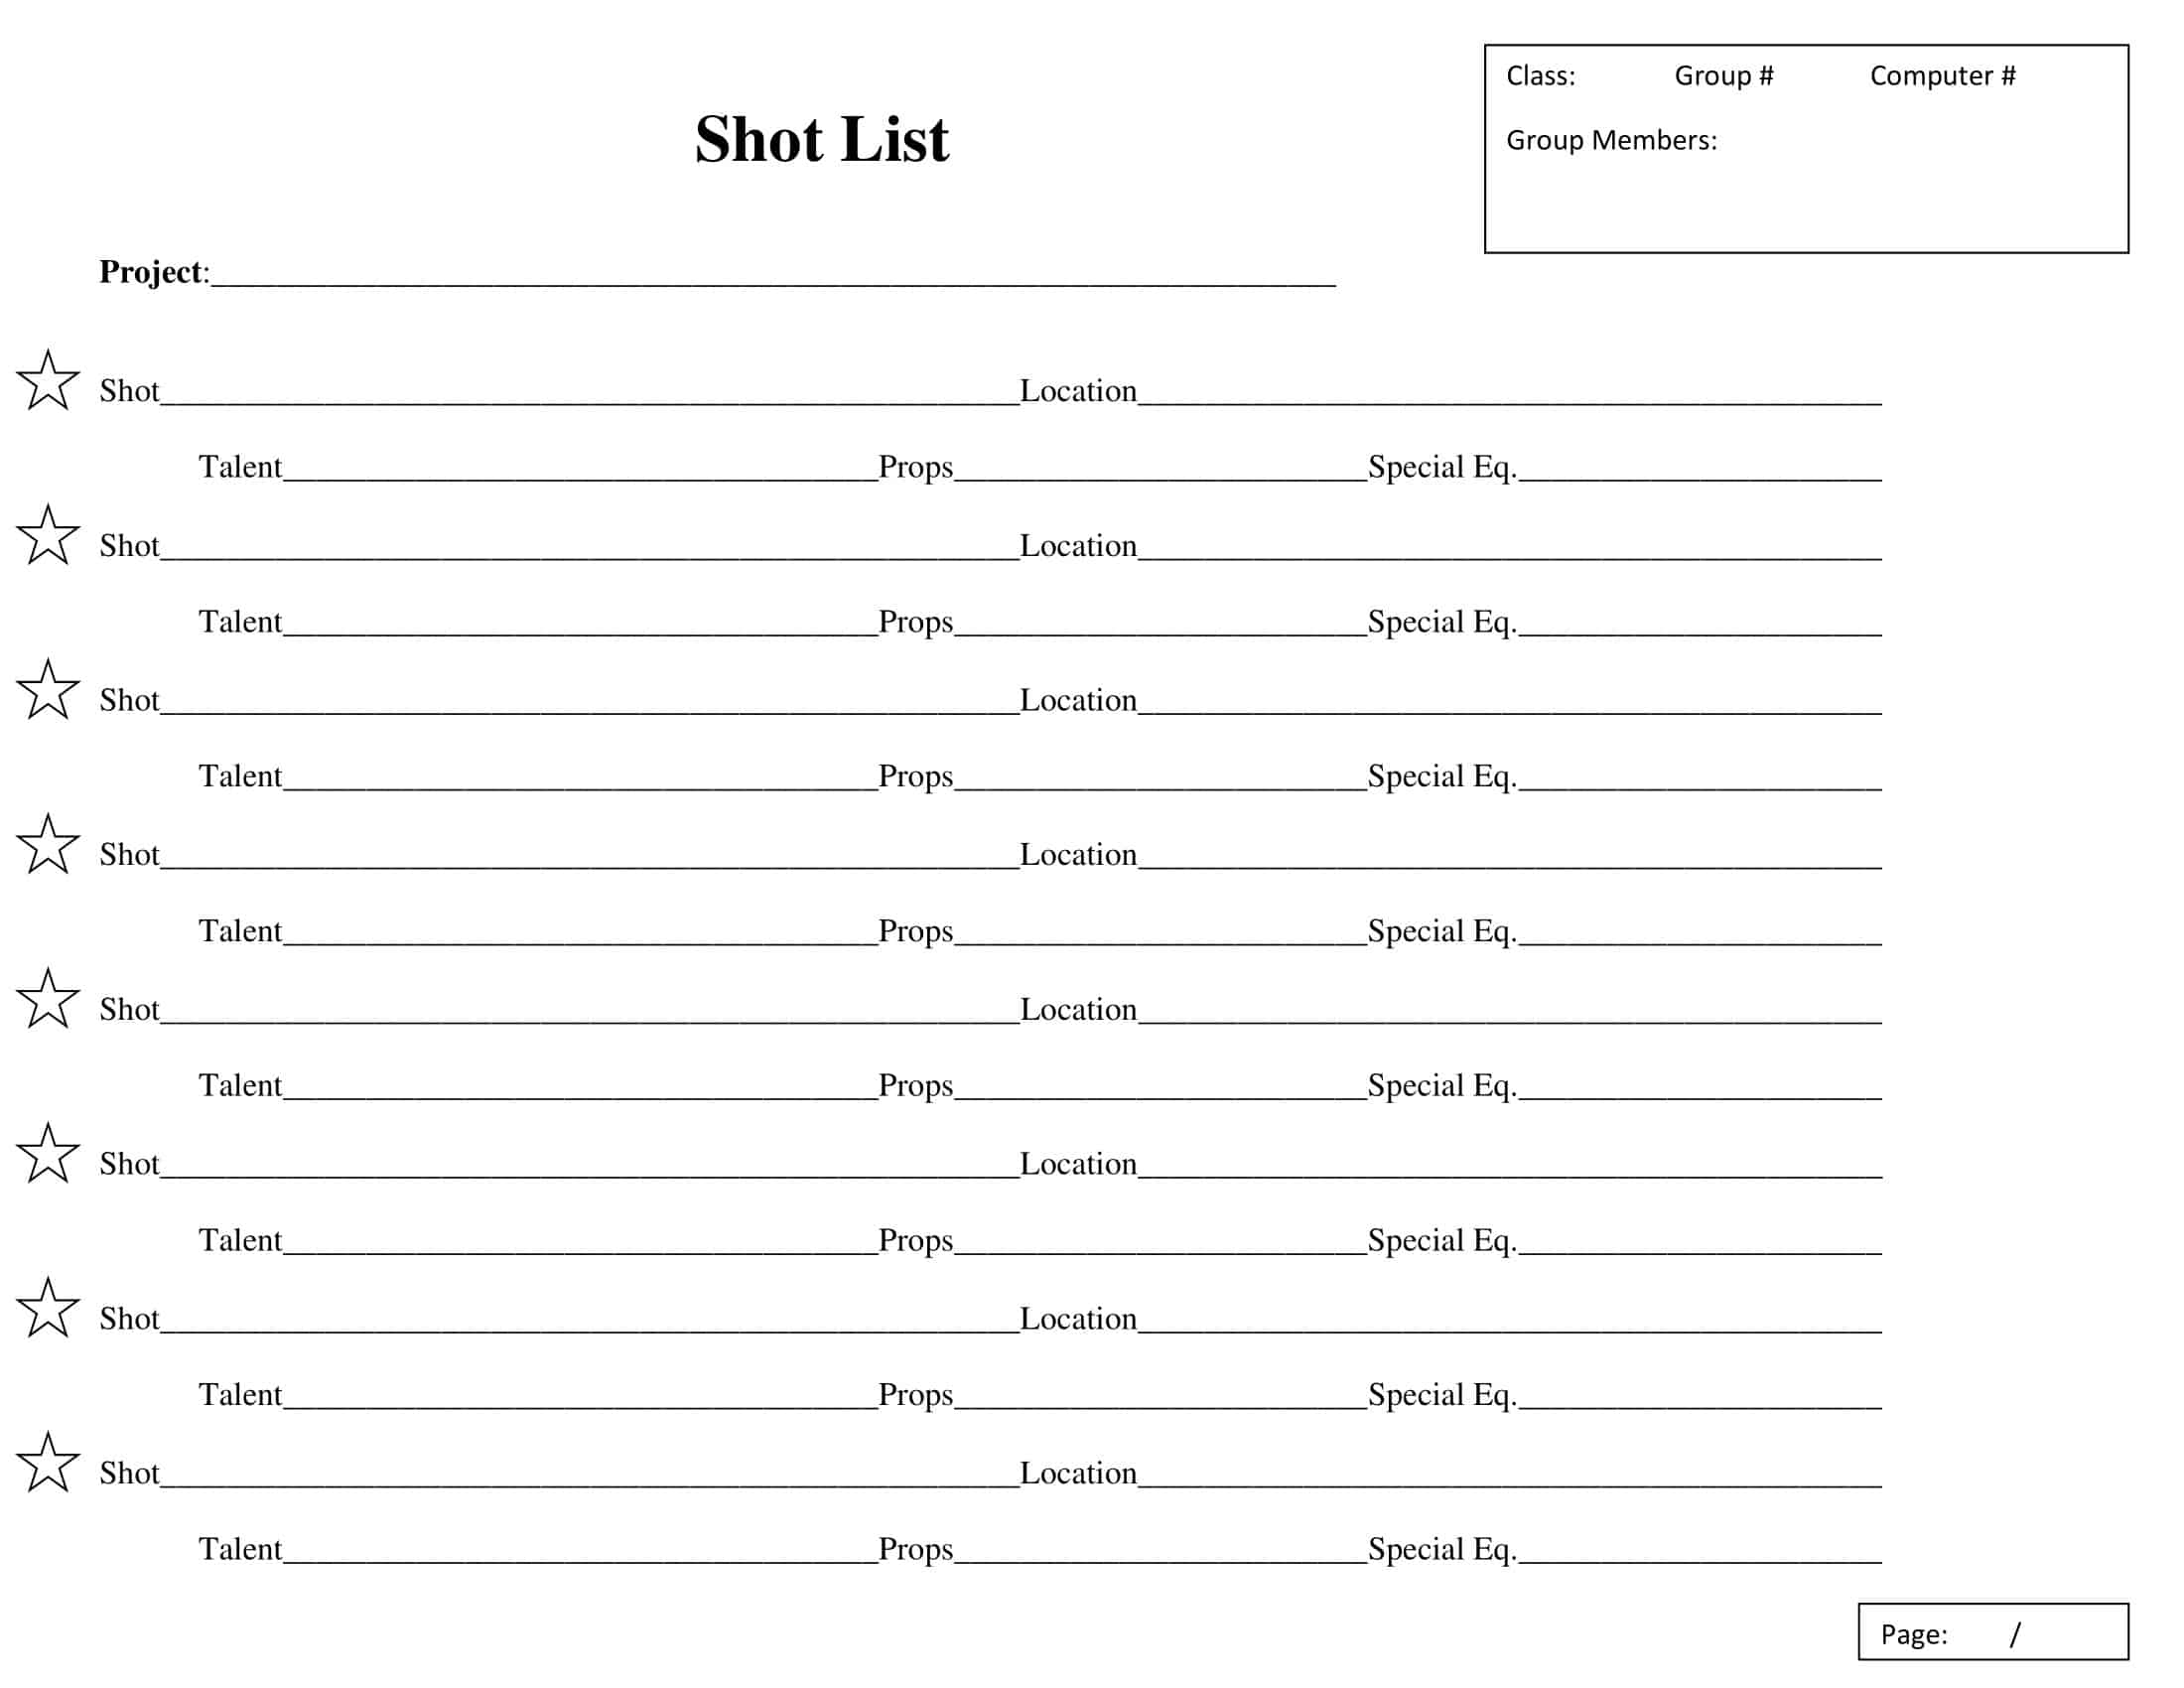
    Capture every moment with precision and creativity using our comprehensive collection of Shot List Templates. Whether you’re a photographer, filmmaker, or event planner, these customizable and printable templates provide a structured framework for planning and organizing your shots. Our templates include sections to outline shot descriptions, camera angles, lighting requirements, props, and any other relevant details.
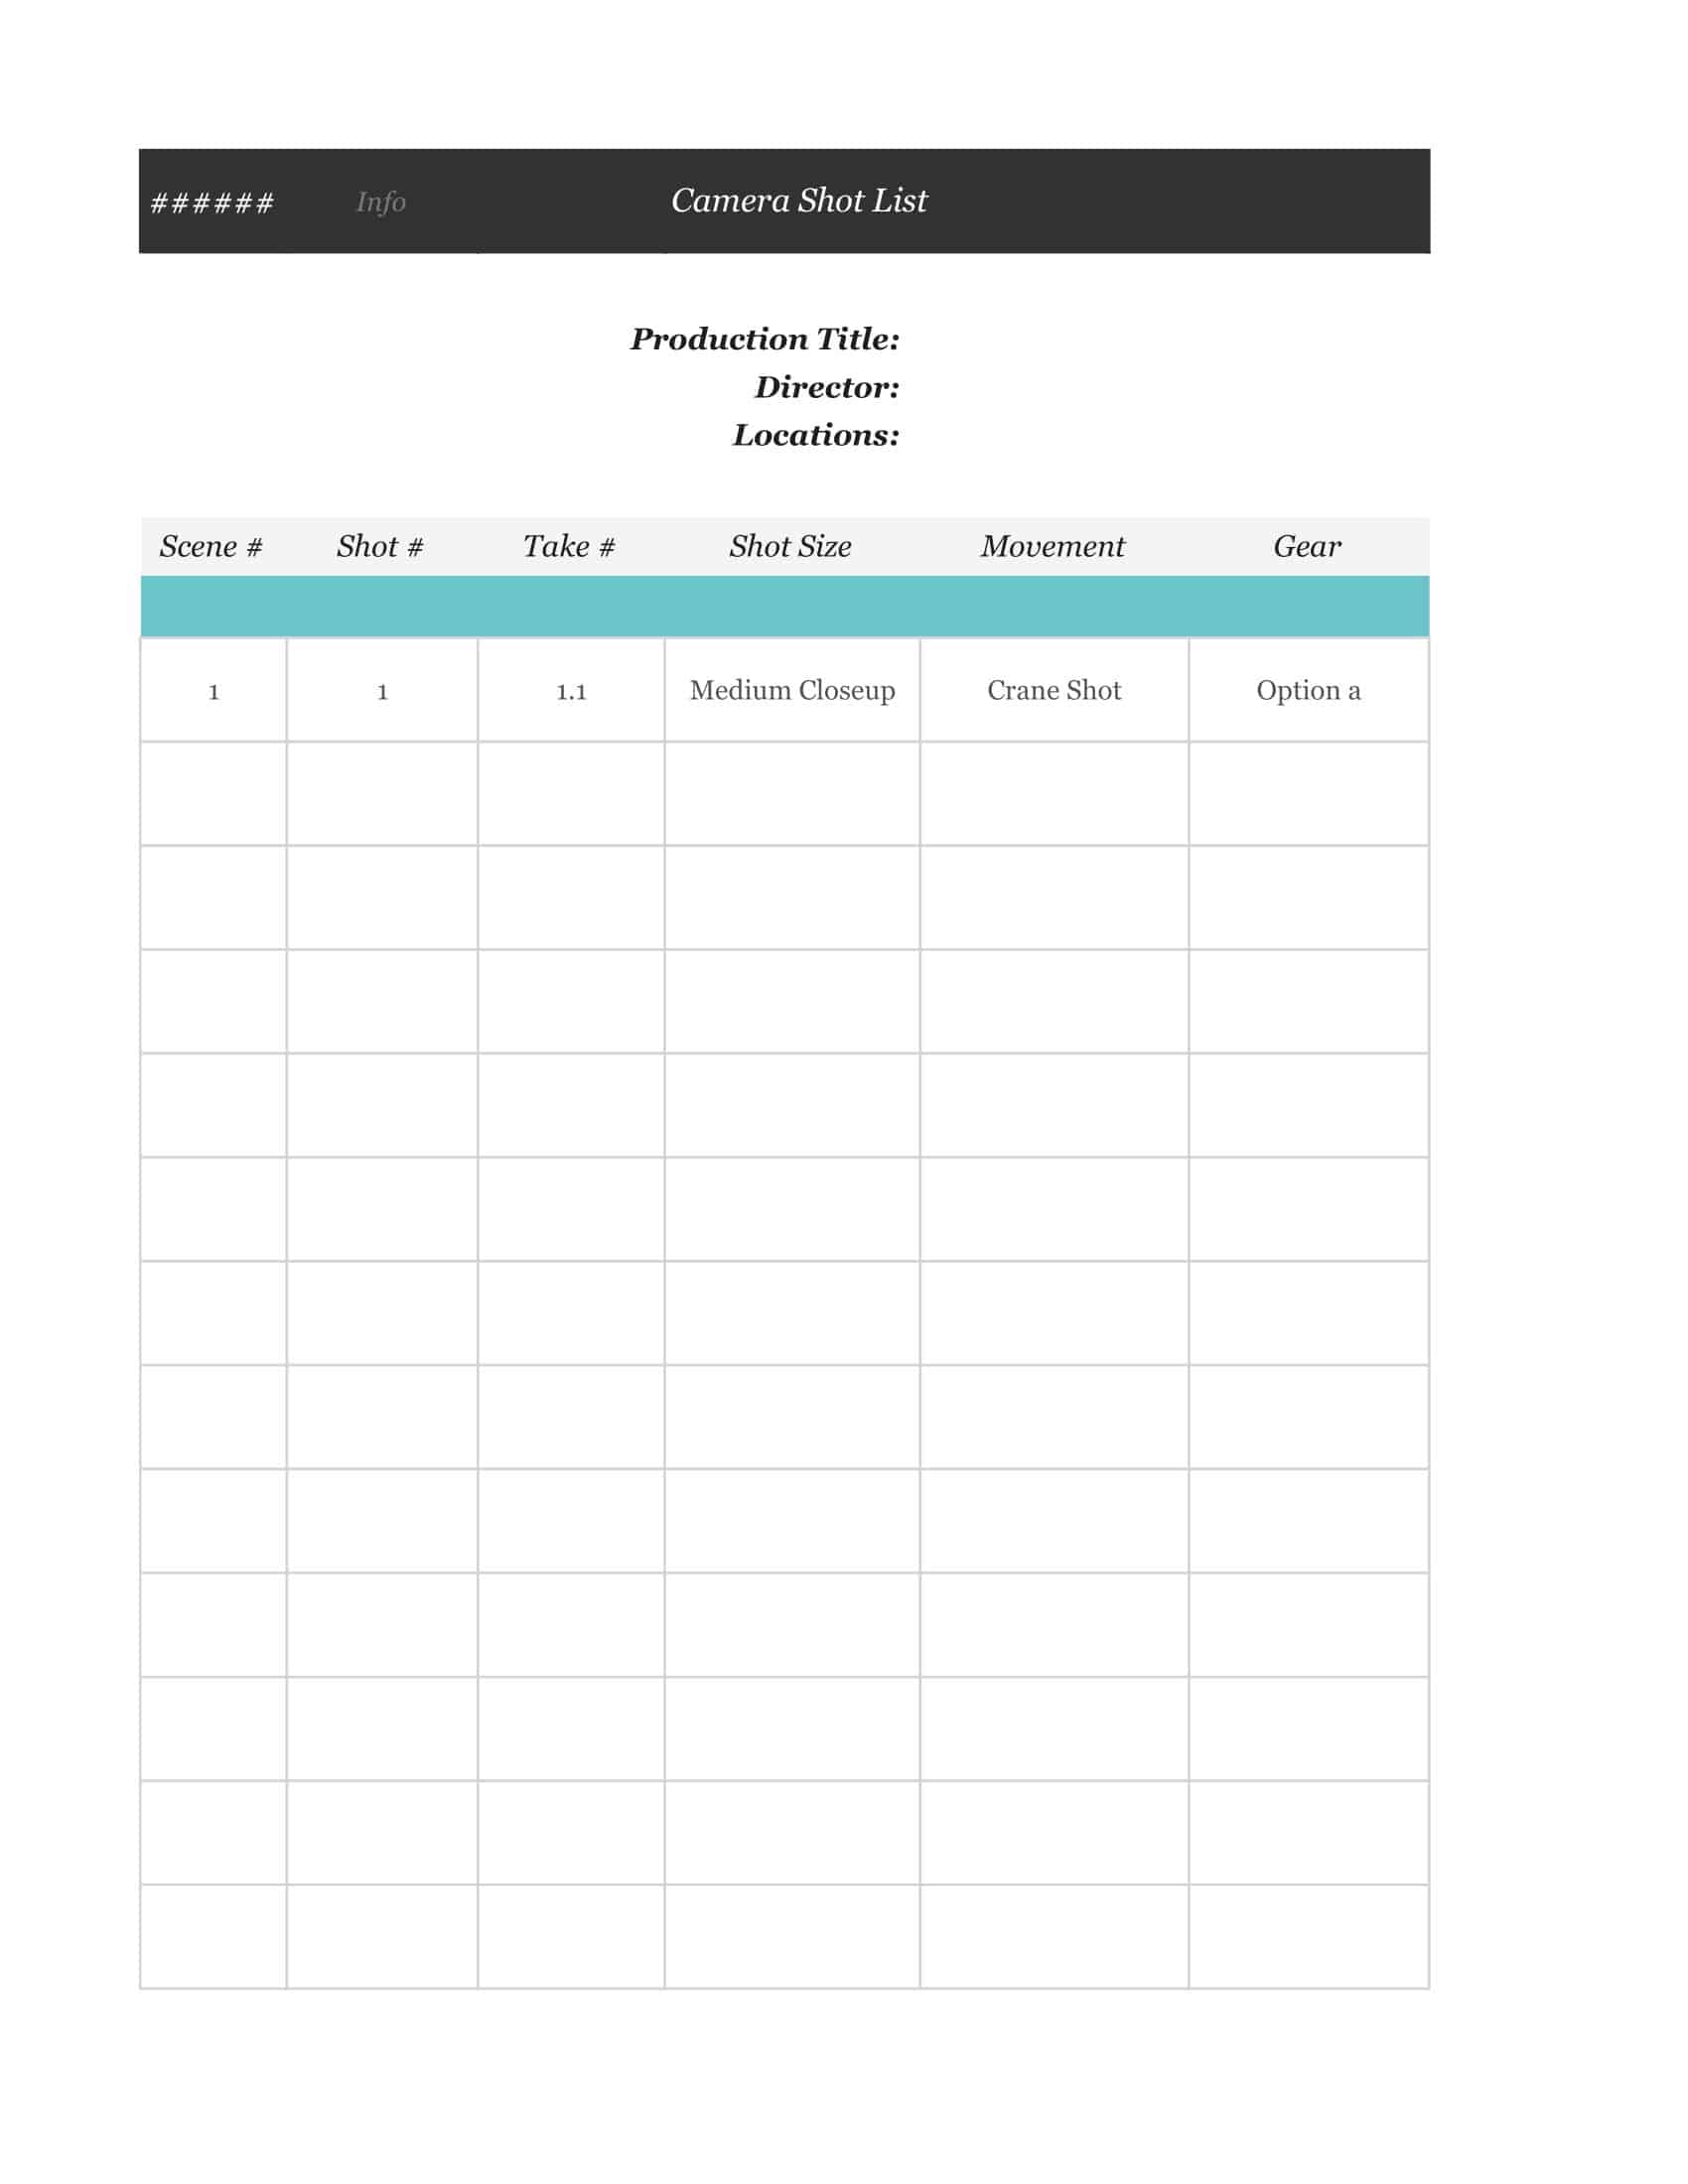
    By utilizing our Shot List Templates, you can ensure a smooth and efficient shooting process, maximize your creative vision, and capture the perfect shots for your project or event. Streamline your planning, communicate your vision to your team, and achieve stunning results with our user-friendly templates. Download now and elevate the quality of your visual productions with our professional Shot List Templates.

    Elements of a shot list

    The shot list is a list of all the shots you need to get in your movie. It’s important to remember that no matter how good you are, there will always be something you can do better or differently.

    The shot list will include the following:

    Scene Details

    If you’re shooting a professional production, you may want to include scene details such as camera position, lens choice, and lighting setup. You can also include the type of camera used (digital or film) and if it’s a still or video shoot.

    Setup Number

    This is important because it shows when and where you will be shooting. It’s best to add this information at the end of your list so that it can be noticed in all the other details.

    Shot Number

    This is the first number in your shot list, and it should include the scene’s name, location, or situation. It’s also a good idea to note how many scenes there will be in your scene number. For example:

    • Scene 1 – Bedroom
    • Scene 2 – Kitchen
    • Scene 3 – Living Room

    Subjects

    The subject is the person, place, or thing you want to capture in your photos. It can be anything from a person or group of people to an object or scene. Make sure to include details about who/what your subject is, where they are located, and what they’re doing at the time of your shot.

    Description

    This section briefly describes what was happening in the photo before you took it. You may include details like weather conditions, time of day, where you were standing when taking the photo, or anything else about that particular moment in time that makes it special for you.

    Camera

    If you want to shoot with different cameras or angles, ensure they are listed under the camera section.

    Shot Size

    This is the overall length of each shot. Make sure to include the duration of each shot and how long it will take to film it. For example, if you need a shot with a person walking across the street, give us an idea of how long that would take.

    Shot Type or Camera Angles

    This is what type of scene you are filming (e.g., close-up, medium-long shot, wide angle). Also note what type of camera angles you want to use (e.g., static), how they will be used (e.g., upside down), and whether they need to be filmed in person or with green screen technology such as chroma keying (CGI).

    Camera Movement

    Camera movement is the fundamental element of a shot list. It tells the viewer where to look, how fast to pan across it, and what to focus on.

    In essence, camera movement is nothing more than a series of images that capture the viewer’s attention. It’s a way for you to tell your story visually.

    Camera movement can be accomplished in several ways:

    Zoom-in / zoom-out: This is the most common way of moving from one part of the scene to another. You could also use panning, but this method is less effective because it requires you to move your camera instead of just moving your focal point.

    Panning: This method involves moving your camera from side to side in an arc shape. If you want more control over how far away from your focal point you want to pan, try using dolly tracking instead.

    What types of shots should you include in your shot list template?

    Close-up (CU)

    This type of shot will usually have a tight focus on an object (usually a person) and will be framed within a larger area. They are typically used to show something in great detail, such as facial expressions or body language. You can also include close-ups in your shot list if they help convey an emotion or convey action within a scene.

    Extreme close-up (ECU)

    These are similar to CU shots but will include more detail and focus on an even smaller object than a CU shot. They might also include some blurriness around the edges to make it seem like something is going on behind or beyond what we’re seeing in this particular frame. Close-ups can also work well alongside extreme close-ups because they help create contrast between two subjects, such as those smiling or frowning, for instance.

    Medium close-up (MCU) 

    This shot will include a subject and an object, but not both. For example, it could be an MCU shot of a person talking about their product or service.

    Mid Shot (MS) 

    This is when you include both a person and an object in your shot list example. For example, an MS shot could be someone drinking coffee from their mug.

    Wide Shot (WS) 

    This is where you include multiple people and objects in your shot list example. For example, a WS could be two people talking about their products or services.

    Very wide shot (WVS)

    The WVS is one of the most common types of shots in cinema, TV, and documentary. It’s a wide shot showing everything from a single location in the frame. The camera will usually follow a subject as it walks or moves about the scene, showing how they interact with others and respond to their environment. In film and TV, this shot is often used to establish location (e.g., “We’re on a farm!”), define setting (e.g., “The house sits at this edge of town”) or show character (e.g., “The young woman is nervous”).

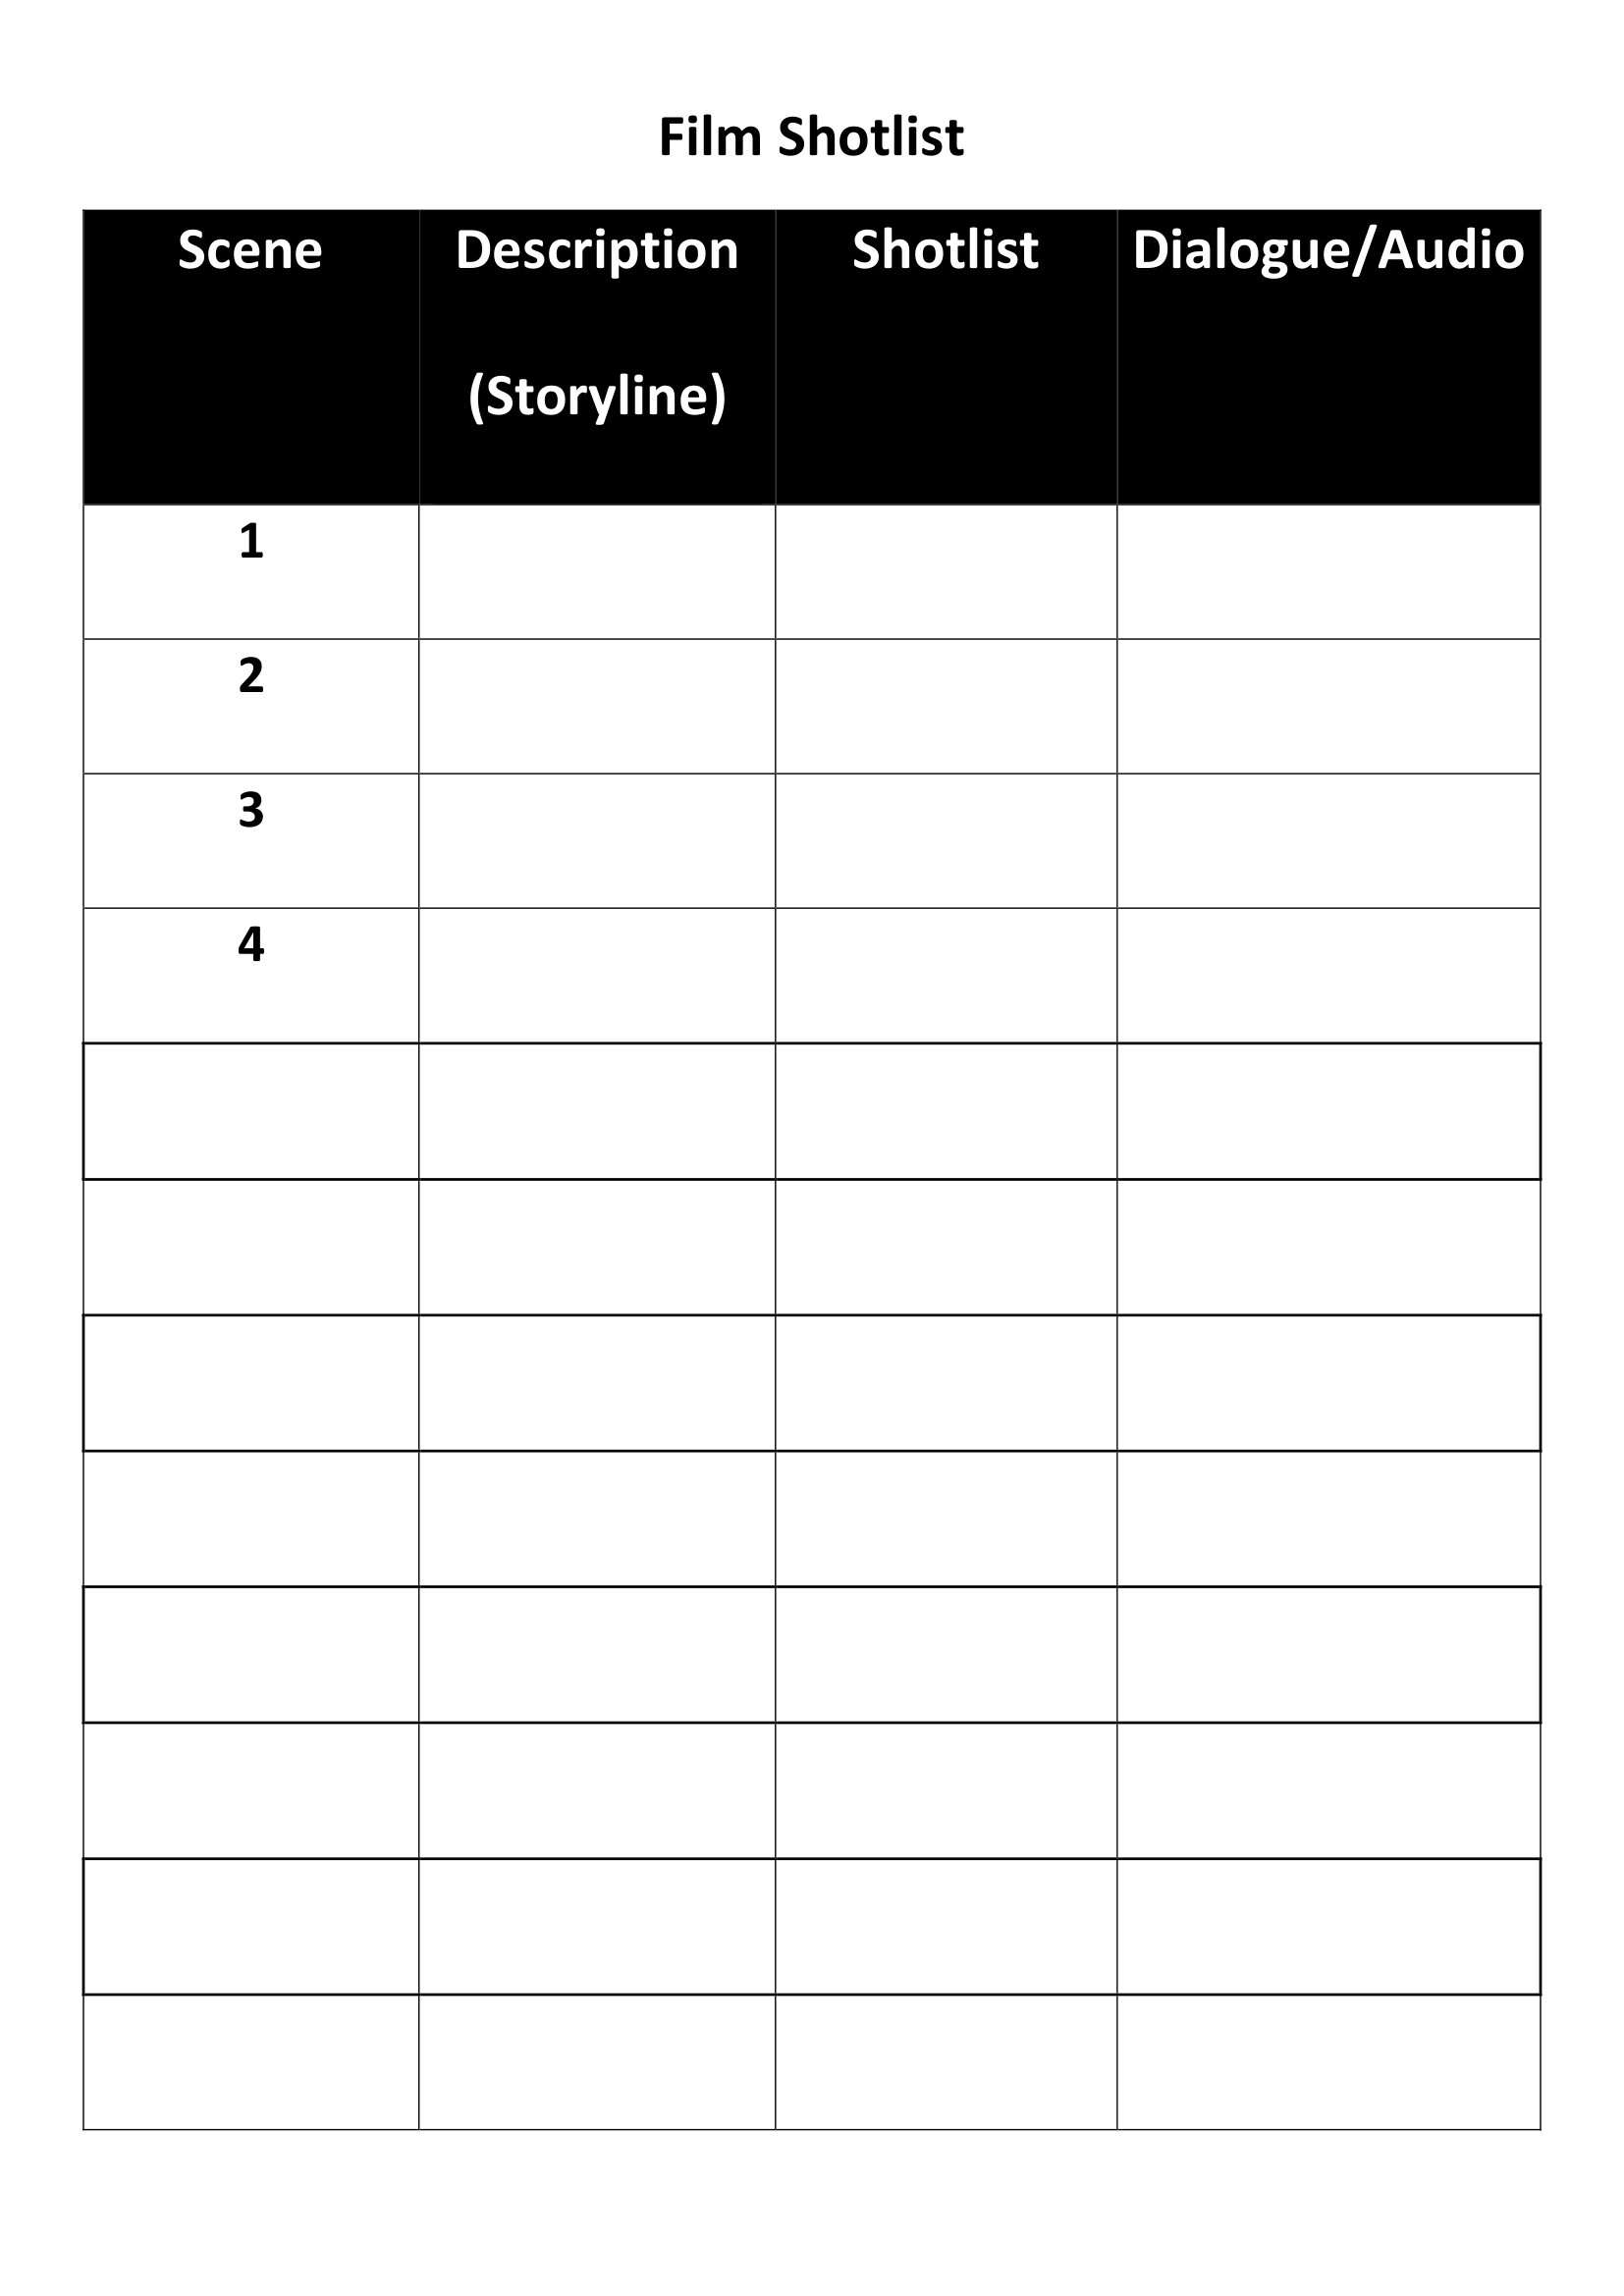
    How To Create a Film Shot List

    The first step in creating a shot list is to figure out your story. For example, if you’re making a film about how an inventor creates his next great invention, then the list needs to include shots of him working on his machine.

    Once you know your story, start by breaking down each scene into individual shots. Write down the shot number for each one, and then write down a brief description of what happens in that shot. (For example, if you’re shooting a scene where someone enters a room and sits down at the table, write “enter room” or “sit down at the table.”) Consider thinking about how many takes you’ll need for each scene so that you can save some money by using less expensive materials instead of renting more expensive ones.

    After writing down all of your shots, take a look at them again and decide which ones will work best together and make sense as a whole unit. Then create an outline for each scene that includes descriptions for each shot and any other information that might be useful for directing other actors.

    Final step:

    Once you have written your script, it’s time to create a film shot list. The shot list is a simple document that lists the shots you need to film and their corresponding camera positions. You must include the position of each camera in your script so that everyone knows where each shot will be filmed.

    You can use any paper or software program to create your shot list, but we recommend using Microsoft Word because it will allow you to edit and update the document over time easily.

    Tips for creating your shot list

    1. Set a time limit for your shoot, and don’t exceed it. Don’t let the time fly; you will have to cut some of your shots.
    2. Make a plan before you start shooting. Make sure that you know where you are going for each shot and what angle will be best for that particular shot. Also, try to think about all of the possible angles that can be used in each scene, as they might only sometimes be what you expected.
    3. Use a white background when shooting portraits, as it helps focus on the person’s face better than other colors, such as blue or green backgrounds.
    4. If possible, use natural light during your shoots instead of using artificial lighting sources such as lamps or flashlights (unless you are doing backlit shots). The more natural light there is in your images, the better they will look overall!
    5. Use the first person. For example, when you’re shooting an interview, it can be easy to get lost in the details of lighting and focus and forget that your subject is actually talking to you. Try using the first-person voice in your script to ensure you’re not missing anything significant. This makes it clear that what the actor is saying comes from their own mouth and not just a piece of stage direction.
    6. Don’t overdo it with props or action shots. It’s okay to show some things happening — but don’t overdo it! If you want to show a character throwing down their drink or looking surprised, do one or two shots that show this, rather than a whole sequence of them doing it all at once (which will look weird).
    7. Use close-ups sparingly — but when you do use them, make sure they’re good ones! In particular, don’t use close-ups unless necessary, like if your character is holding something up in front of themselves. At the same time, they talk — and even then, only if there’s nothing else going on nearby!
    Click to rate this post!
    [Total: 1 Average: 5]
    nv-author-image

    Betina Jessen

    Leave a Reply

    Your email address will not be published. Required fields are marked *