A timeline is a visual representation of the progress and milestones of a project. It serves as a tool for project management and helps to keep track of important events, deadlines, and milestones over the duration of the project.
The timeline is not only a way to record the history of the project, but it also helps to illustrate the goals and objectives of the project, and provide a clear picture of the progress made towards those goals. Project managers use timelines to monitor the progress of the project, and to make annotations that show the actual progress of the project in relation to the planned progress. It is a useful tool for both project managers and stakeholders to understand the status of the project and plan for future actions.
Table of Contents
Timeline Templates
Timeline templates are valuable tools used to visually represent and organize chronological events or processes in a clear and structured manner. They provide a comprehensive overview of a sequence of events, enabling users to understand the progression, durations, and relationships between different milestones or activities. Whether it’s for personal, educational, or professional purposes, timeline templates offer a convenient way to present information in a visually engaging and easily comprehensible format.
One of the primary advantages of using timeline templates is their ability to simplify complex information. By condensing a series of events into a single, linear display, timelines make it easier to grasp the overall picture and identify key dates, durations, or patterns. This visual representation enhances comprehension and aids in information retention, as it leverages the human brain’s natural inclination to process visual stimuli more efficiently than raw text or data.
Timeline templates come in various formats, allowing for customization based on the specific needs and preferences of the user. Common types of timeline templates include linear timelines, Gantt charts, chronologies, and project schedules. Each format has its own unique features and applications, but they all share the goal of presenting information in a sequential and time-oriented manner.
What is a timeline template?
![Free Printable Timeline Templates [Word, Excel] Historical 1 Timeline](https://www.typecalendar.com/wp-content/uploads/2023/04/Timeline.jpg 1024w, https://www.typecalendar.com/wp-content/uploads/2023/04/Timeline-300x225.jpg 300w, https://www.typecalendar.com/wp-content/uploads/2023/04/Timeline-768x576.jpg 768w)
A timeline template is a pre-designed document or file that can be used as a starting point for creating a timeline. It typically includes a basic layout, design elements, and a structure for organizing information. The template may also include sample text, data, and images to help guide users in creating their own timeline. Timelines can be created using a variety of software or online tools, such as Microsoft Excel, PowerPoint, or Google Sheets, and each tool may have its own set of timeline templates.
Timeline templates can be customized to suit the specific needs of a project, such as adding or removing elements, and adjusting the design to match the project’s branding. Templates can be useful for creating professional looking timelines in a shorter amount of time. They can also serve as a guide for creating timelines, even for those who are not familiar with the software or tool being used.
Types of timeline templates
There are several types of timeline templates, including:
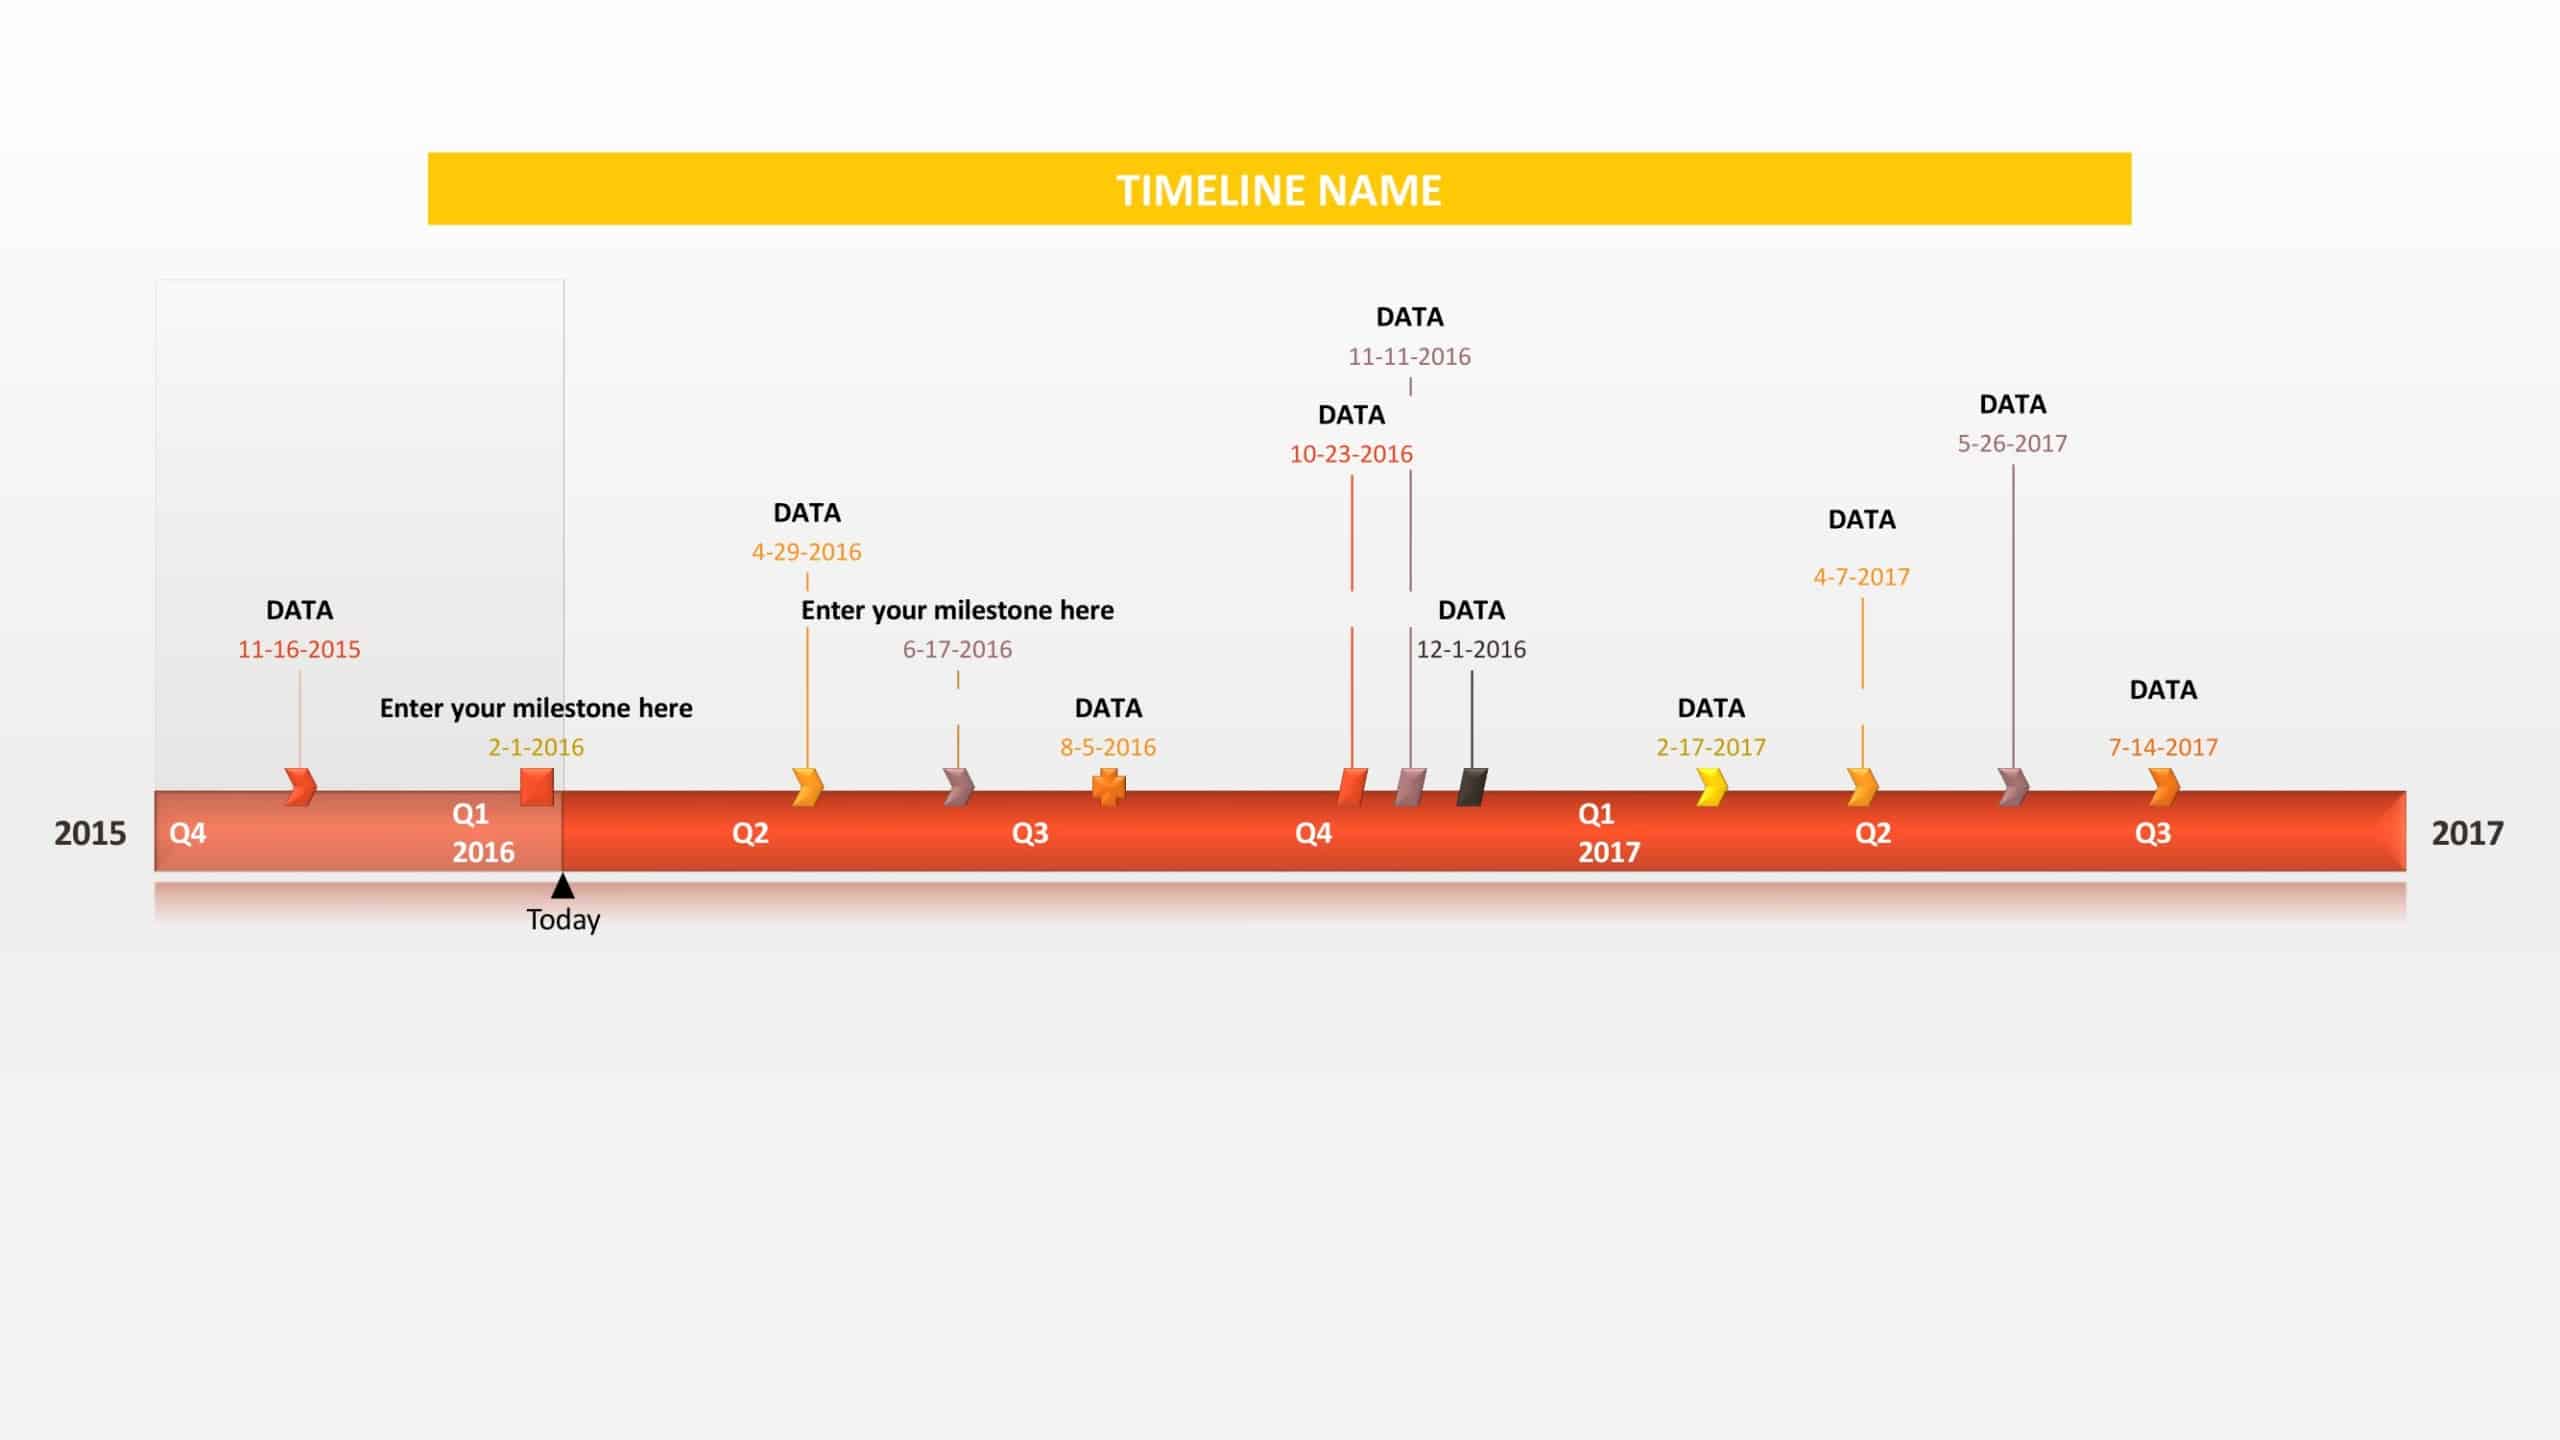
Linear Timeline Templates: These templates are designed to show a chronological sequence of events or milestones. They typically include a horizontal or vertical layout, with each event or milestone represented by a labeled marker or dot along the line.
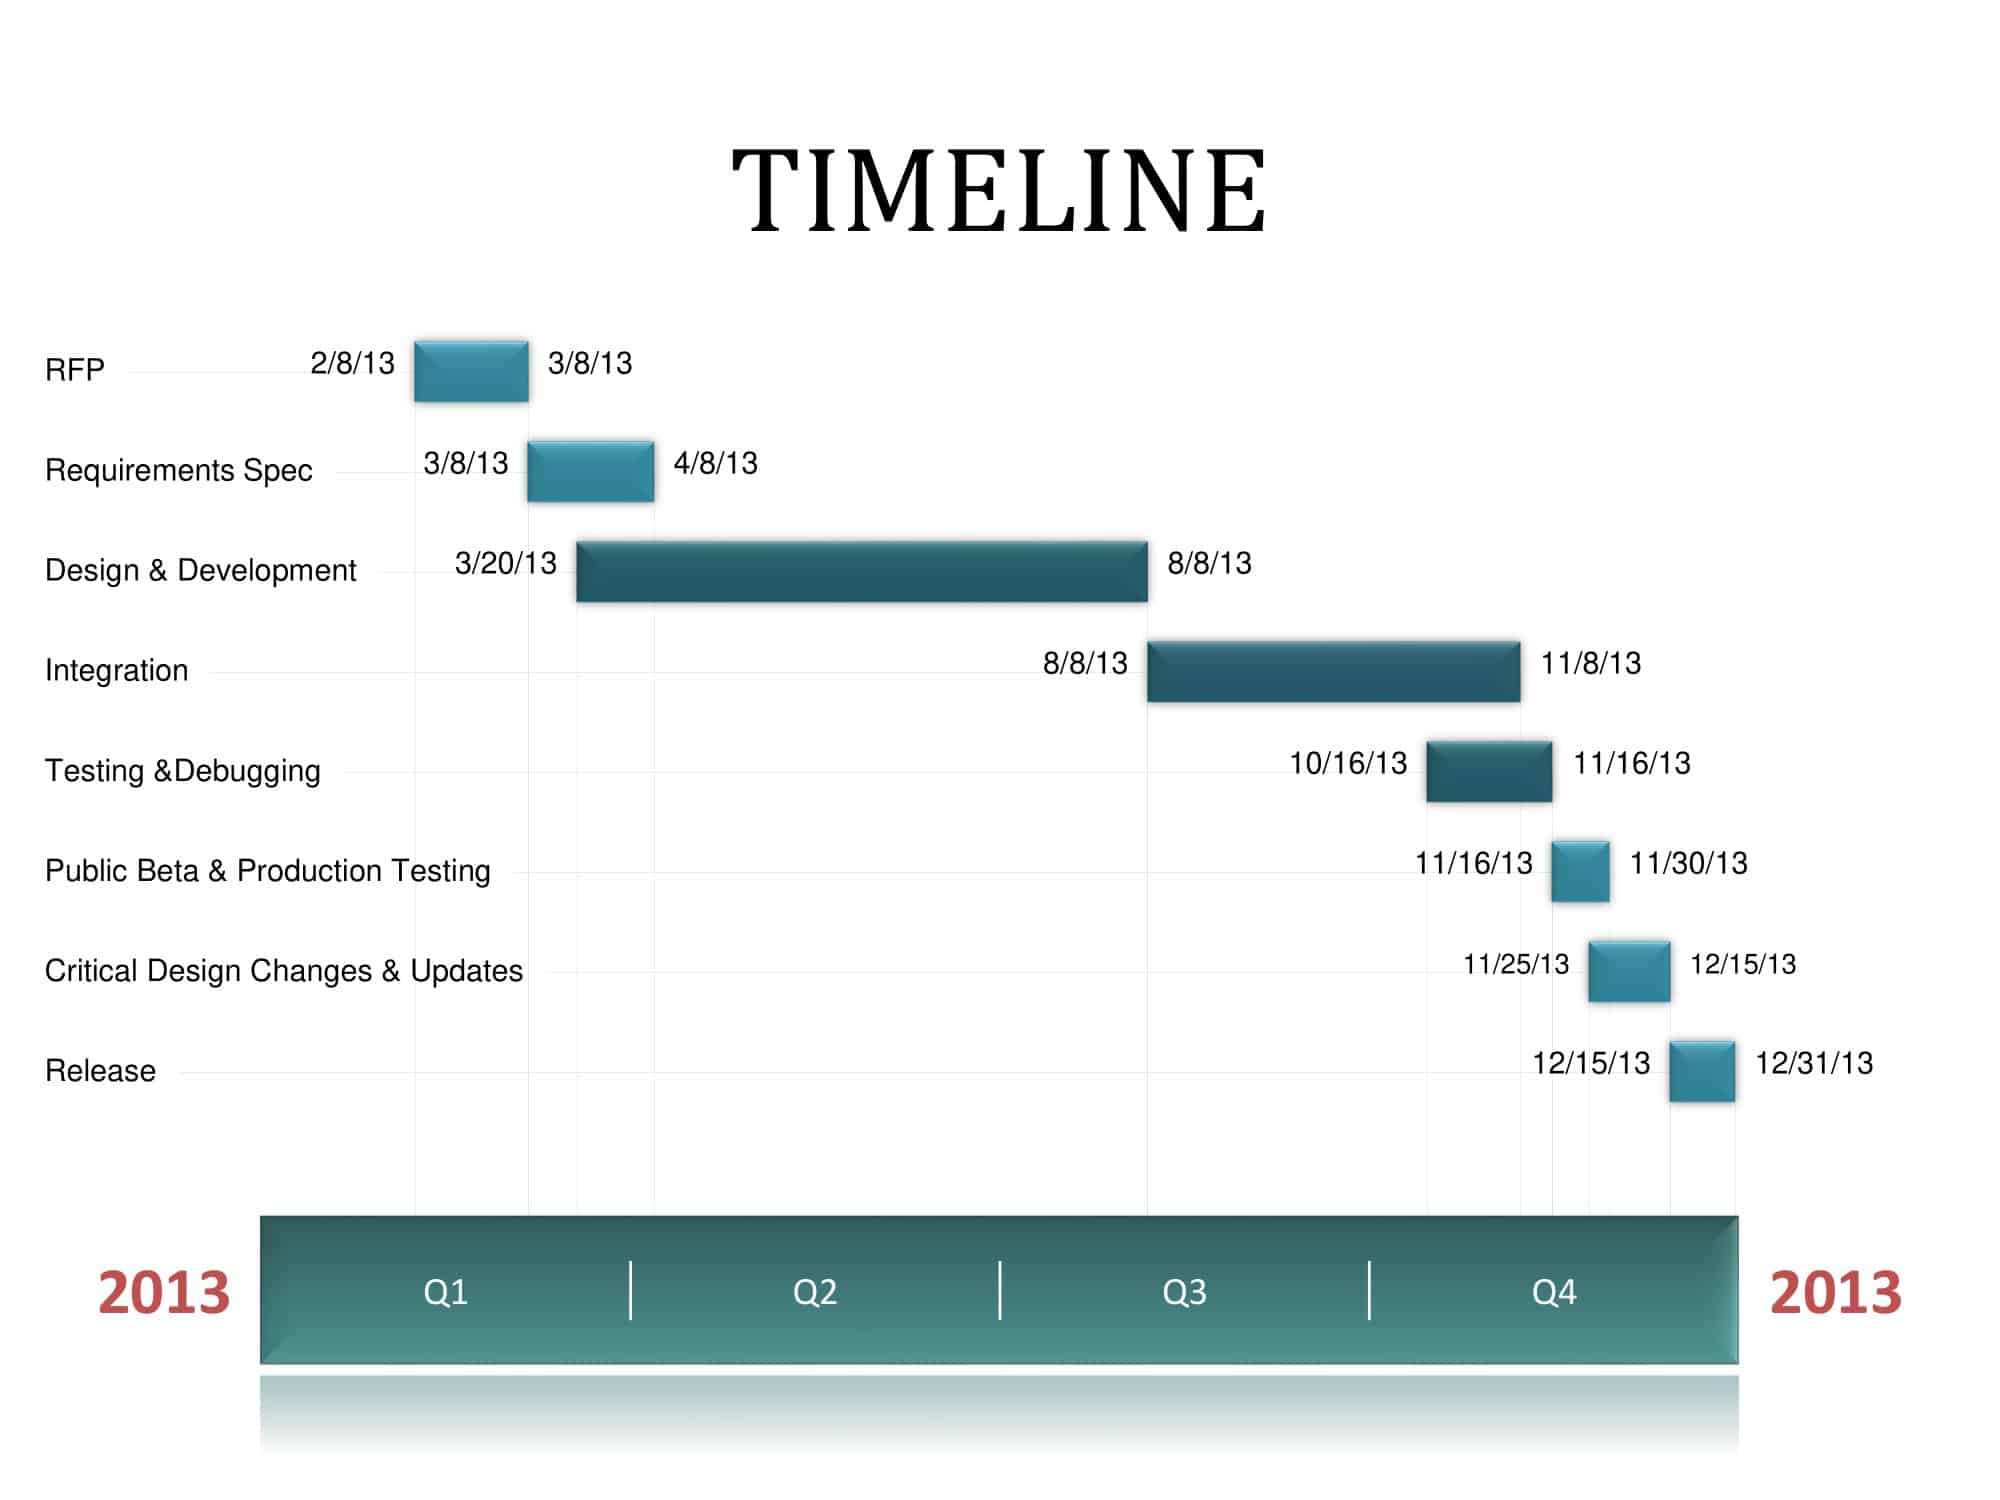
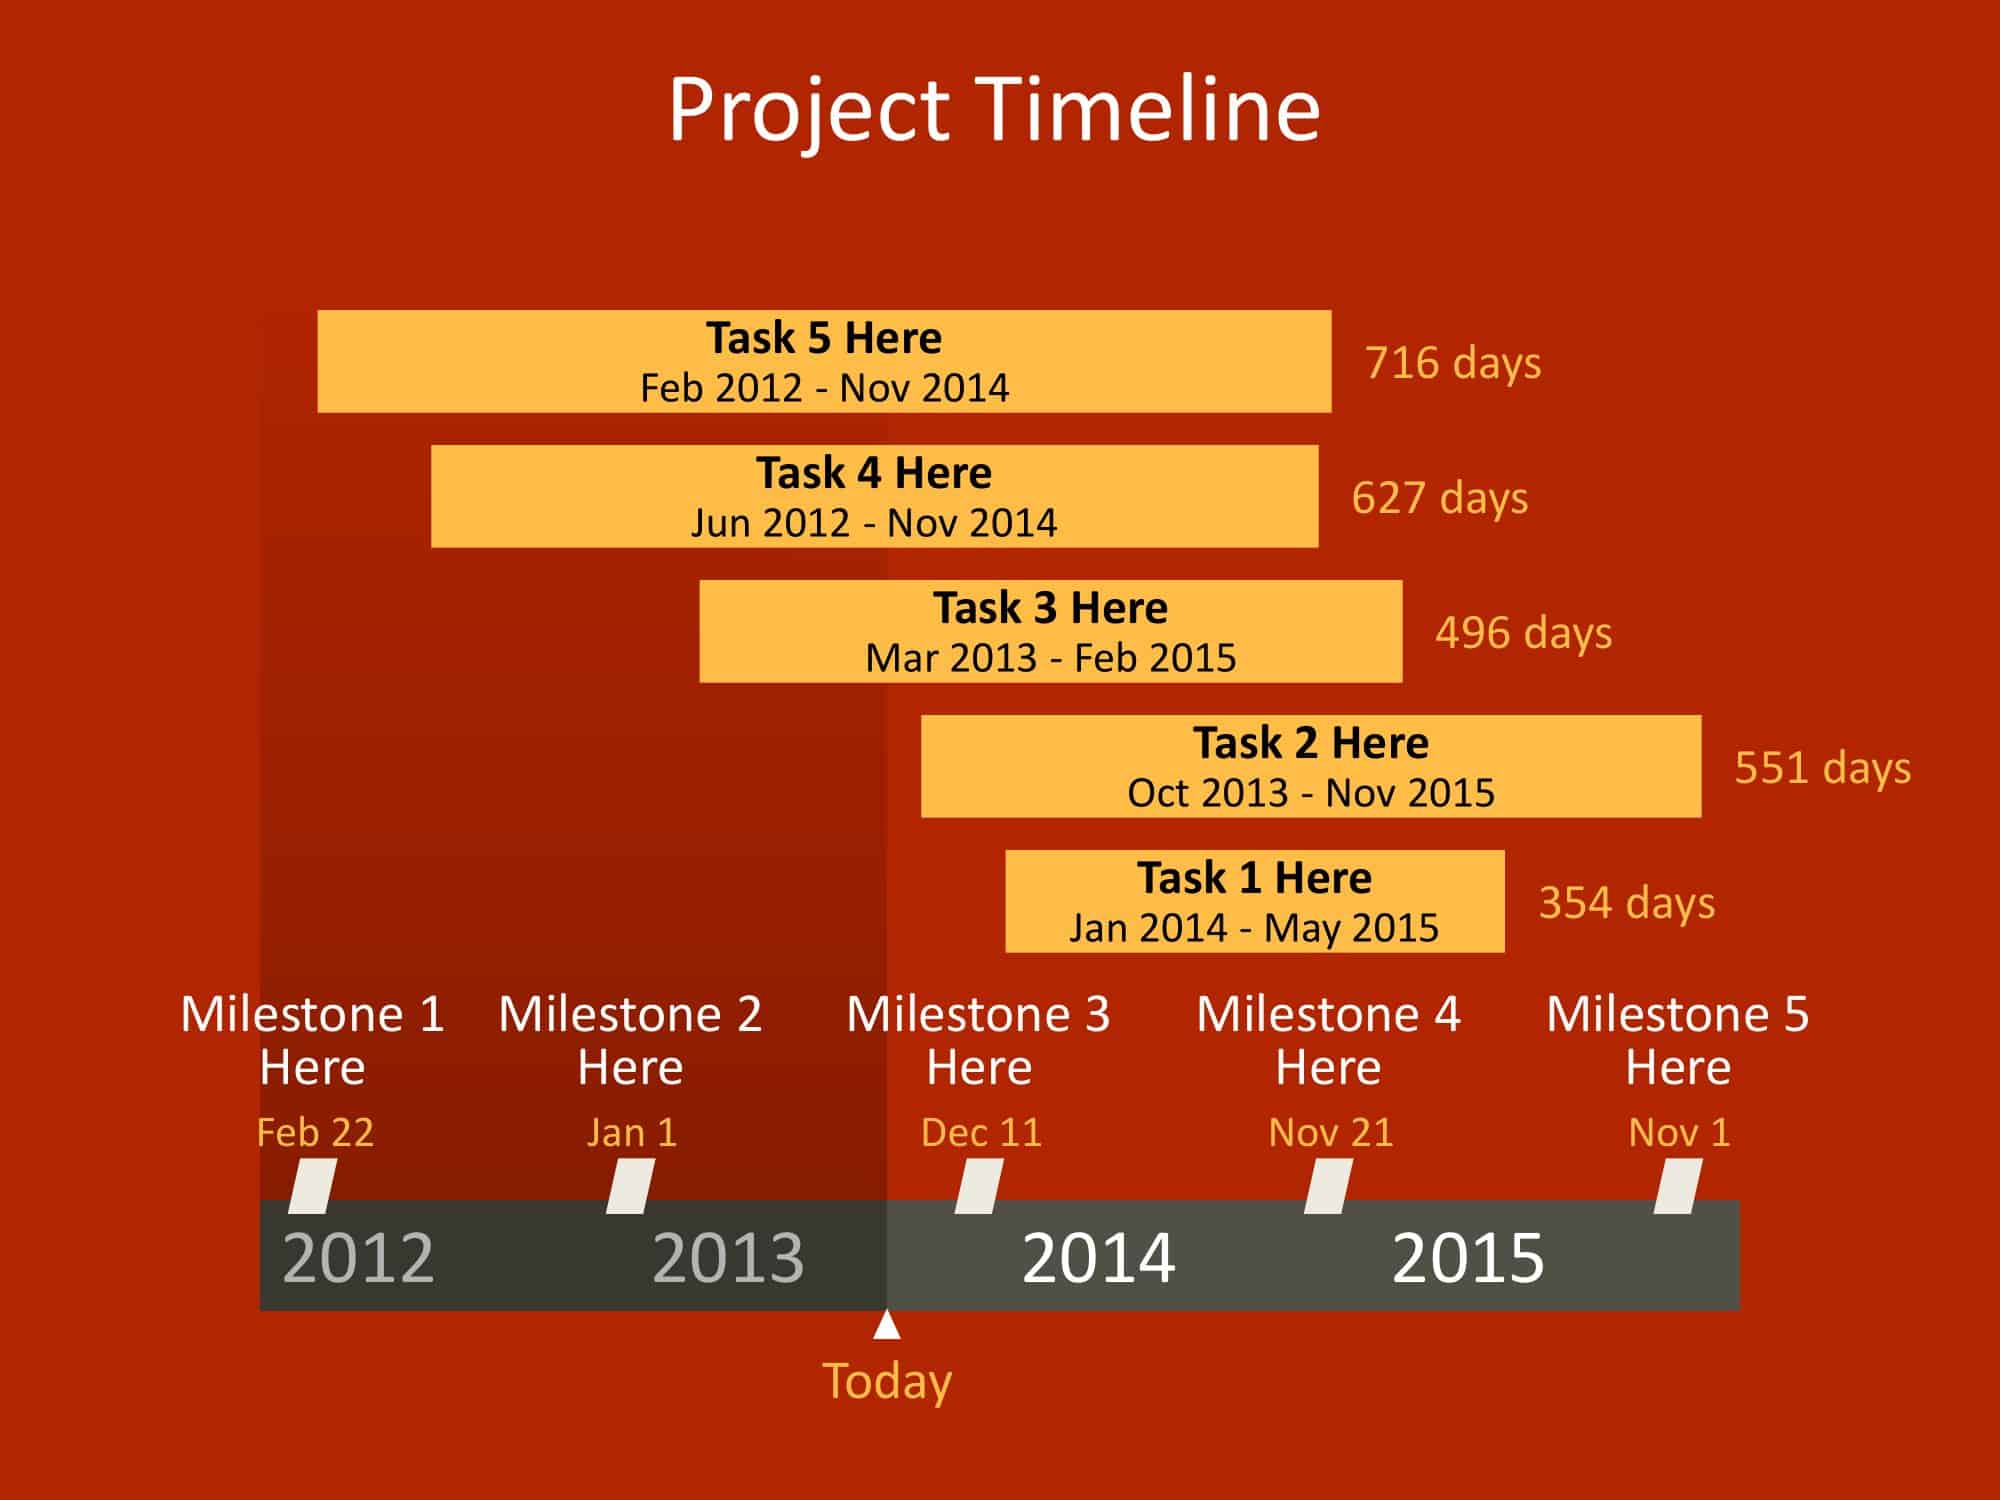
Gantt Chart Templates: These templates are commonly used in project management to show the start and end dates of tasks or milestones, and the dependencies between them. They typically include a horizontal bar chart layout, with each task or milestone represented by a labeled bar.
Interactive Timeline Templates: These templates are designed to be interactive and allow users to click or hover over events or milestones to view additional information. They can be used in digital format, such as on a website or in a presentation.
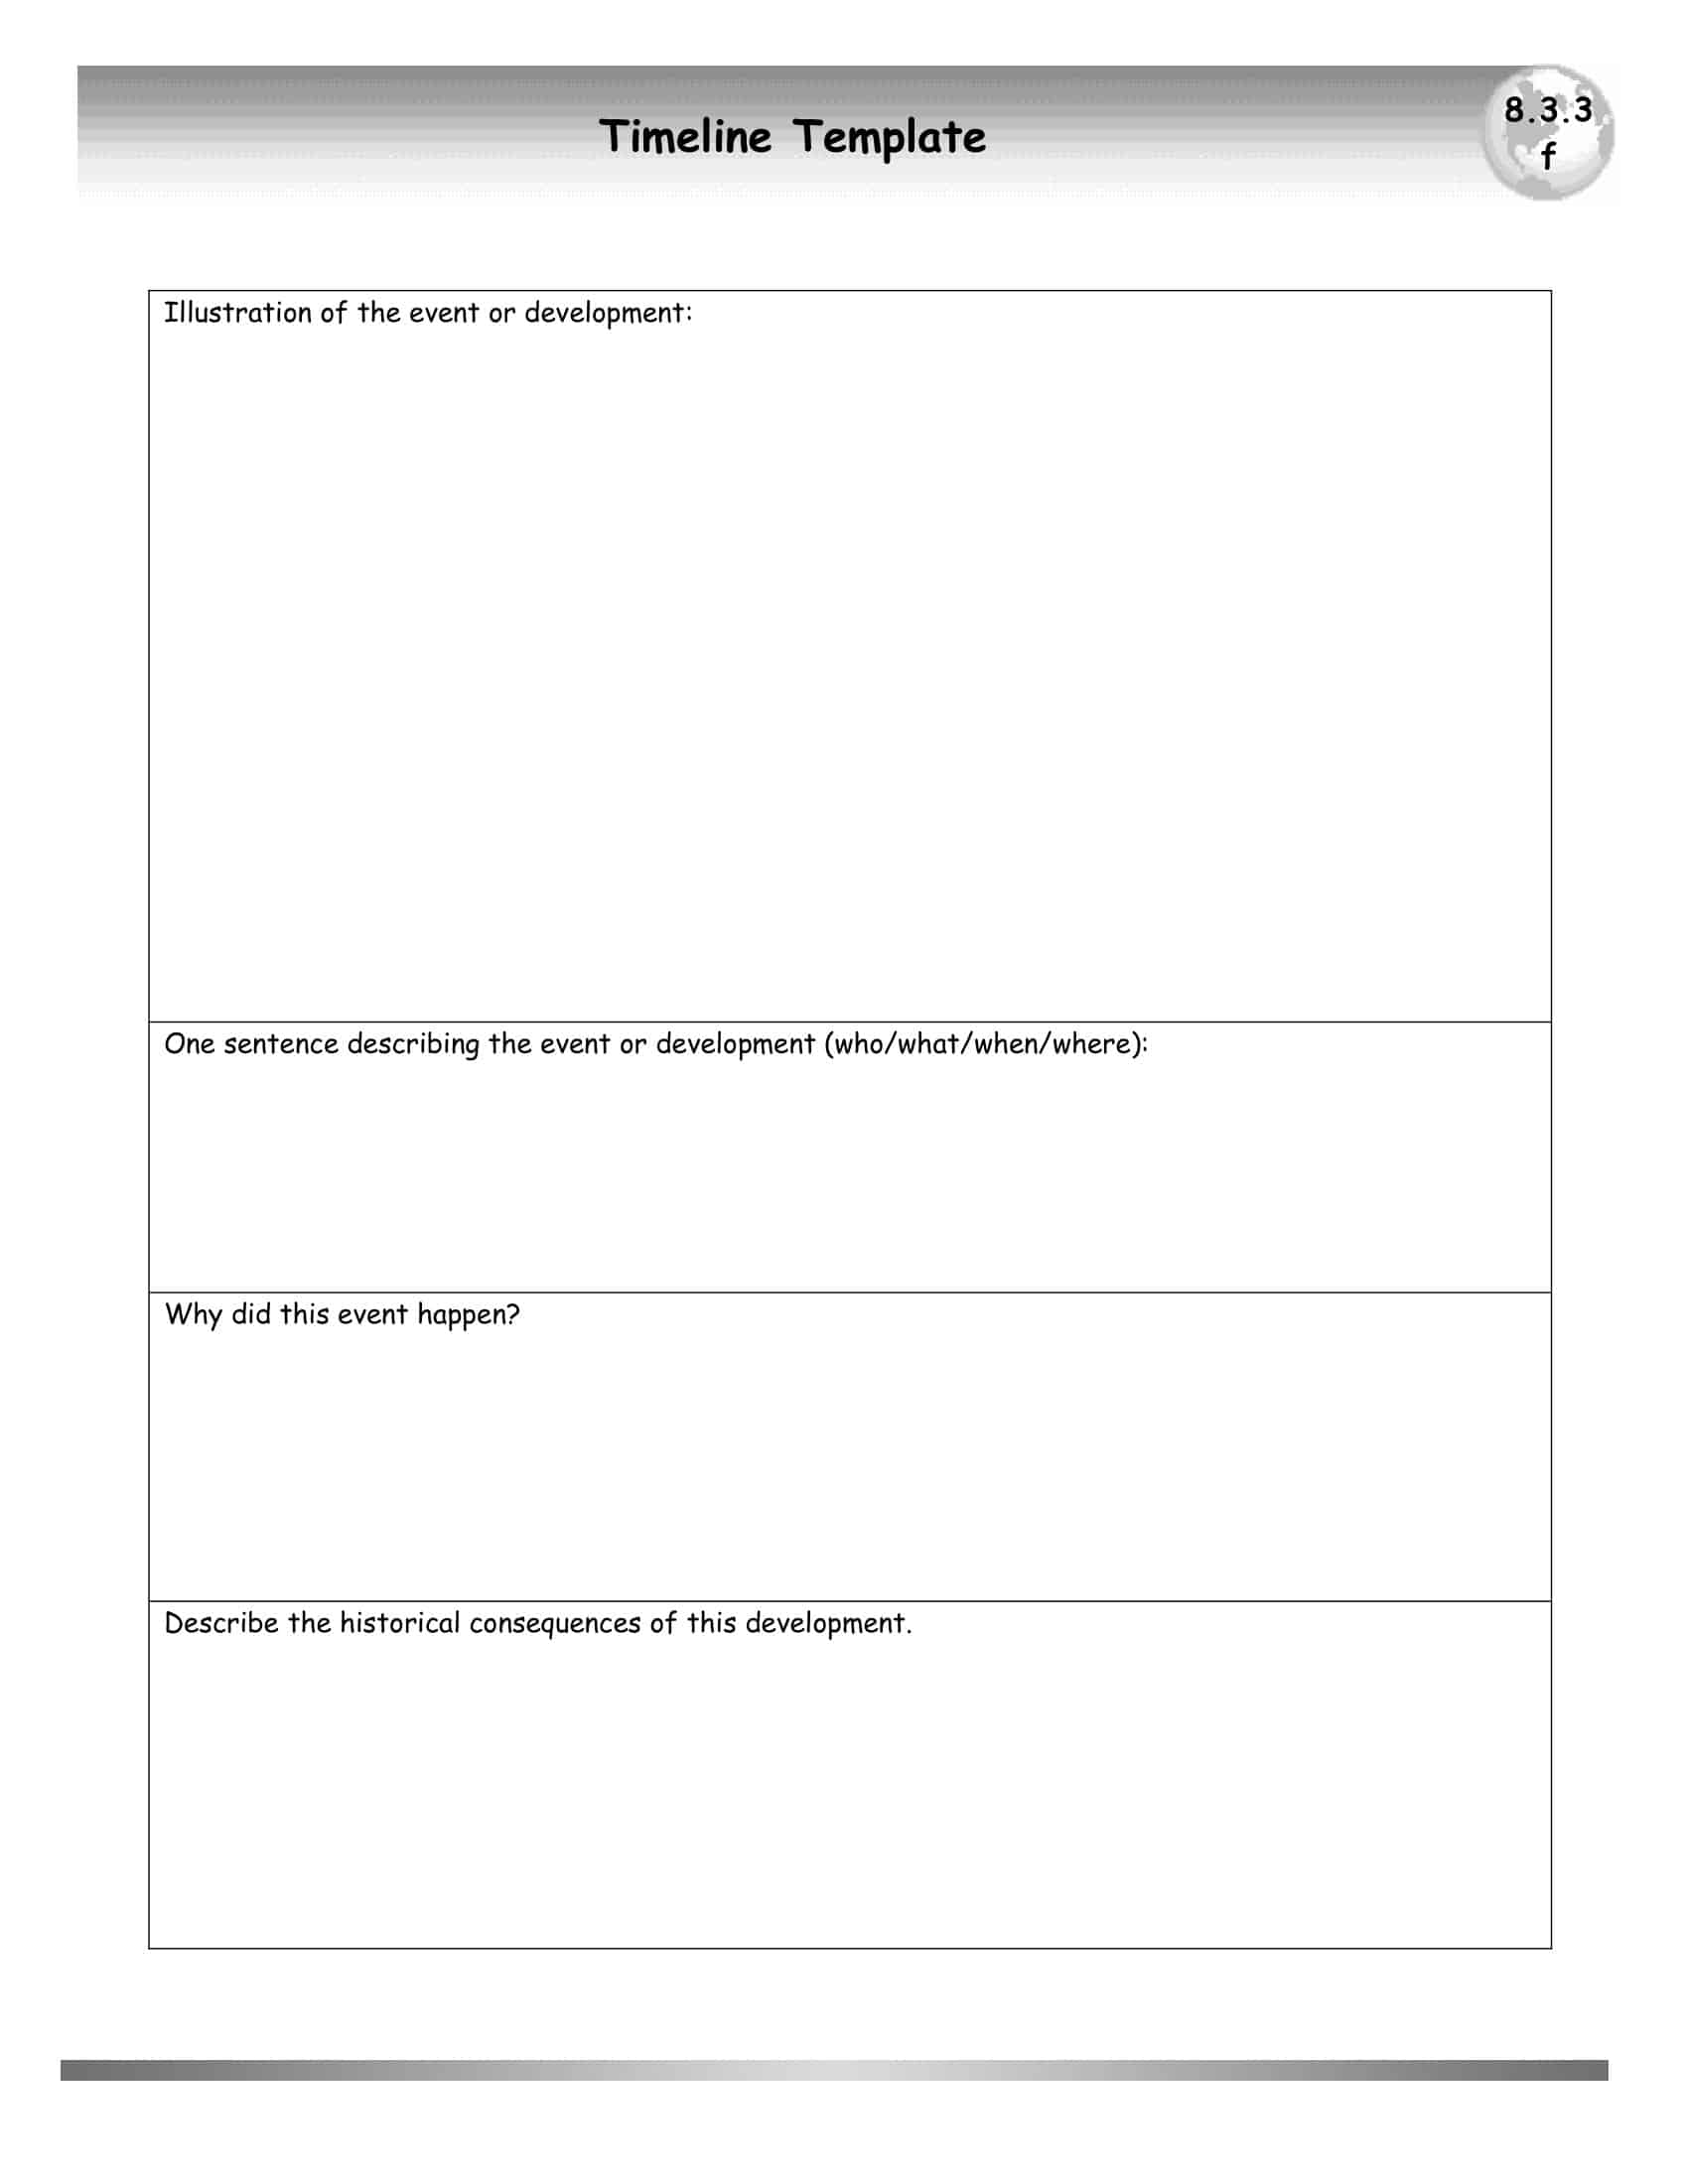
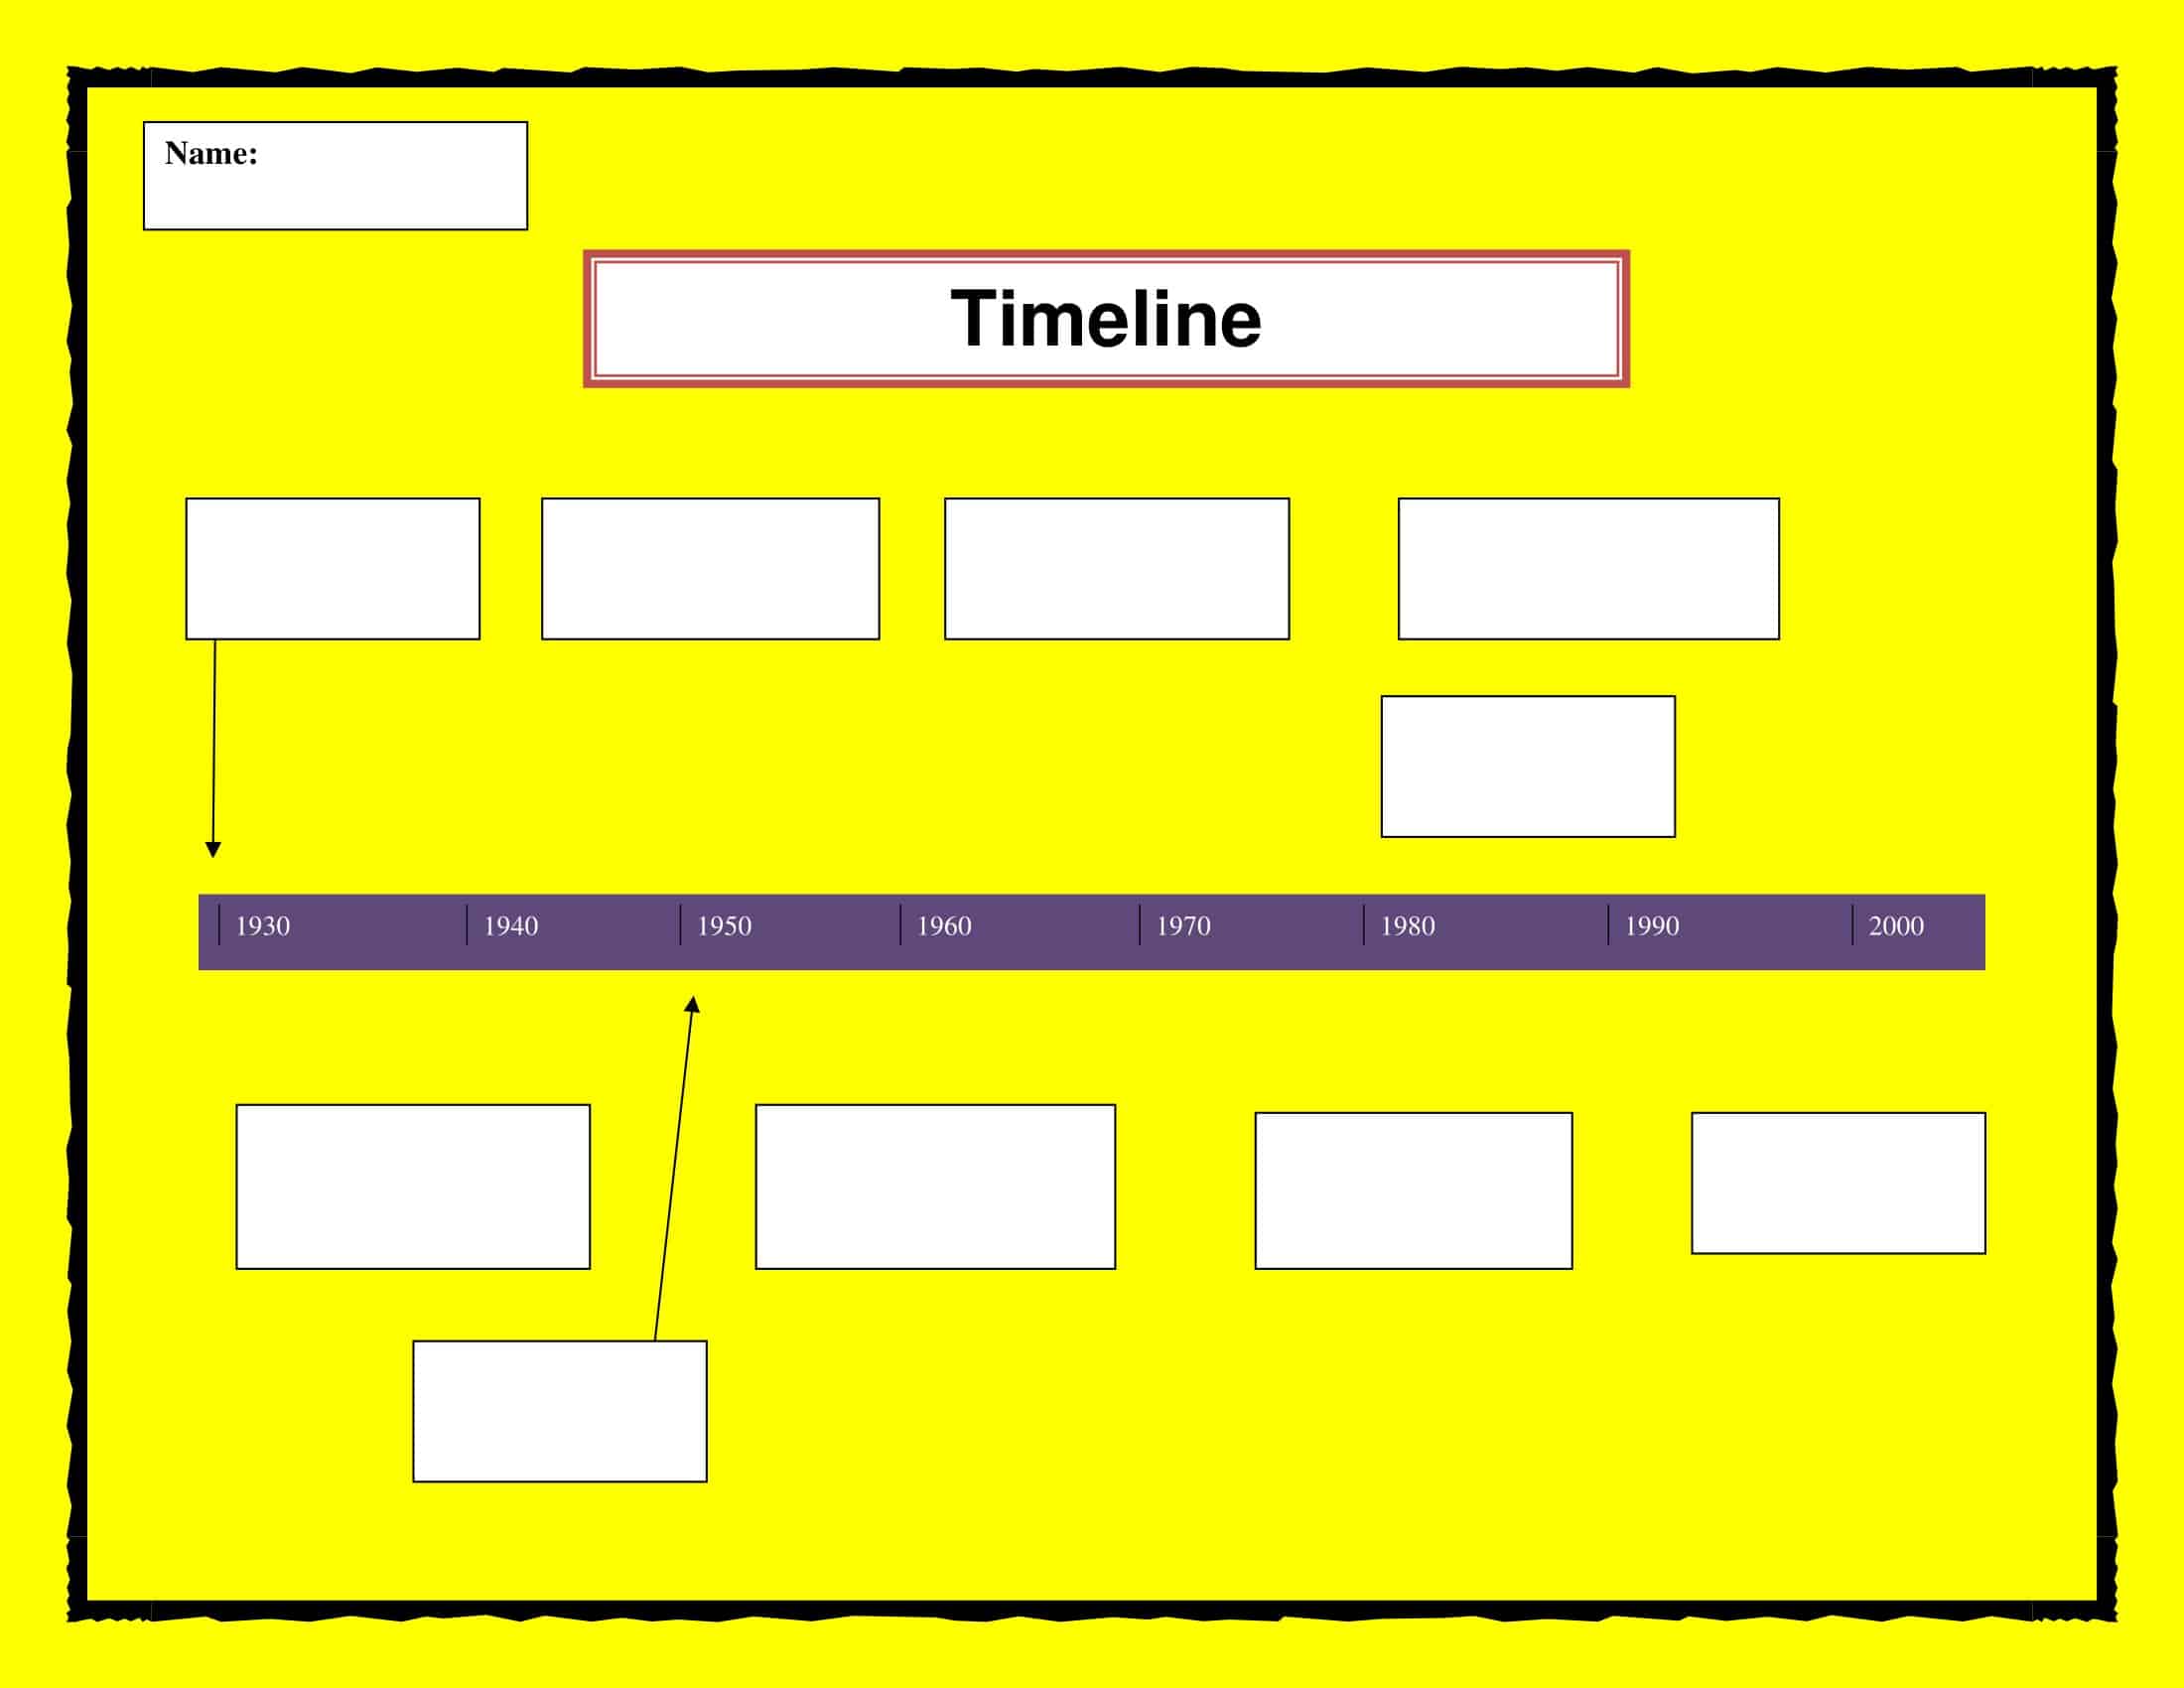
Historical Timeline Templates: These templates are designed to show a chronological sequence of historical events, often used in education and research, they can be linear or interactive and include images, videos and texts.
Personal Timeline Templates: These templates are designed to show the personal events in someone’s life, such as their education, work experience, or personal milestones. They can be useful for creating a personal resume or portfolio.
Graphic Timeline Templates: These templates are designed to be visual and eye-catching, they can include images, graphics, and different design elements to make the timeline more engaging. These templates are useful for presentations or marketing materials.
Excel Timeline Templates: These templates are designed to be used in Microsoft Excel and can be used for tracking project timelines, creating Gantt charts and scheduling tasks.
PowerPoint Timeline Templates: These templates are designed to be used in Microsoft PowerPoint and can be used for creating visual timelines for presentations and reports.
Who should use timeline templates?
Timeline templates can be used by a wide range of individuals and organizations, including:
Project Managers: Timeline templates can be used by project managers to create project timelines, track progress, and plan for future tasks and milestones.
Business Owners: Timeline templates can be used by business owners to track the progress of their business, such as sales, marketing, and product development.
Students and Educators: Timeline templates can be used by students and educators to create timelines for research projects, history projects and other school assignments.
Event Planners: Timeline templates can be used by event planners to organize and plan events such as weddings, conferences, and trade shows.
Researchers: Timeline templates can be used by researchers to organize and present historical data, scientific experiments and other types of research projects.
Marketers: Timeline templates can be used by marketers to create visual timelines of their campaigns, product launches or company milestones.
Freelancers and Consultants: Timeline templates can be used by freelancers and consultants to create timelines for their projects and to present their work to clients.
Individuals: Timeline templates can be used by individuals to create personal timelines, such as a resume or portfolio.
How to Create a Timeline
Creating a timeline is an effective way to visualize the progress and milestones of a project. Here is a step-by-step guide on how to create a timeline:
Step 1: Define the Purpose and Scope of the Timeline
Before you begin creating the timeline, it’s important to understand the purpose and scope of the timeline. Identify the specific information you need to include in the timeline, and the overall goal of the timeline. For example, if you are creating a timeline for a project, you may want to include important milestones, deadlines, and progress updates. If you are creating a timeline for a historical event, you may want to include important dates and events in chronological order.
Step 2: Gather Information and Data
Collect all the information and data that will be included in the timeline. This may include dates, events, milestones, and any other relevant information. It’s important to ensure that the information is accurate and up to date.
Step 3: Choose a Format and Design
Select a format and design for the timeline that best suits the purpose and scope of the timeline. There are several types of timelines, such as linear, Gantt chart, and interactive timelines. Each type has its own advantages and disadvantages, so choose the one that best fits your needs.
Step 4: Create the Timeline
Create the timeline using the chosen format and design. This can be done using a variety of software or online tools, such as Microsoft Excel, PowerPoint, or Google Sheets. Many of these tools have built-in timeline templates that can be used as a starting point. If you’re using a linear timeline template, you’ll need to input the information and dates you collected in step 2, and label each event or milestone. For a Gantt chart, you’ll need to input the start and end dates for each task or milestone and create dependencies between them. If you’re creating an interactive timeline, you’ll need to incorporate interactive elements such as hover-over text or clickable links.
Step 5: Add Visual Elements
Add visual elements to the timeline to make it more engaging and easy to understand. This can include images, graphics, and other design elements that help to convey the information more effectively.
Step 6: Review and Test
Review the timeline to ensure that all the information is accurate and that the timeline is easy to understand. Test the timeline with a few people to gather feedback and make any necessary revisions.
Step 7: Share and Update
Once the timeline is complete, share it with the relevant stakeholders and make sure that it is accessible to everyone who needs it. Update the timeline regularly to reflect any changes or progress made on the project or event.
How to Make a Timeline in Word
Creating a timeline template in Microsoft Word is a simple process that can be done using the built-in tools and features of the software. Here is a step-by-step guide on how to create a timeline template in Microsoft Word:
Step 1: Open Microsoft Word and create a new document.
Step 2: Choose a layout for the timeline. You can use the built-in table feature to create a linear timeline, or you can create a Gantt chart using the SmartArt feature.
Step 3: To create a linear timeline using the table feature, go to the Insert tab and select Table. Choose the number of rows and columns that you need for your timeline. You can then enter the information for each event or milestone in the appropriate cells.
Step 4: To create a Gantt chart using the SmartArt feature, go to the Insert tab, and select SmartArt. Choose the Gantt chart option from the Process category. You can then enter the information for each task or milestone in the appropriate boxes.
Step 5: Format the timeline to match your desired design. You can change the color, font, and other design elements using the Home tab.
Step 6: Add visual elements to the timeline, such as images or graphics, using the Insert tab.
Step 7: Review the timeline to ensure that all the information is accurate and that the timeline is easy to understand. Make any necessary revisions and adjustments.
Step 8: Once the timeline is complete, save it as a template by going to File > Save As, and selecting “Word Template” from the Save as type drop-down menu. Give it a name and save it in a location where it can be easily accessed.
Step 9: To use the template, open a new document in Microsoft Word, go to File > New, and select the template from the list of available templates. The template will open with all the pre-formatted elements, ready to be filled in with your specific information.
Step 10: Customize the template to your specific needs by adding or removing elements, adjusting the design, and inserting your own information.
Step 11: Once you have finished customizing the template, save the document as a new file.
It’s important to note that Microsoft Word also offers a variety of pre-built timeline templates, which can be accessed by going to File > New and searching for “timeline” in the search bar. These templates can be used as a starting point and can be customized to fit the specific needs of your project.
How To Create A Project Timeline In Excel
Creating a project timeline in Excel is a simple process that can be done using the built-in tools and features of the software. Here is a step-by-step guide on how to create a project timeline in Excel:
Step 1: Open Microsoft Excel and create a new workbook.
Step 2: Create a table with the columns for the task name, start date, end date, and duration.
Step 3: Enter all the tasks, start dates, end dates, and durations for the project into the table.
Step 4: Create a Gantt chart using the data in the table. To do this, select the data in the table, go to the Insert tab, and select Gantt chart.
Step 5: Format the Gantt chart to match your desired design. You can change the color, font, and other design elements using the Home tab.
Step 6: Add any additional information or annotations to the Gantt chart, such as progress updates or milestones, using the Insert tab.
Step 7: Review the timeline to ensure that all the information is accurate and that the timeline is easy to understand. Make any necessary revisions and adjustments.
Step 8: Once the timeline is complete, save it as a template by going to File > Save As, and selecting “Excel Template” from the Save as type drop-down menu. Give it a name and save it in a location where it can be easily accessed.
Step 9: To use the template, open a new workbook in Excel, go to File > New, and select the template from the list of available templates. The template will open with all the pre-formatted elements, ready to be filled in with your specific information.
FAQs
Is there a timeline template on Word?
Yes, Word has multiple built-in timeline templates to provide an easy starting point. Go to File > New and search for “timeline” to find options like Basic Timeline, Colorful Timeline, Modern Timeline, and more. The templates have layouts, colors, fonts, and sample text.
Is there a timeline template in Google Docs?
Google Docs does not have downloadable timeline templates, but within Docs you can insert Timelines under Insert > Drawing. There are options for basic, colored, and decorative layouts to customize. You can also insert Timeline charts from Google Sheets.
What is the easiest way to create a timeline?
The easiest ways to make a timeline are using pre-made template in Word, Excel, PowerPoint or another program. Search for “timeline” and input your information into the template format. Online design apps like Canva also have templates with drag-and-drop creation. Templates have the layout done for you.
How do you create a timeline in Word?
In Word, use a SmartArt graphic timeline under Insert > SmartArt. Customize the layout and style. You can also insert horizontal/vertical lines and text boxes. Align items, format text, apply colors and fonts. Insert images. Use lines or shapes to connect events. Position items proportionately to represent time visually. Add a title and embellishments.








![Free Printable Credit Card Authorization Form Templates [PDF, Word, Excel] 2 Credit Card Authorization Form](https://www.typecalendar.com/wp-content/uploads/2023/06/Credit-Card-Authorization-Form-150x150.jpg)
![Free Printable Stock Ledger Templates [Excel,PDF, Word] 3 Stock Ledger](https://www.typecalendar.com/wp-content/uploads/2023/08/Stock-Ledger-150x150.jpg)
![Free Printable Financial Projections Templates [Excel, PDF] 4 Financial Projection](https://www.typecalendar.com/wp-content/uploads/2023/05/Financial-Projection-1-150x150.jpg)
