In the world of gift-giving, the presentation is just as important as the gift itself. That’s why having the perfect gift tag can add that extra touch of thoughtfulness and personalization to your presents. Whether it’s a birthday celebration, a wedding, Christmas, or a baby shower, having a beautifully designed gift tag can truly make your gift stand out. In this article, we will explore the importance of gift tags, the different types of gift tag templates available, how to create your own templates, and tips for writing on gift tags.
Table of Contents
What to Write on a Gift Tag

Gift tags serve more than just a decorative purpose. They play a crucial role in personalizing presents and conveying heartfelt messages. A well-designed gift tag can make any gift feel special and unique. It adds a personal touch to the gift, allowing the recipient to feel truly seen and appreciated. Gift tags also help to keep track of who the gift is for, especially during busy gift-giving occasions. They provide a clear indication of the giver’s thoughtful effort and make the recipient feel valued.
The Role of Gift Tags in Personalizing Presents
What is it that makes gift-giving such a memorable experience? It’s the joy of expressing love, appreciation, and thoughtfulness through a carefully selected present. A gift tag takes this concept a step further, allowing you to personalize the gift with your own unique touch. By adding the recipient’s name, a heartfelt message, or even a quote, you can create a personalized connection that goes beyond the gift itself.
How Gift Tags Enhance the Art of Gifting
The art of gifting is all about creating moments of joy and surprise. A beautifully designed gift tag acts as a visual cue, building anticipation and excitement as it adorns the gift. It adds that finishing touch that signifies a well-thought-out and heartfelt present. The receiver’s excitement builds as they unwrap the gift and notice the carefully chosen gift tag, instantly knowing that something truly special awaits them.
Furthermore, gift tags can also serve as a conversation starter. Imagine attending a party or gathering where everyone brings a gift. As the gifts are placed on a table, the variety of gift tags catch your eye. Each tag tells a story, reflecting the personality and relationship between the giver and the recipient. It sparks curiosity and creates an atmosphere of intrigue, as people gather around to admire the unique gift tags and share stories behind them.
Moreover, gift tags can be an opportunity for creativity and self-expression. Whether you choose to handcraft your own gift tags or opt for pre-designed ones, you have the freedom to showcase your artistic flair. From elegant calligraphy to whimsical illustrations, the possibilities are endless. By investing time and effort into creating a beautiful gift tag, you demonstrate to the recipient that they are worth the extra care and attention.
Gift Tag Templates
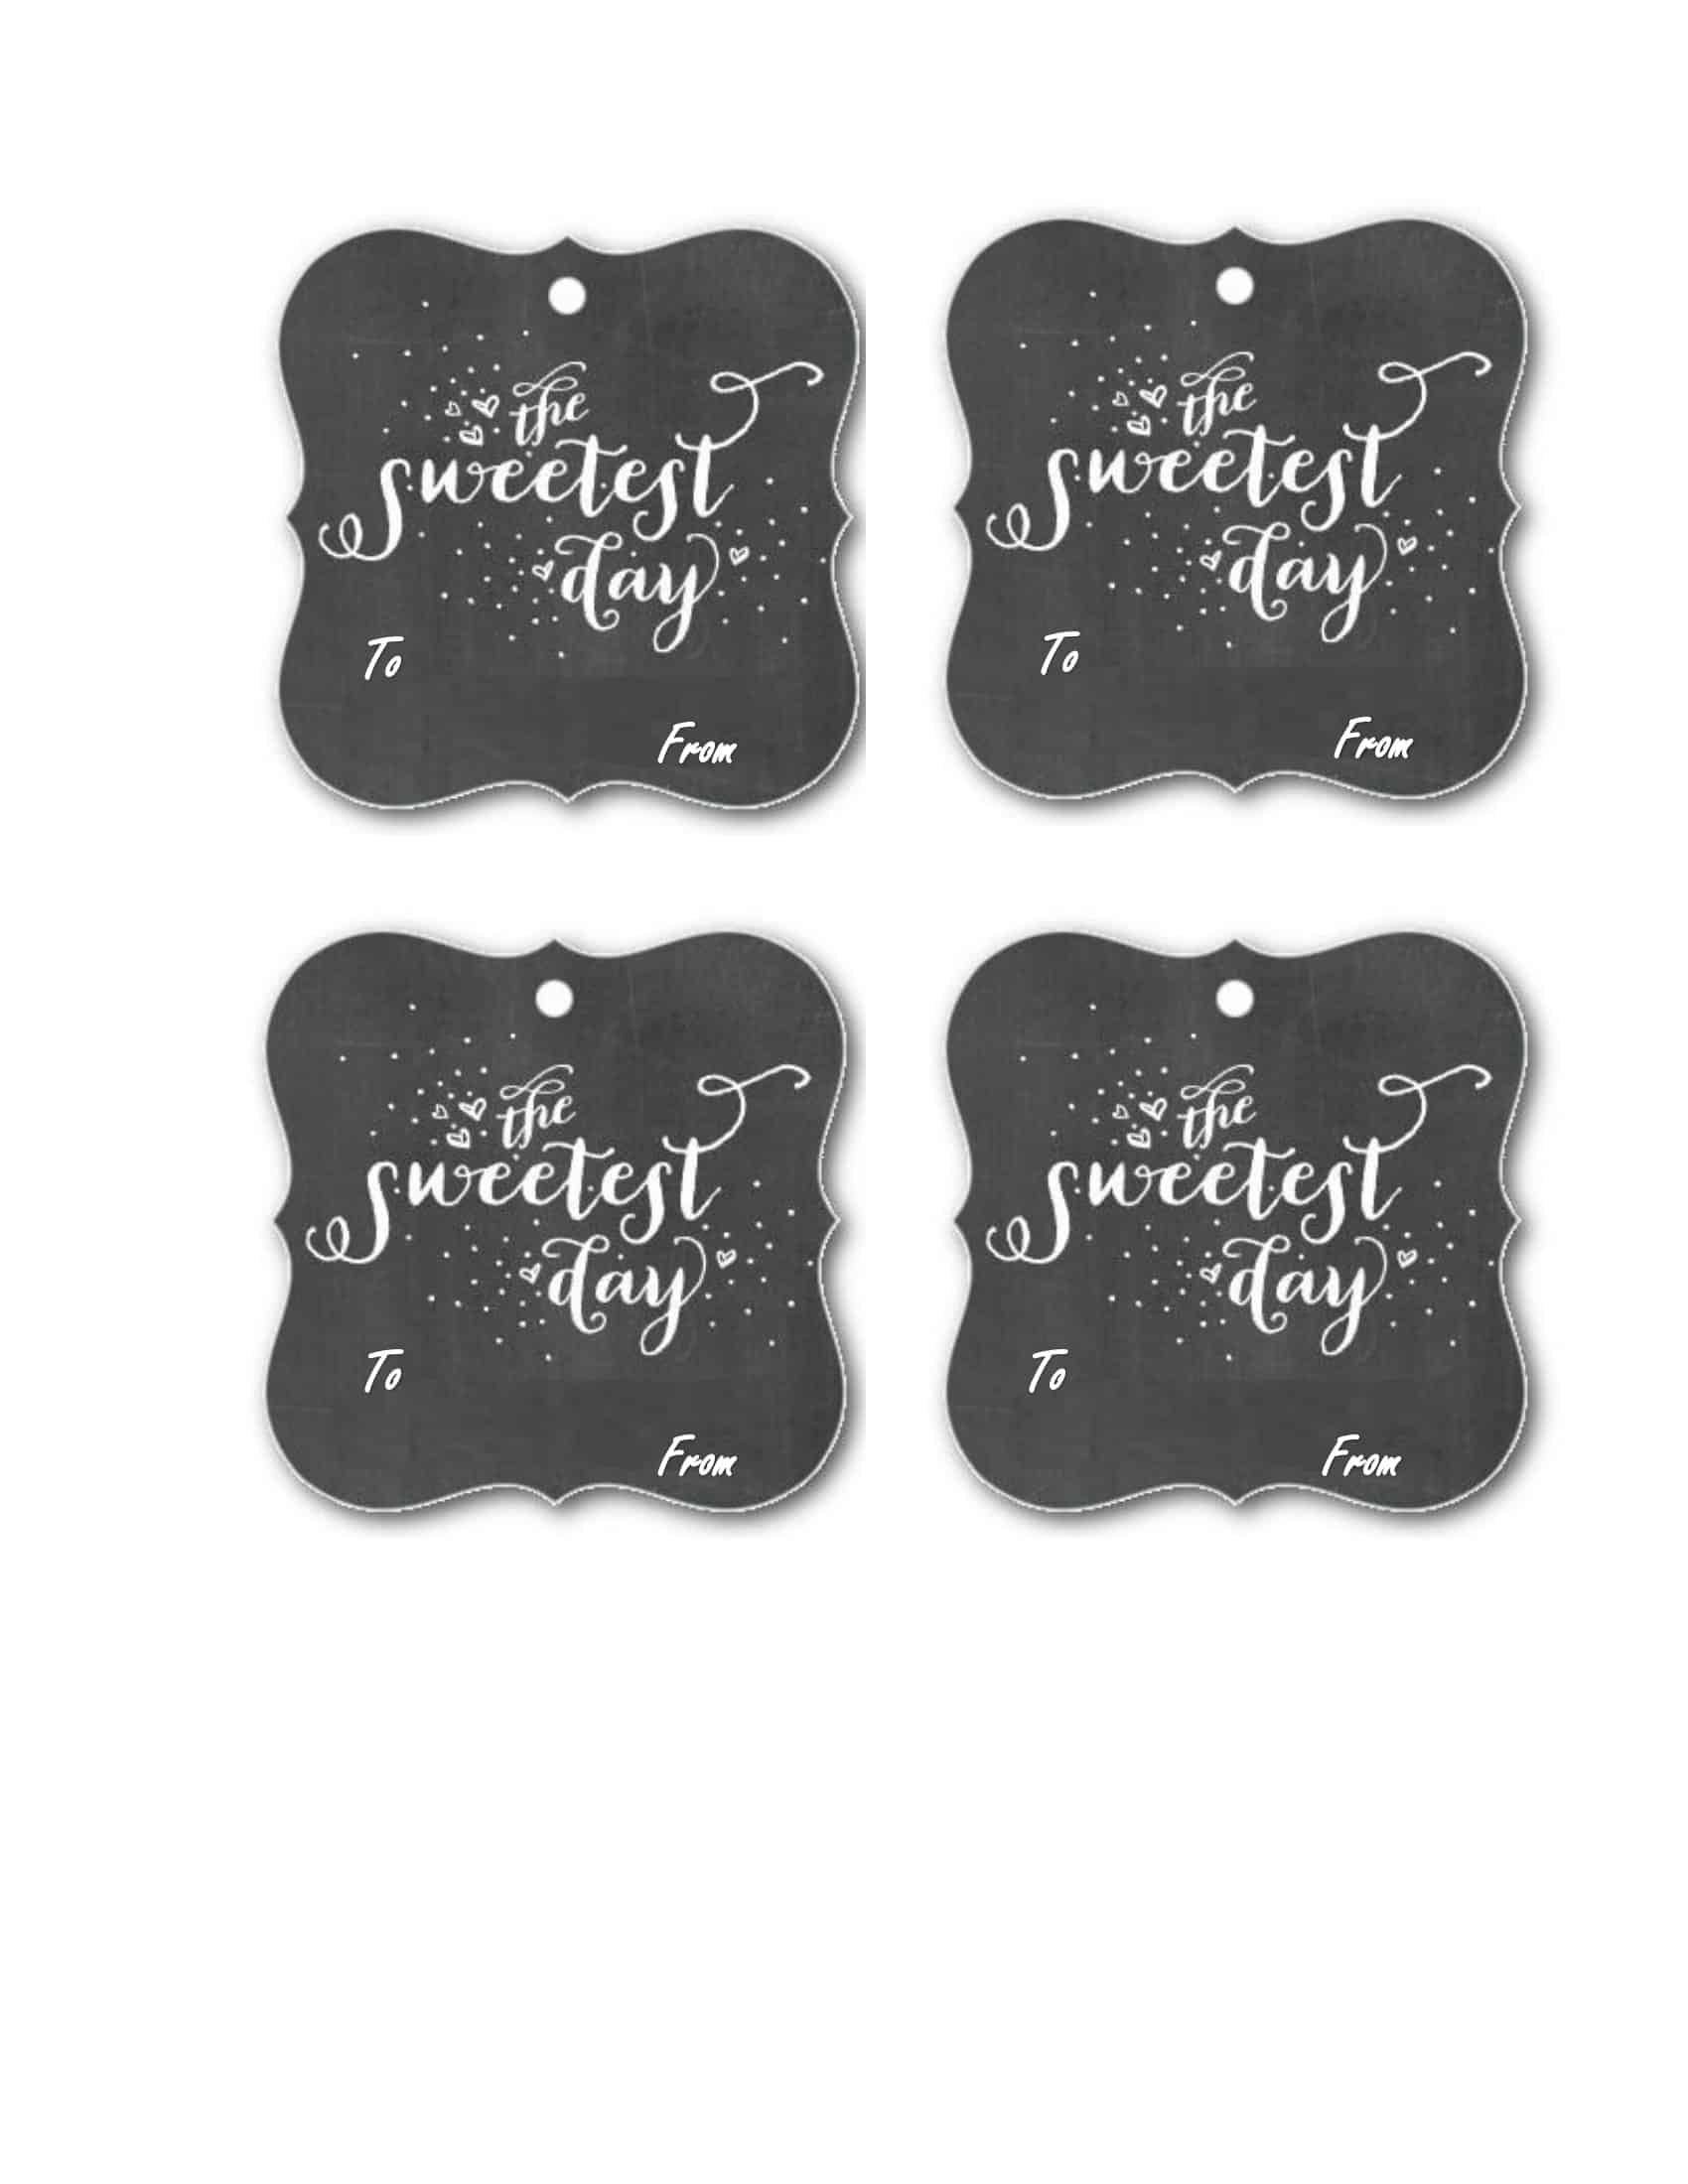
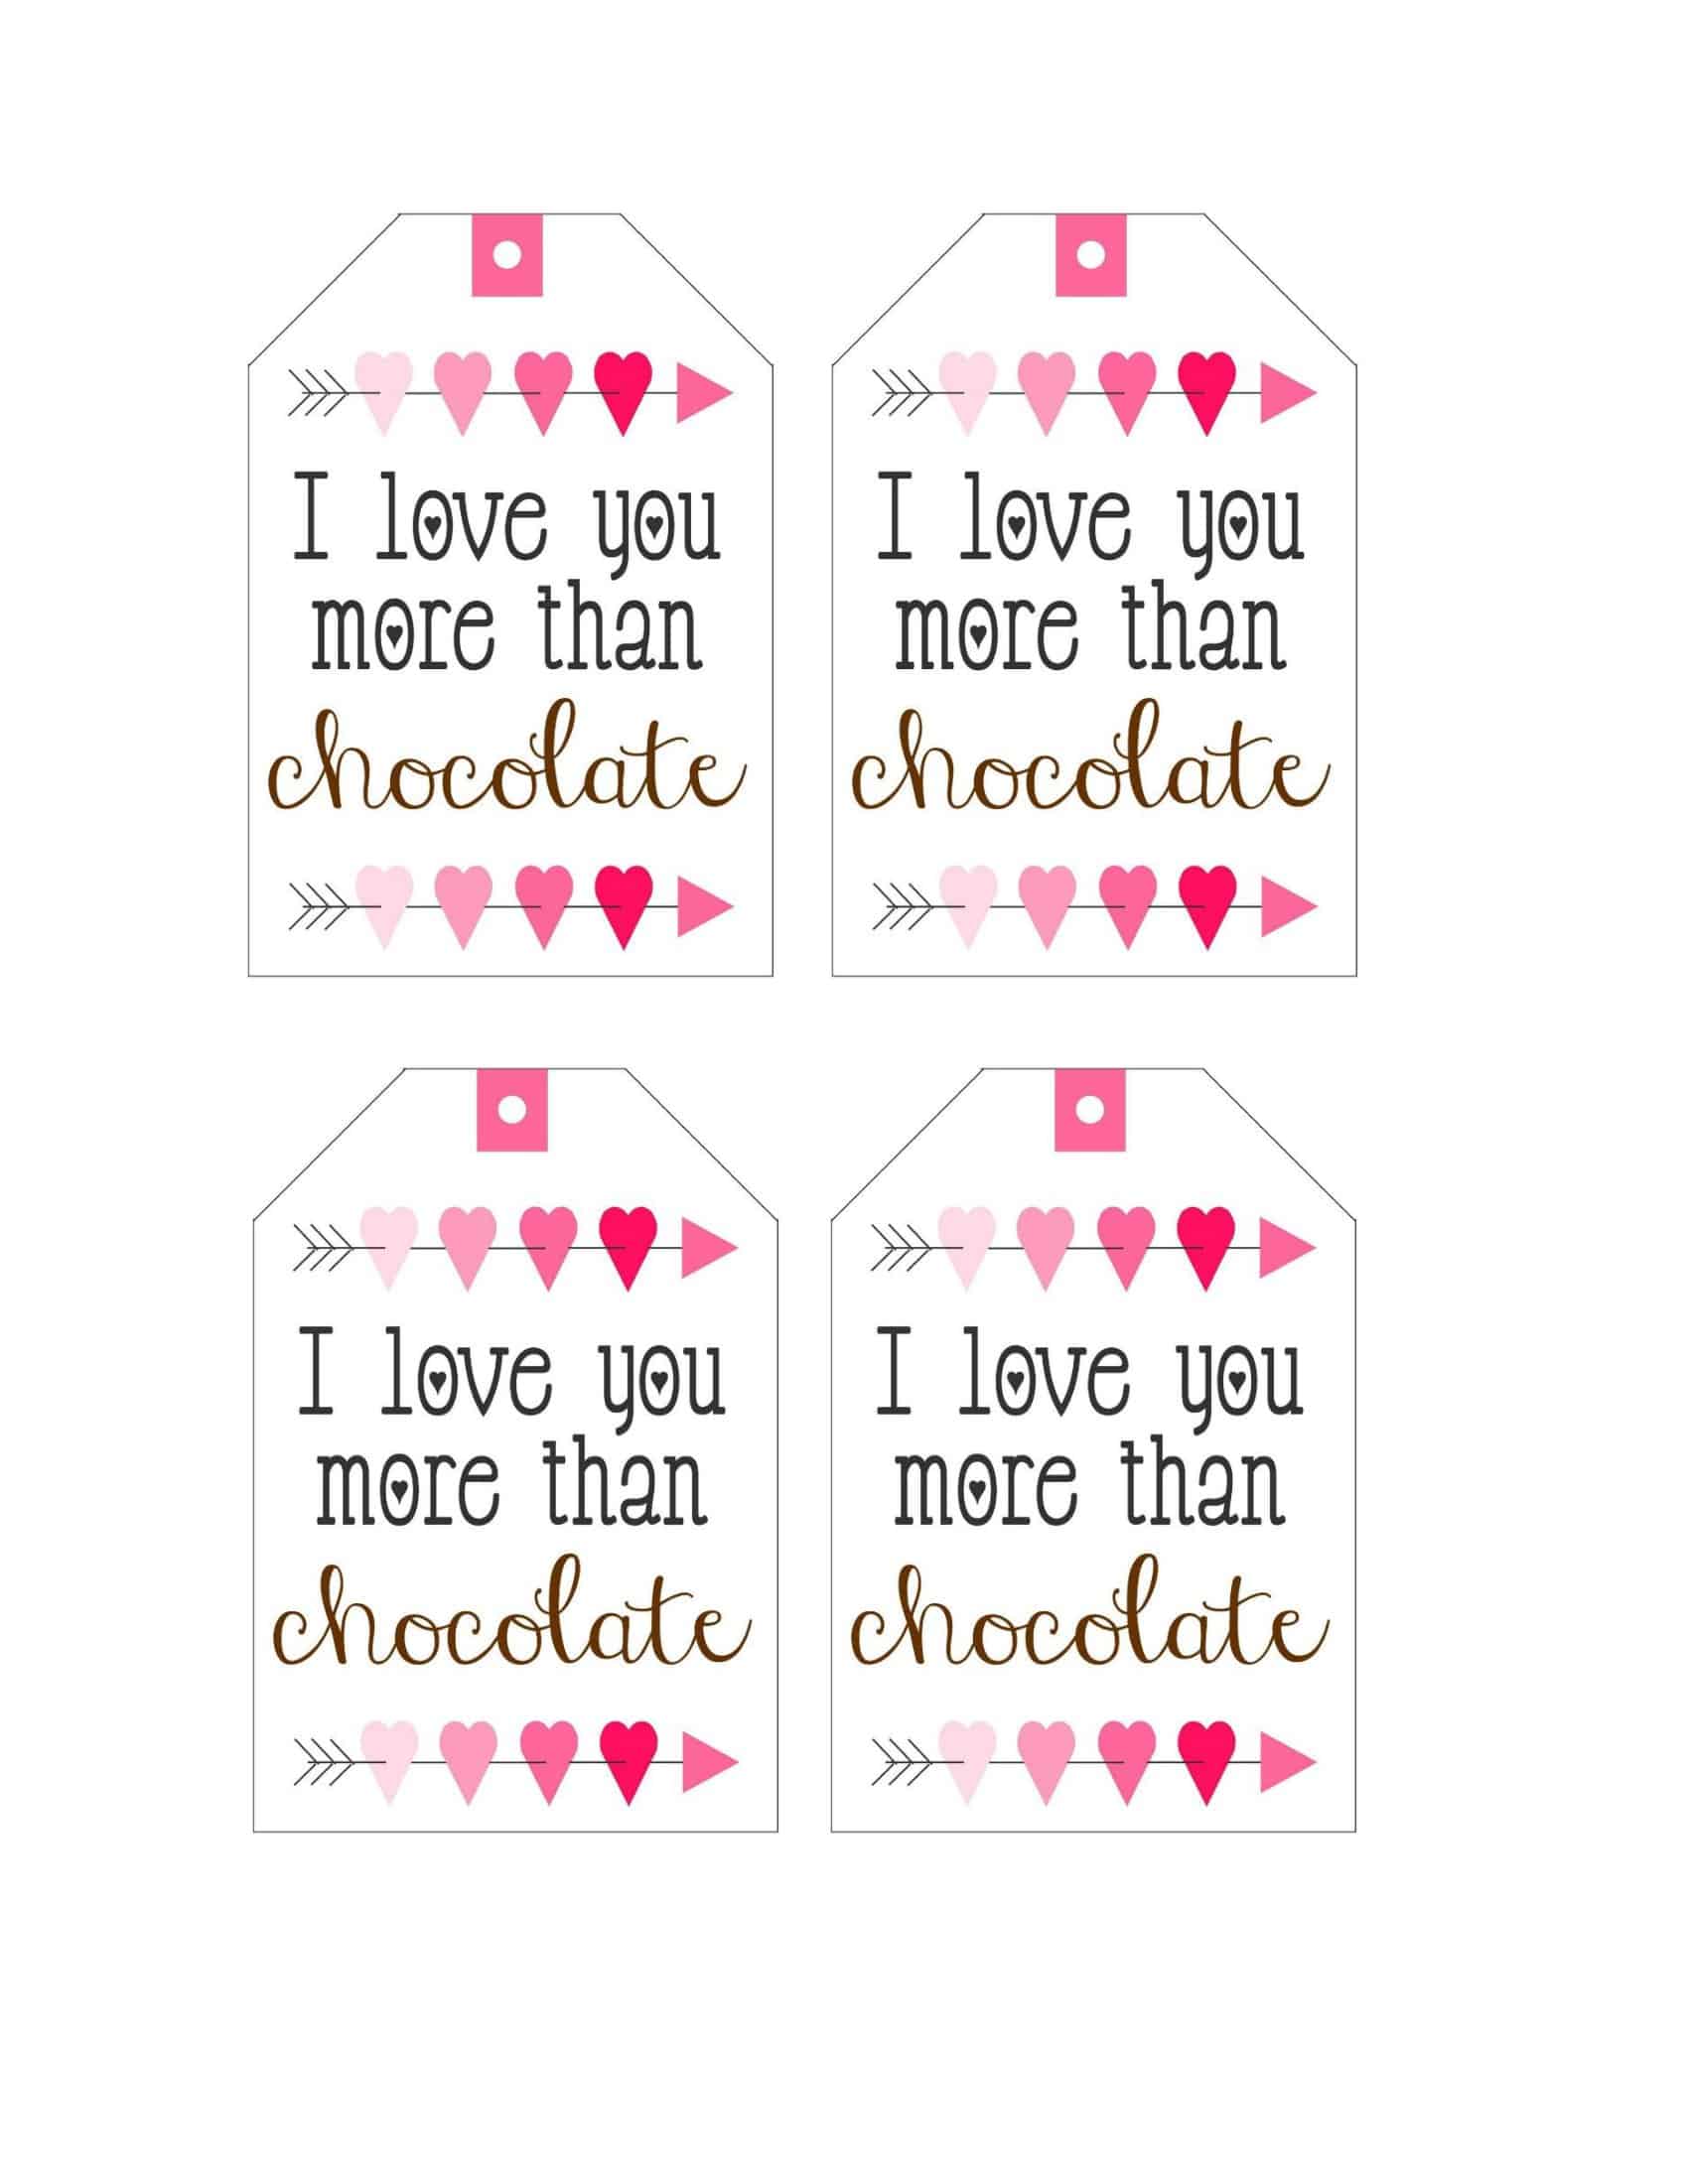
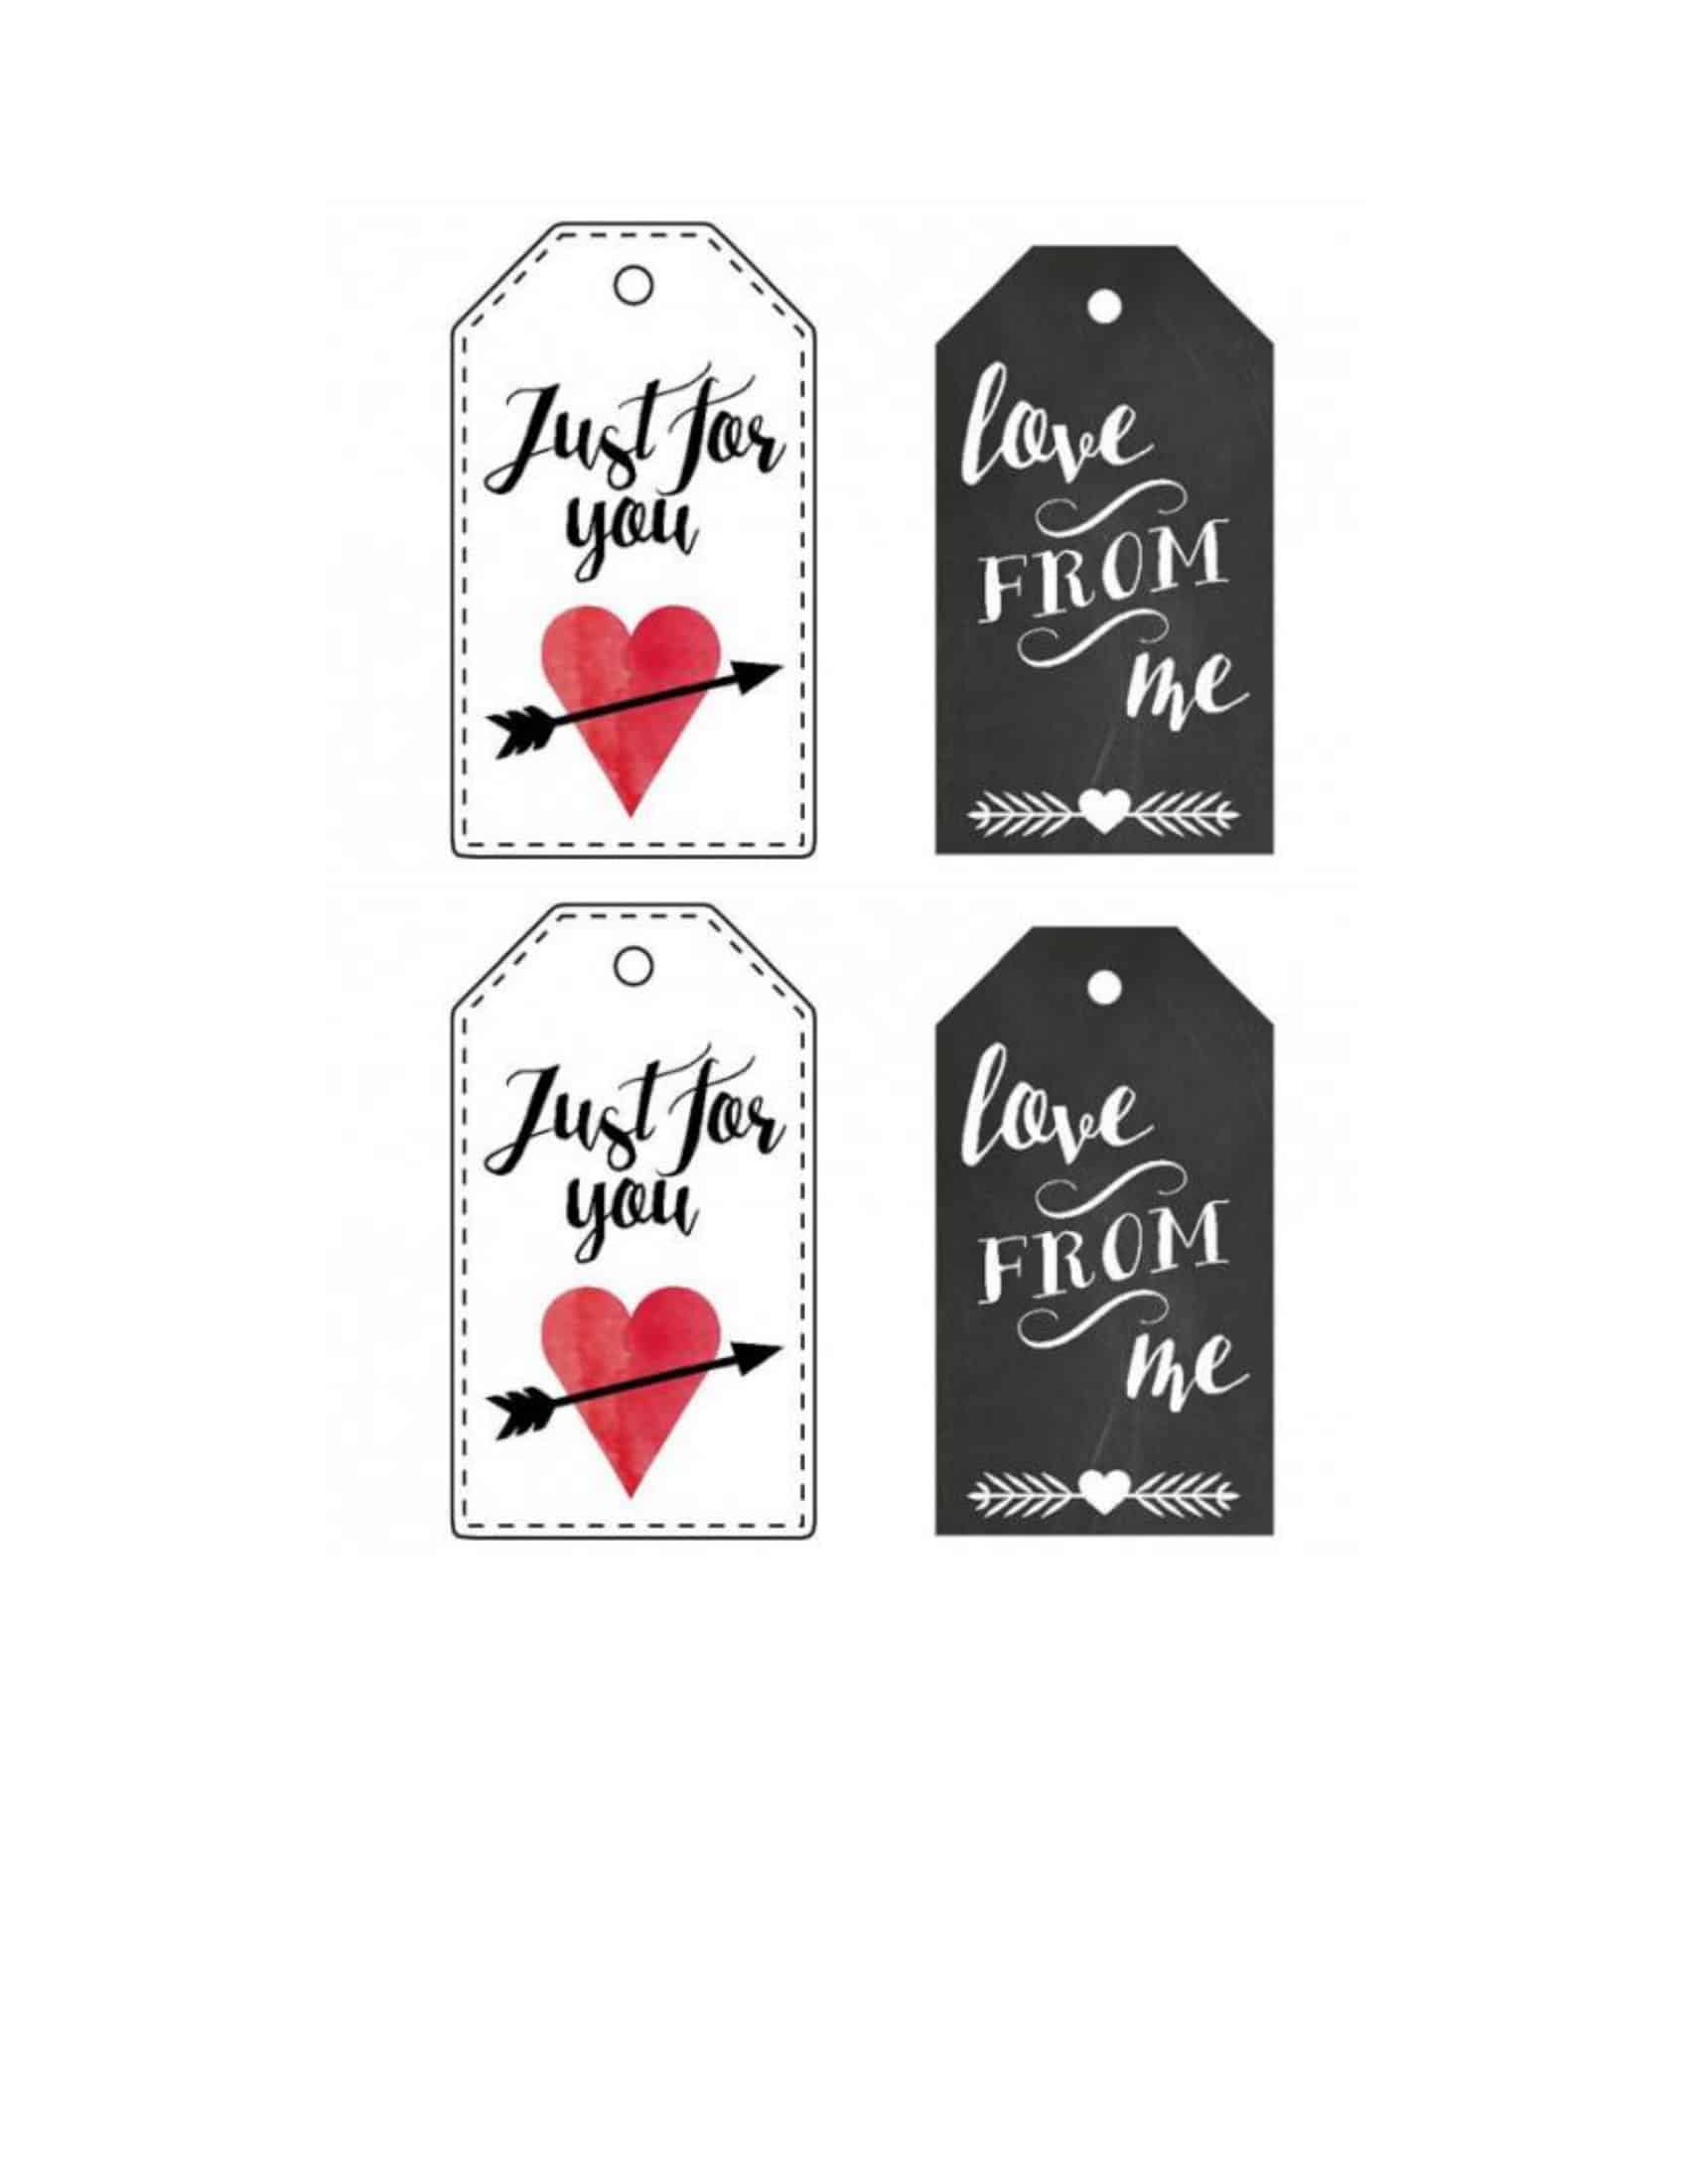
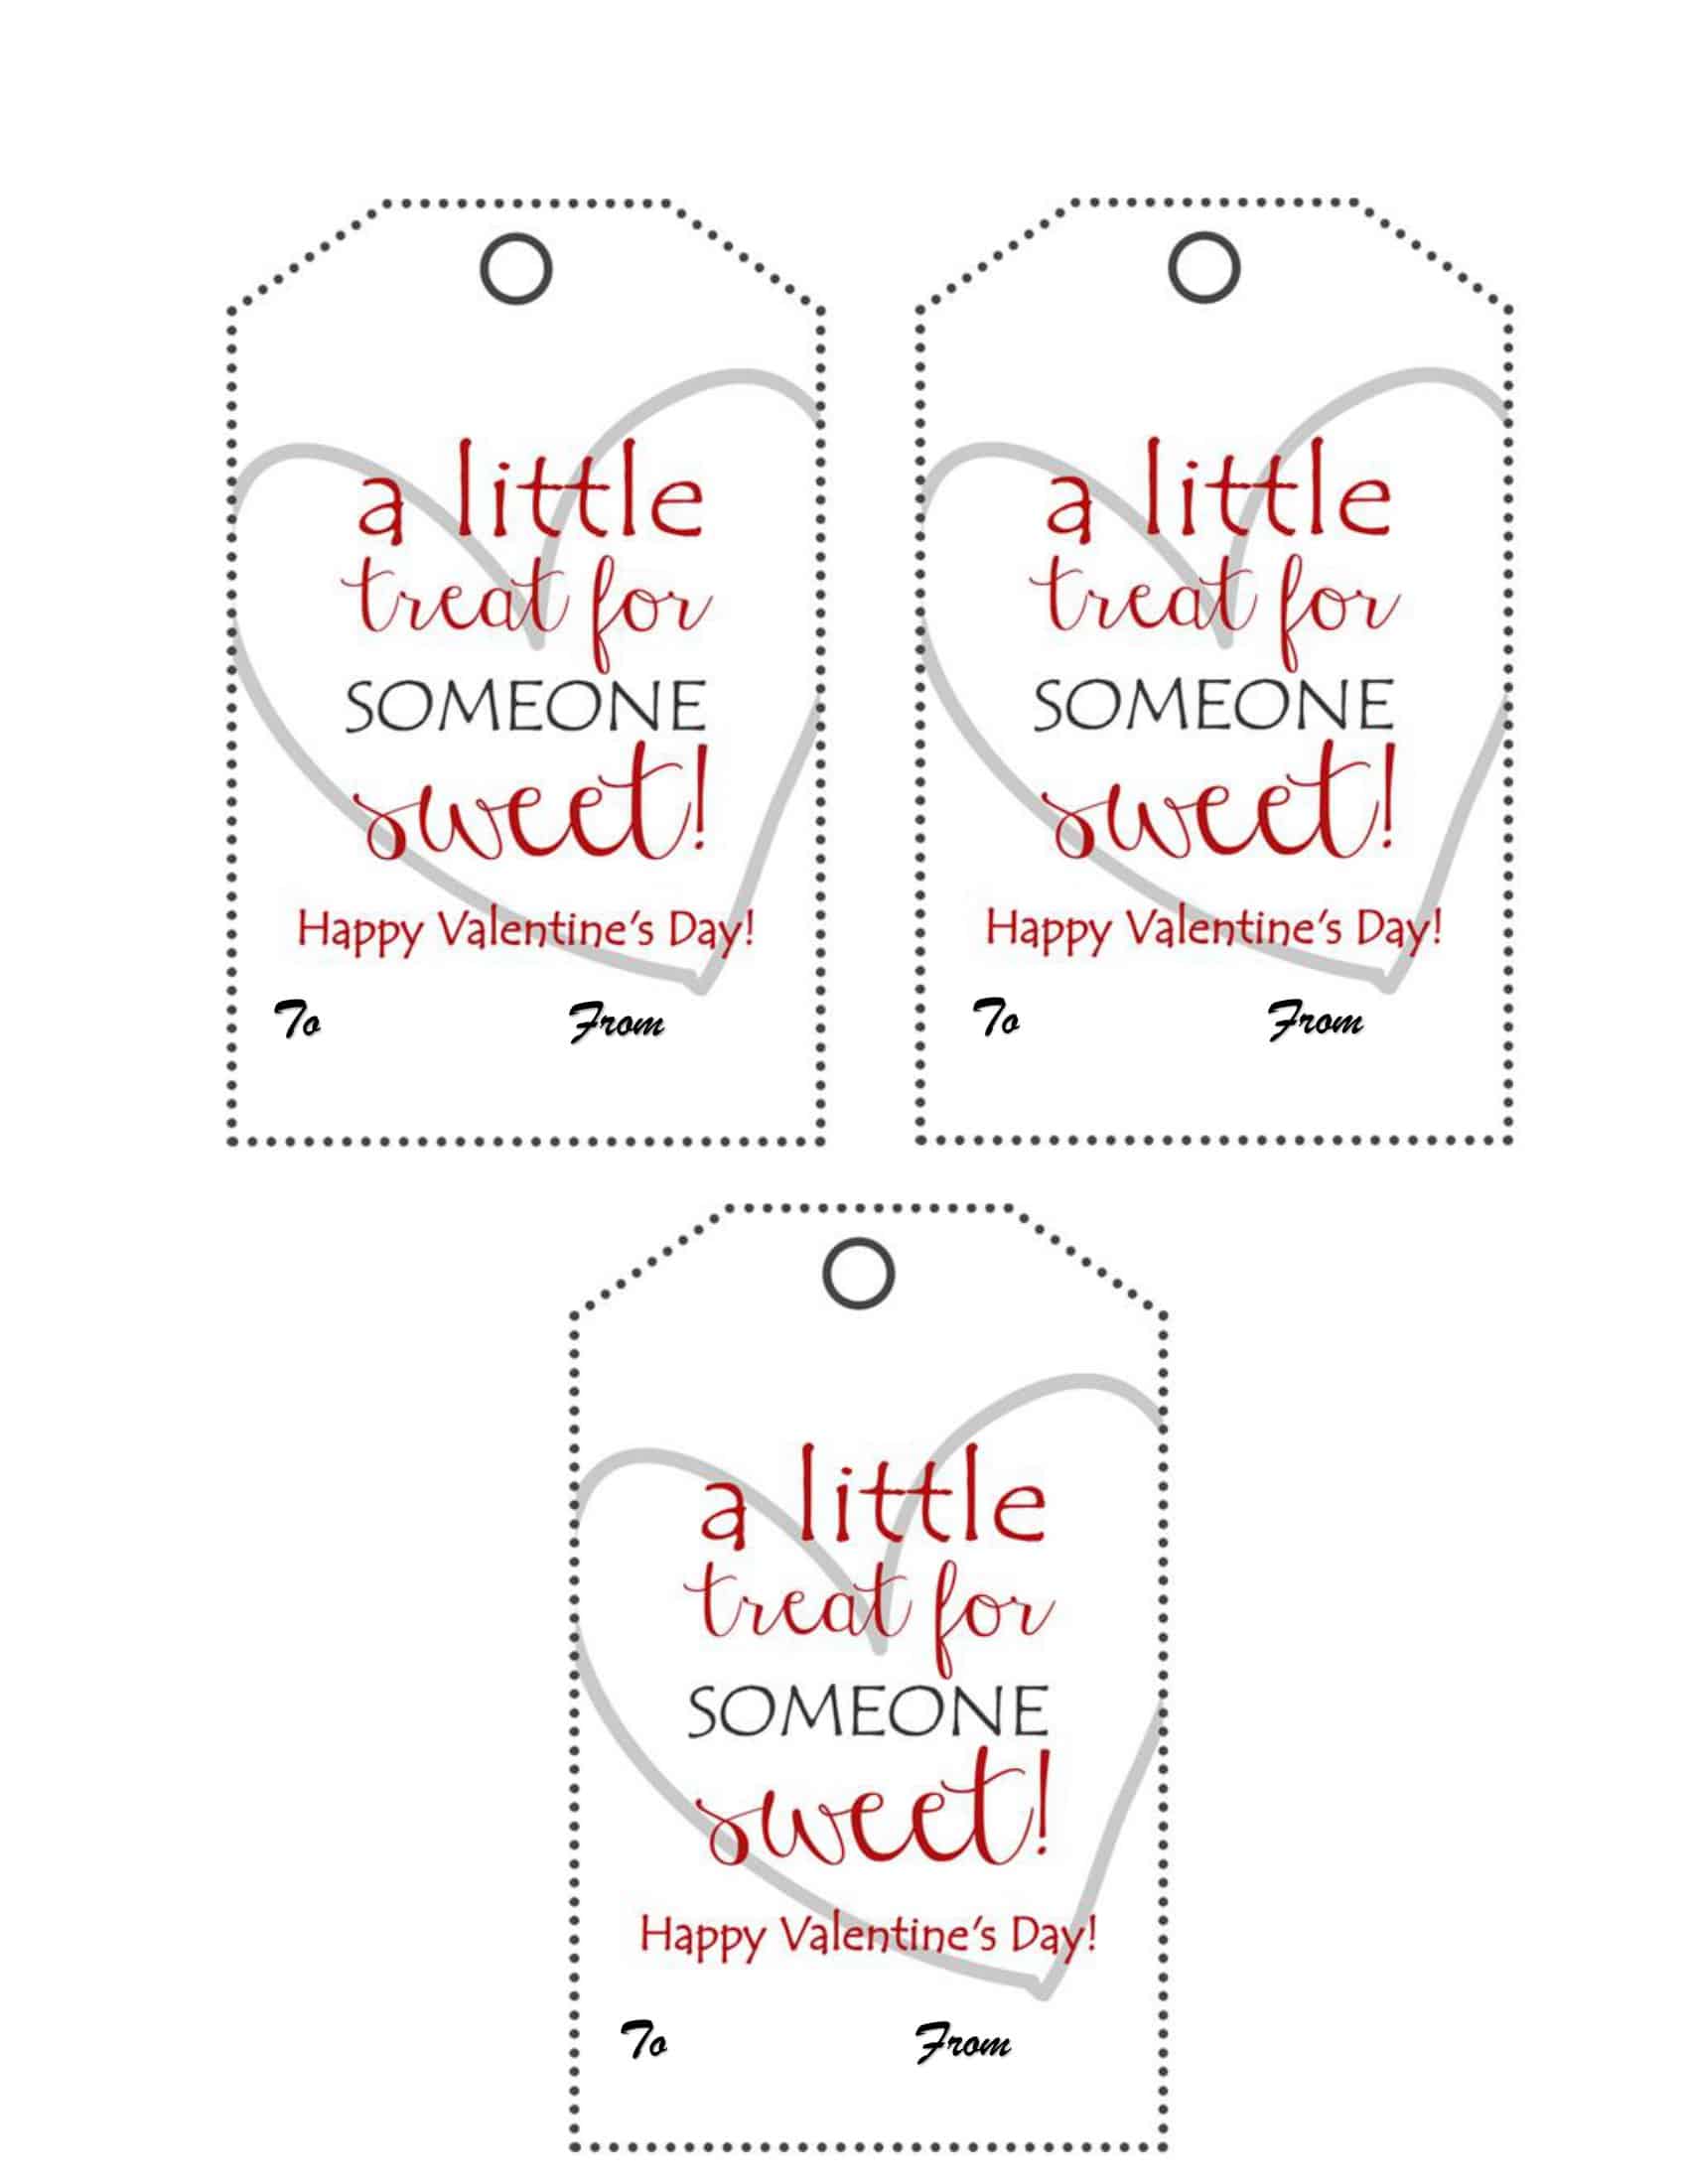
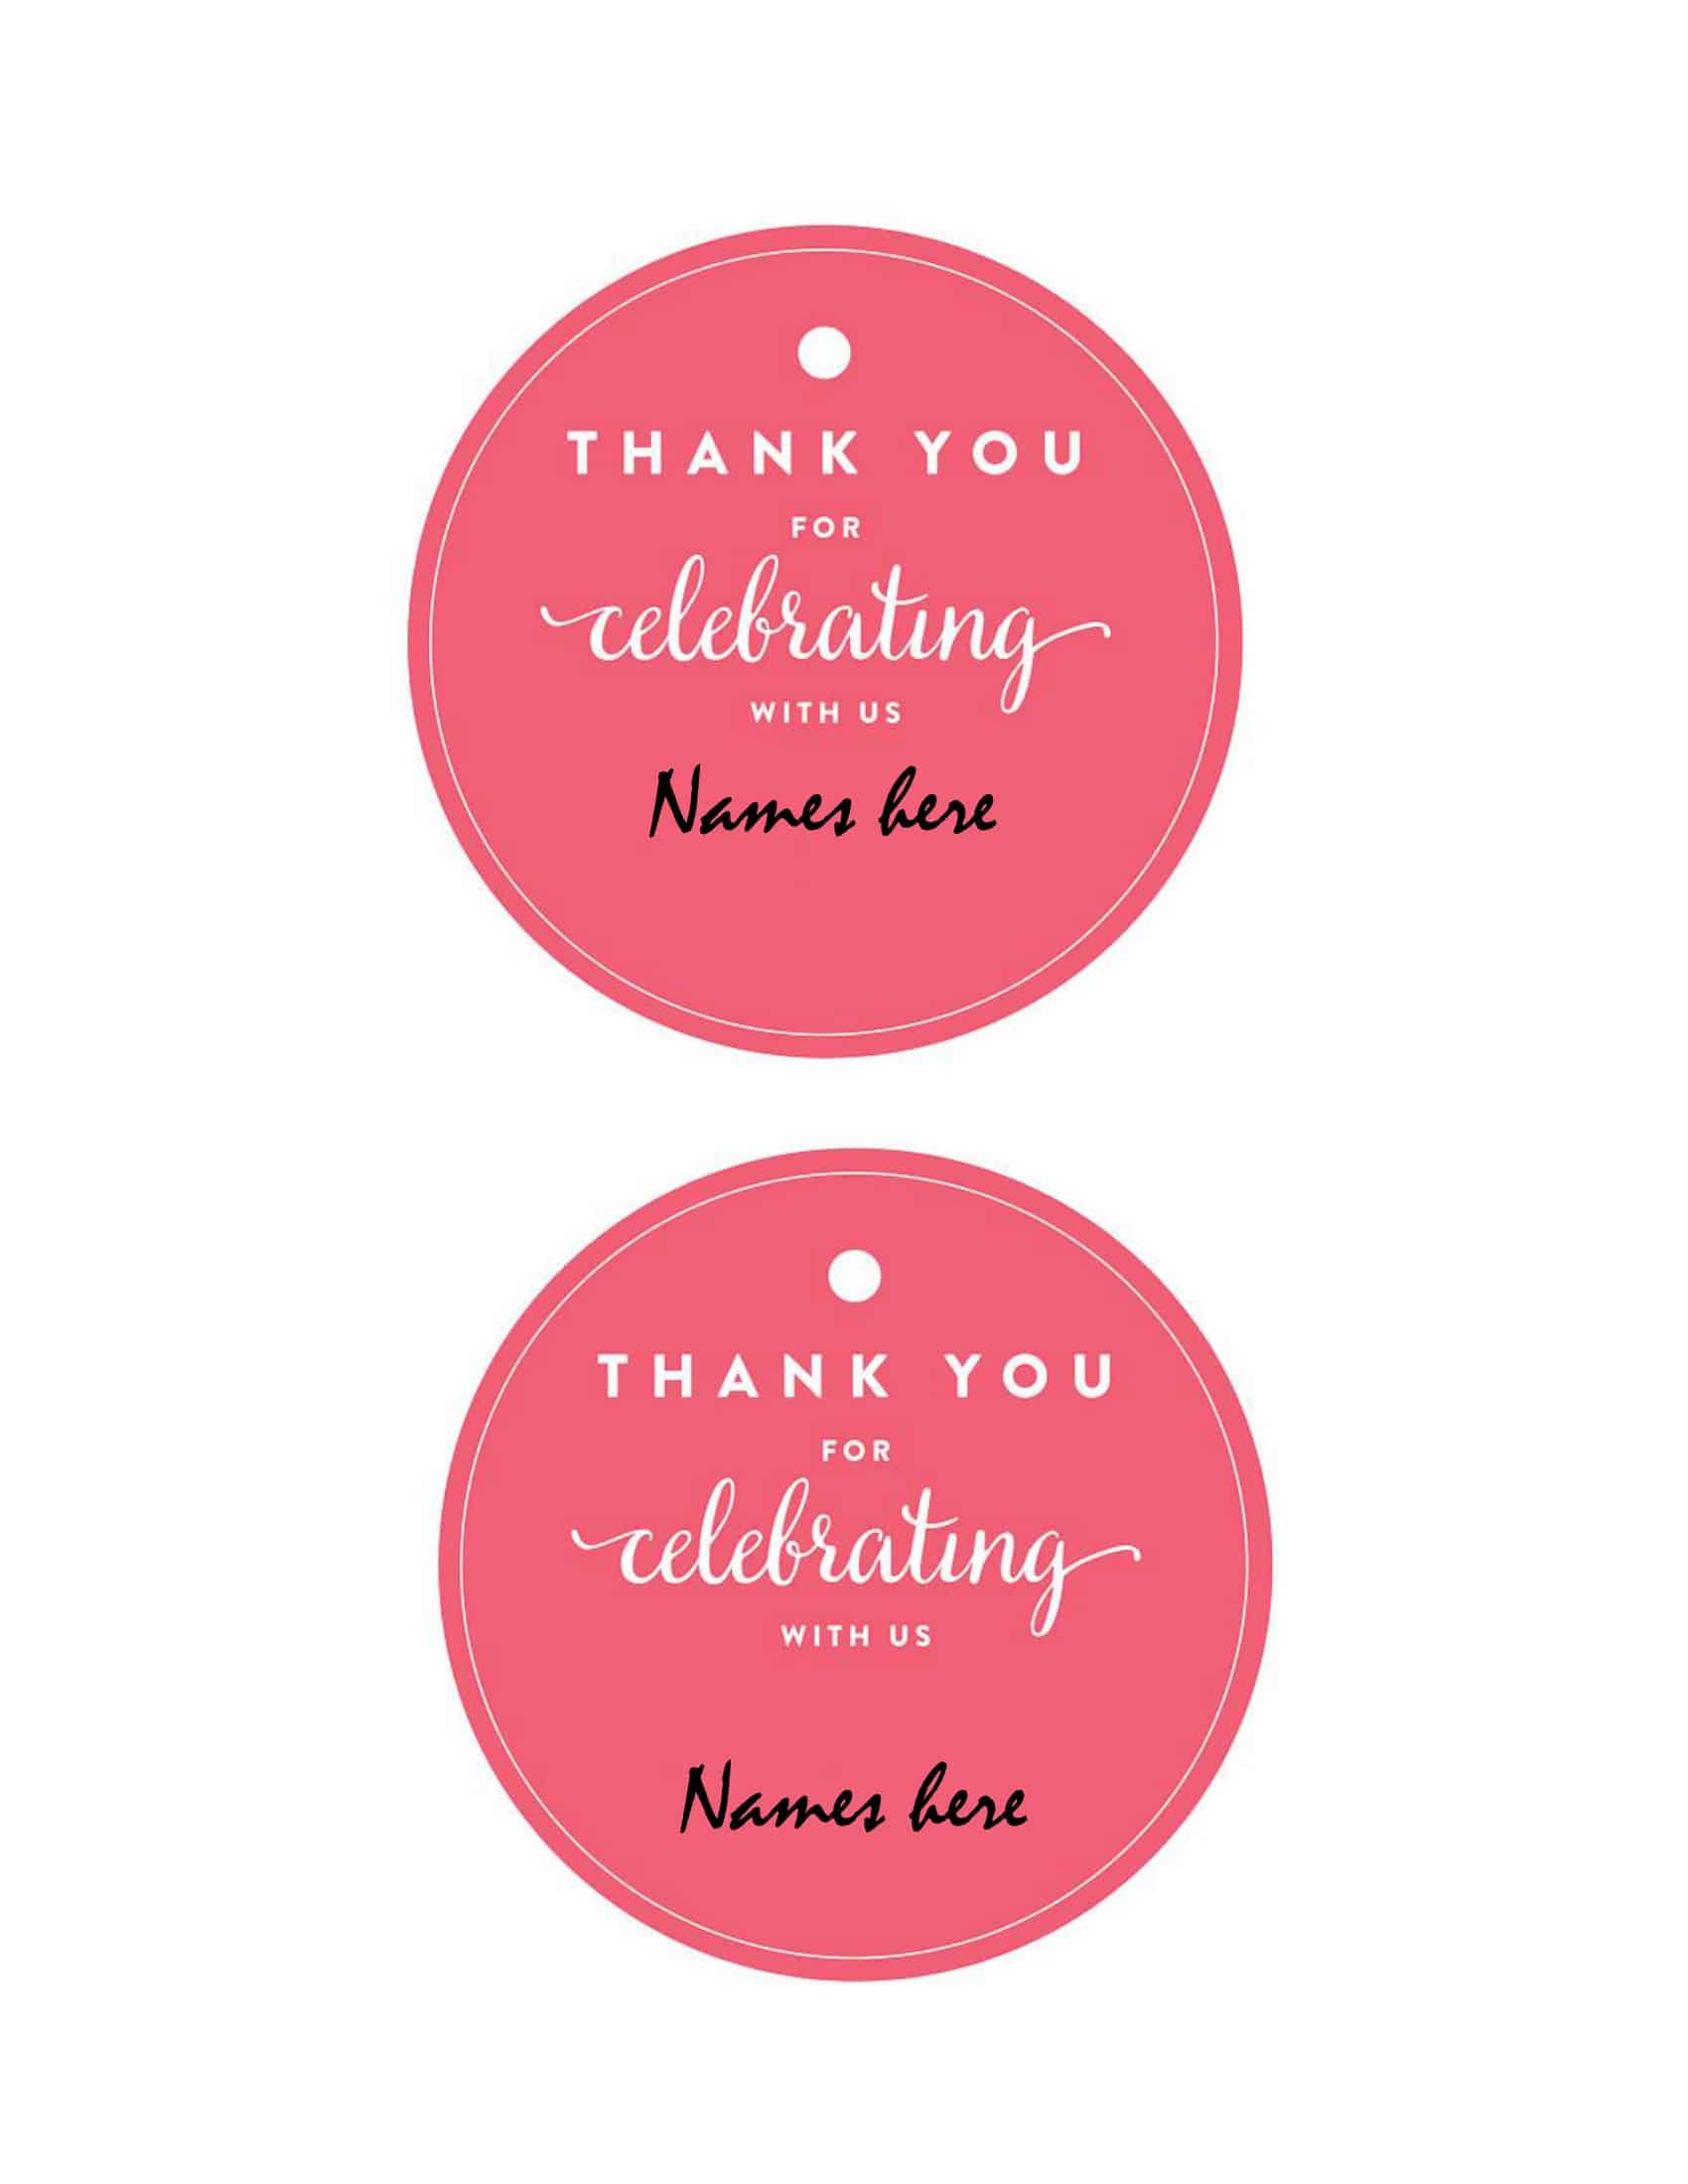
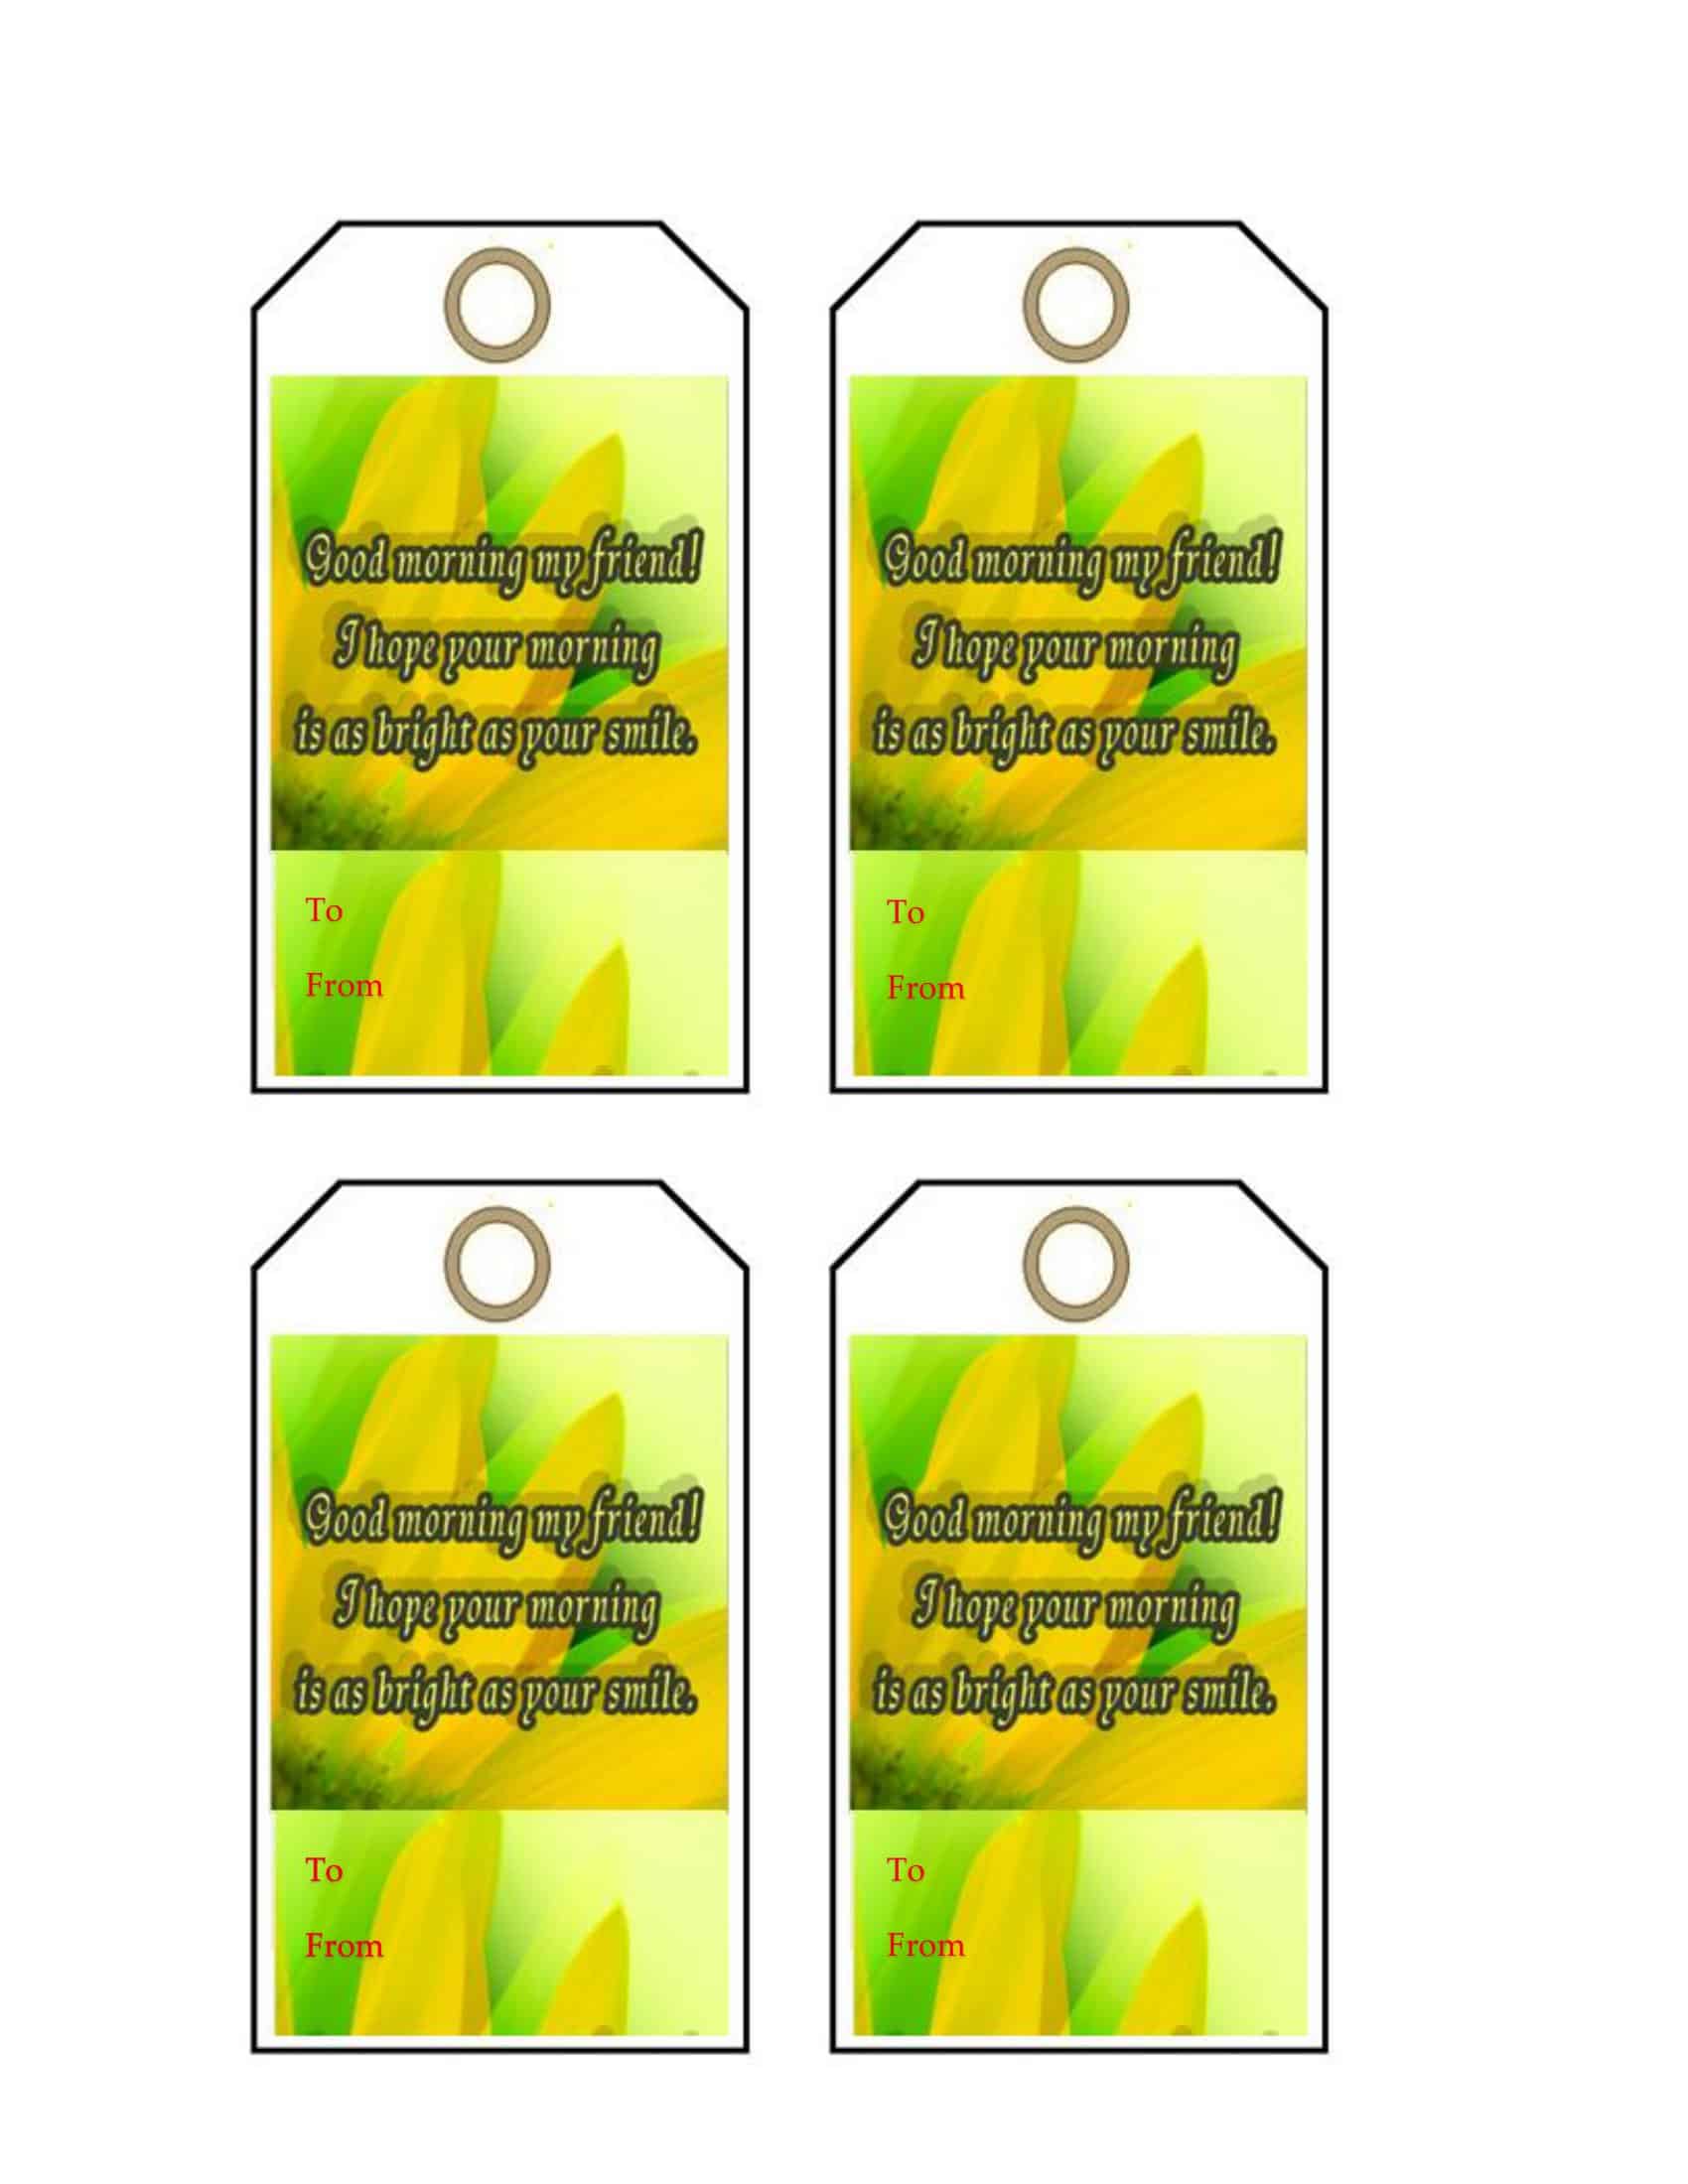
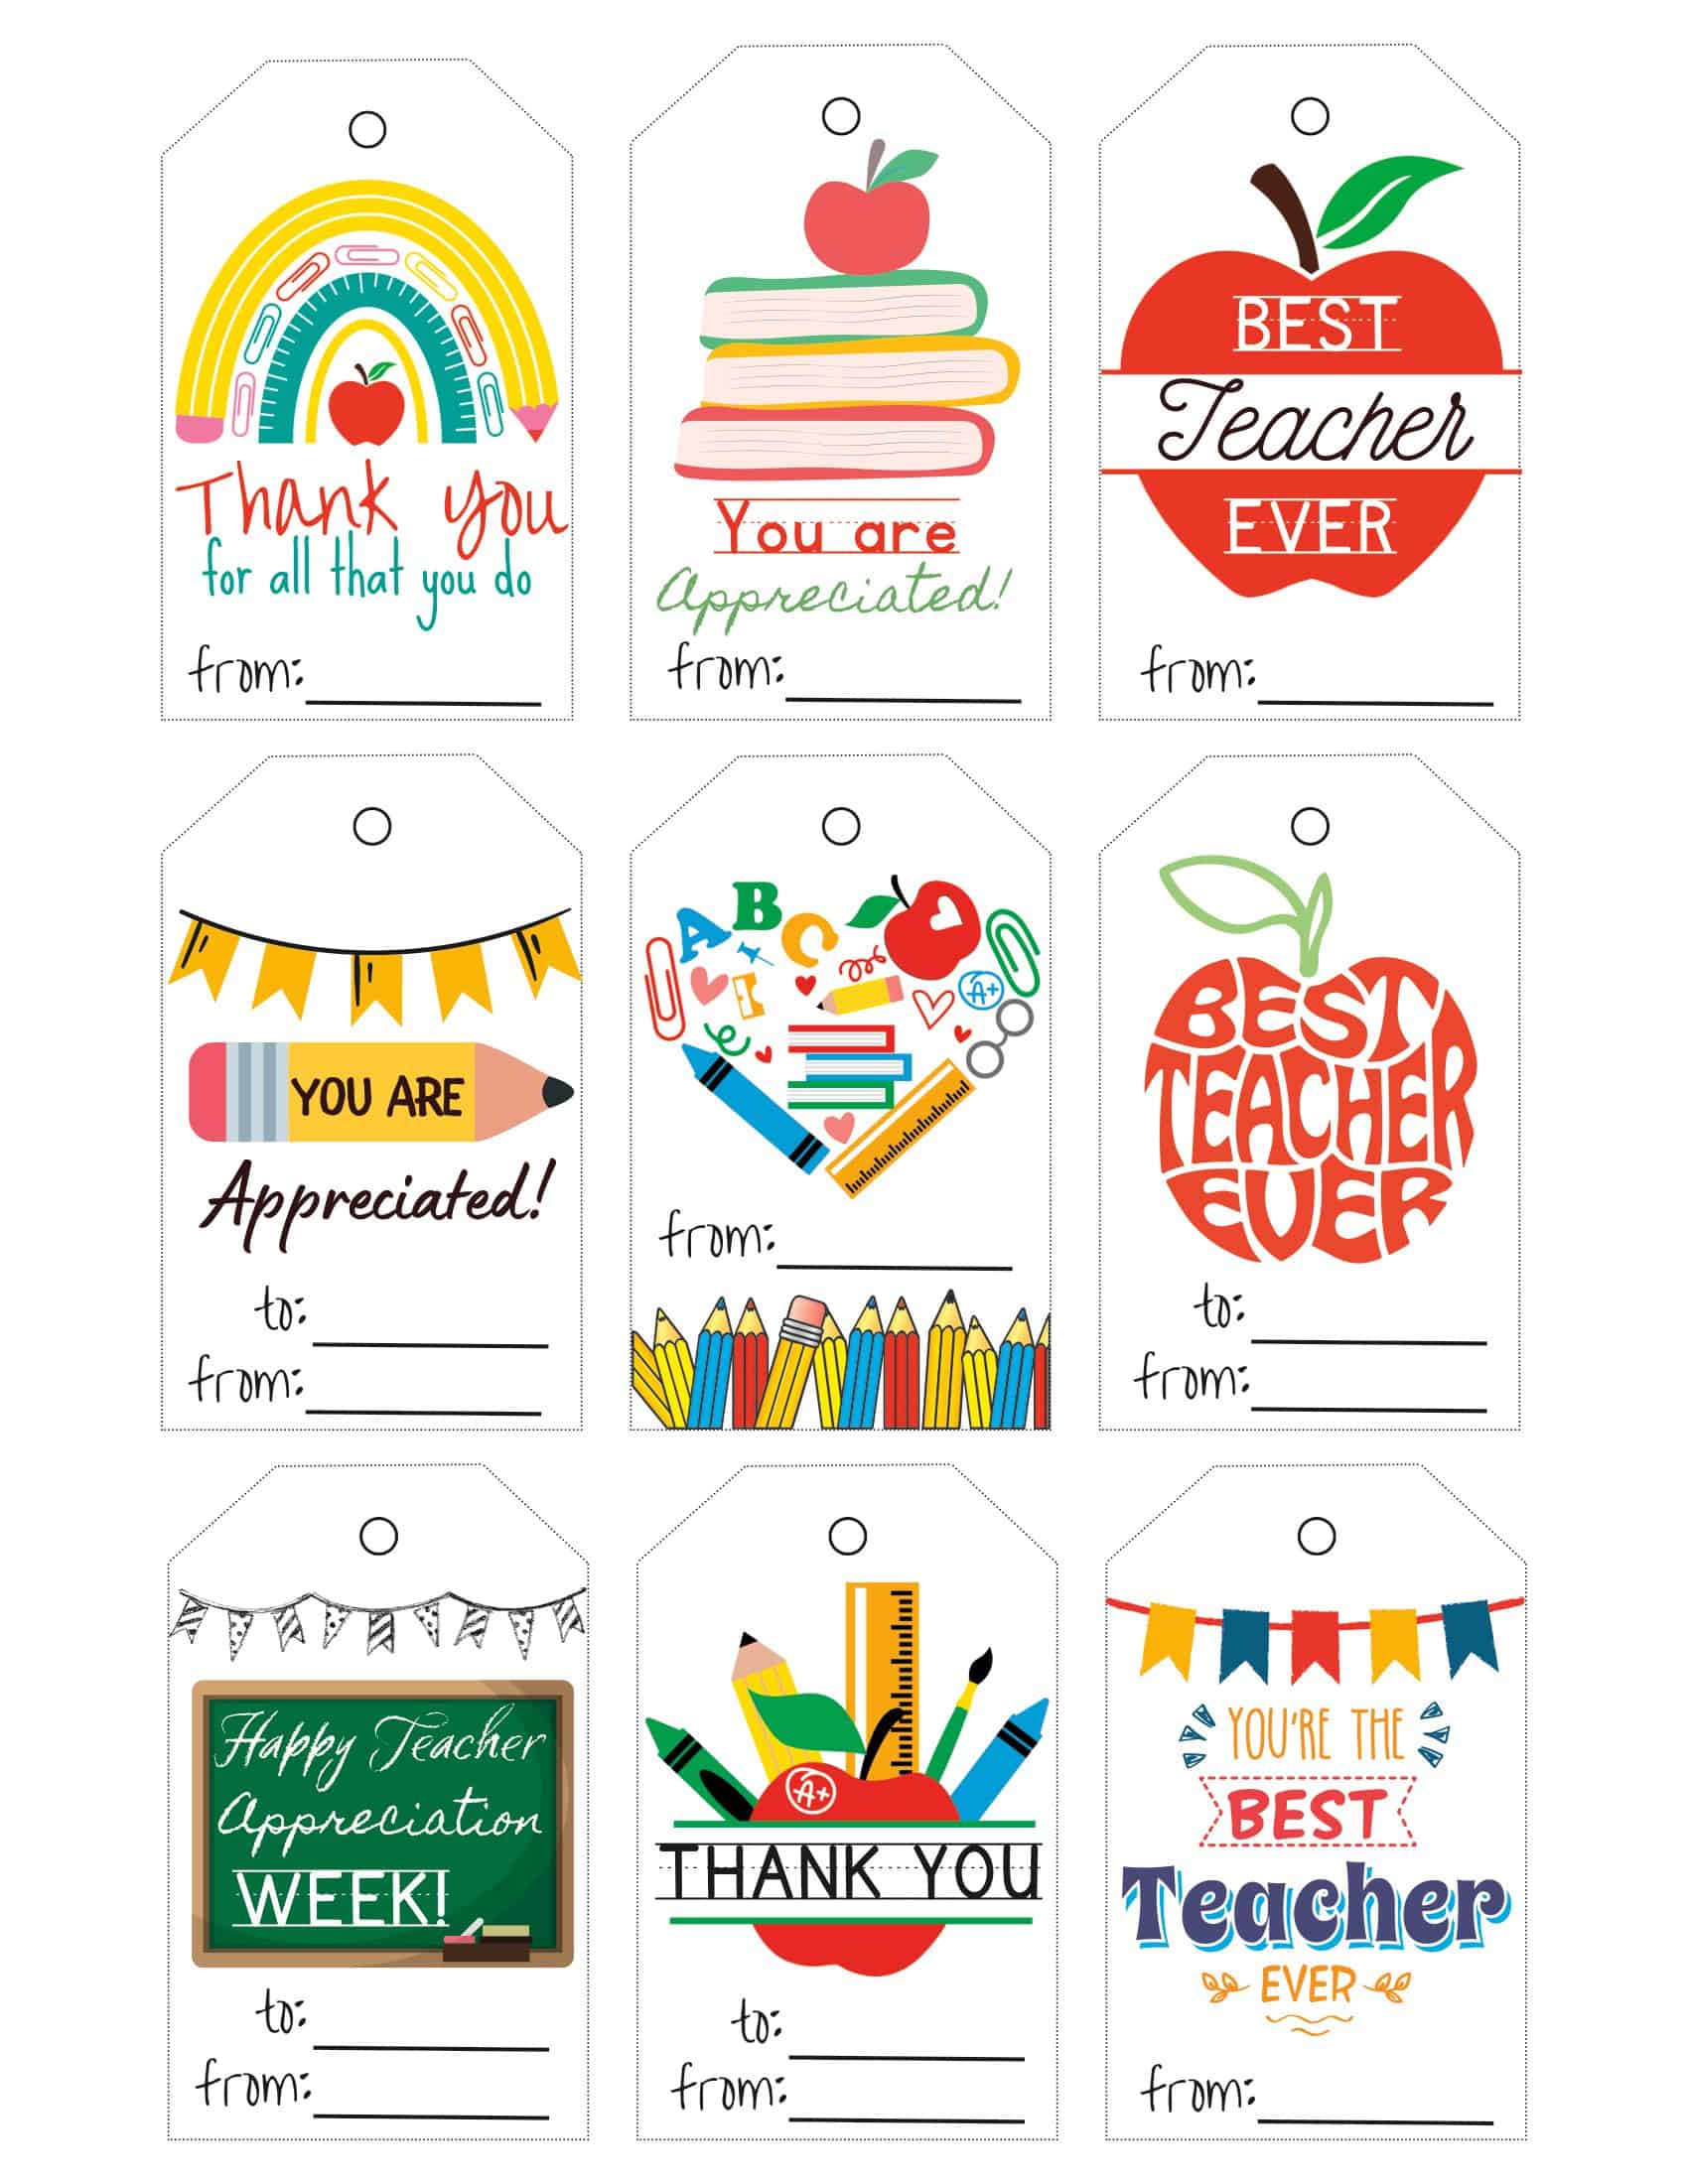
When it comes to gift tag templates, the options are endless. From birthdays to weddings, and from Christmas to baby showers, there is a wide variety of templates available to suit every occasion and theme. Let’s dive deeper into some popular options:
Birthday Gift Tag Templates
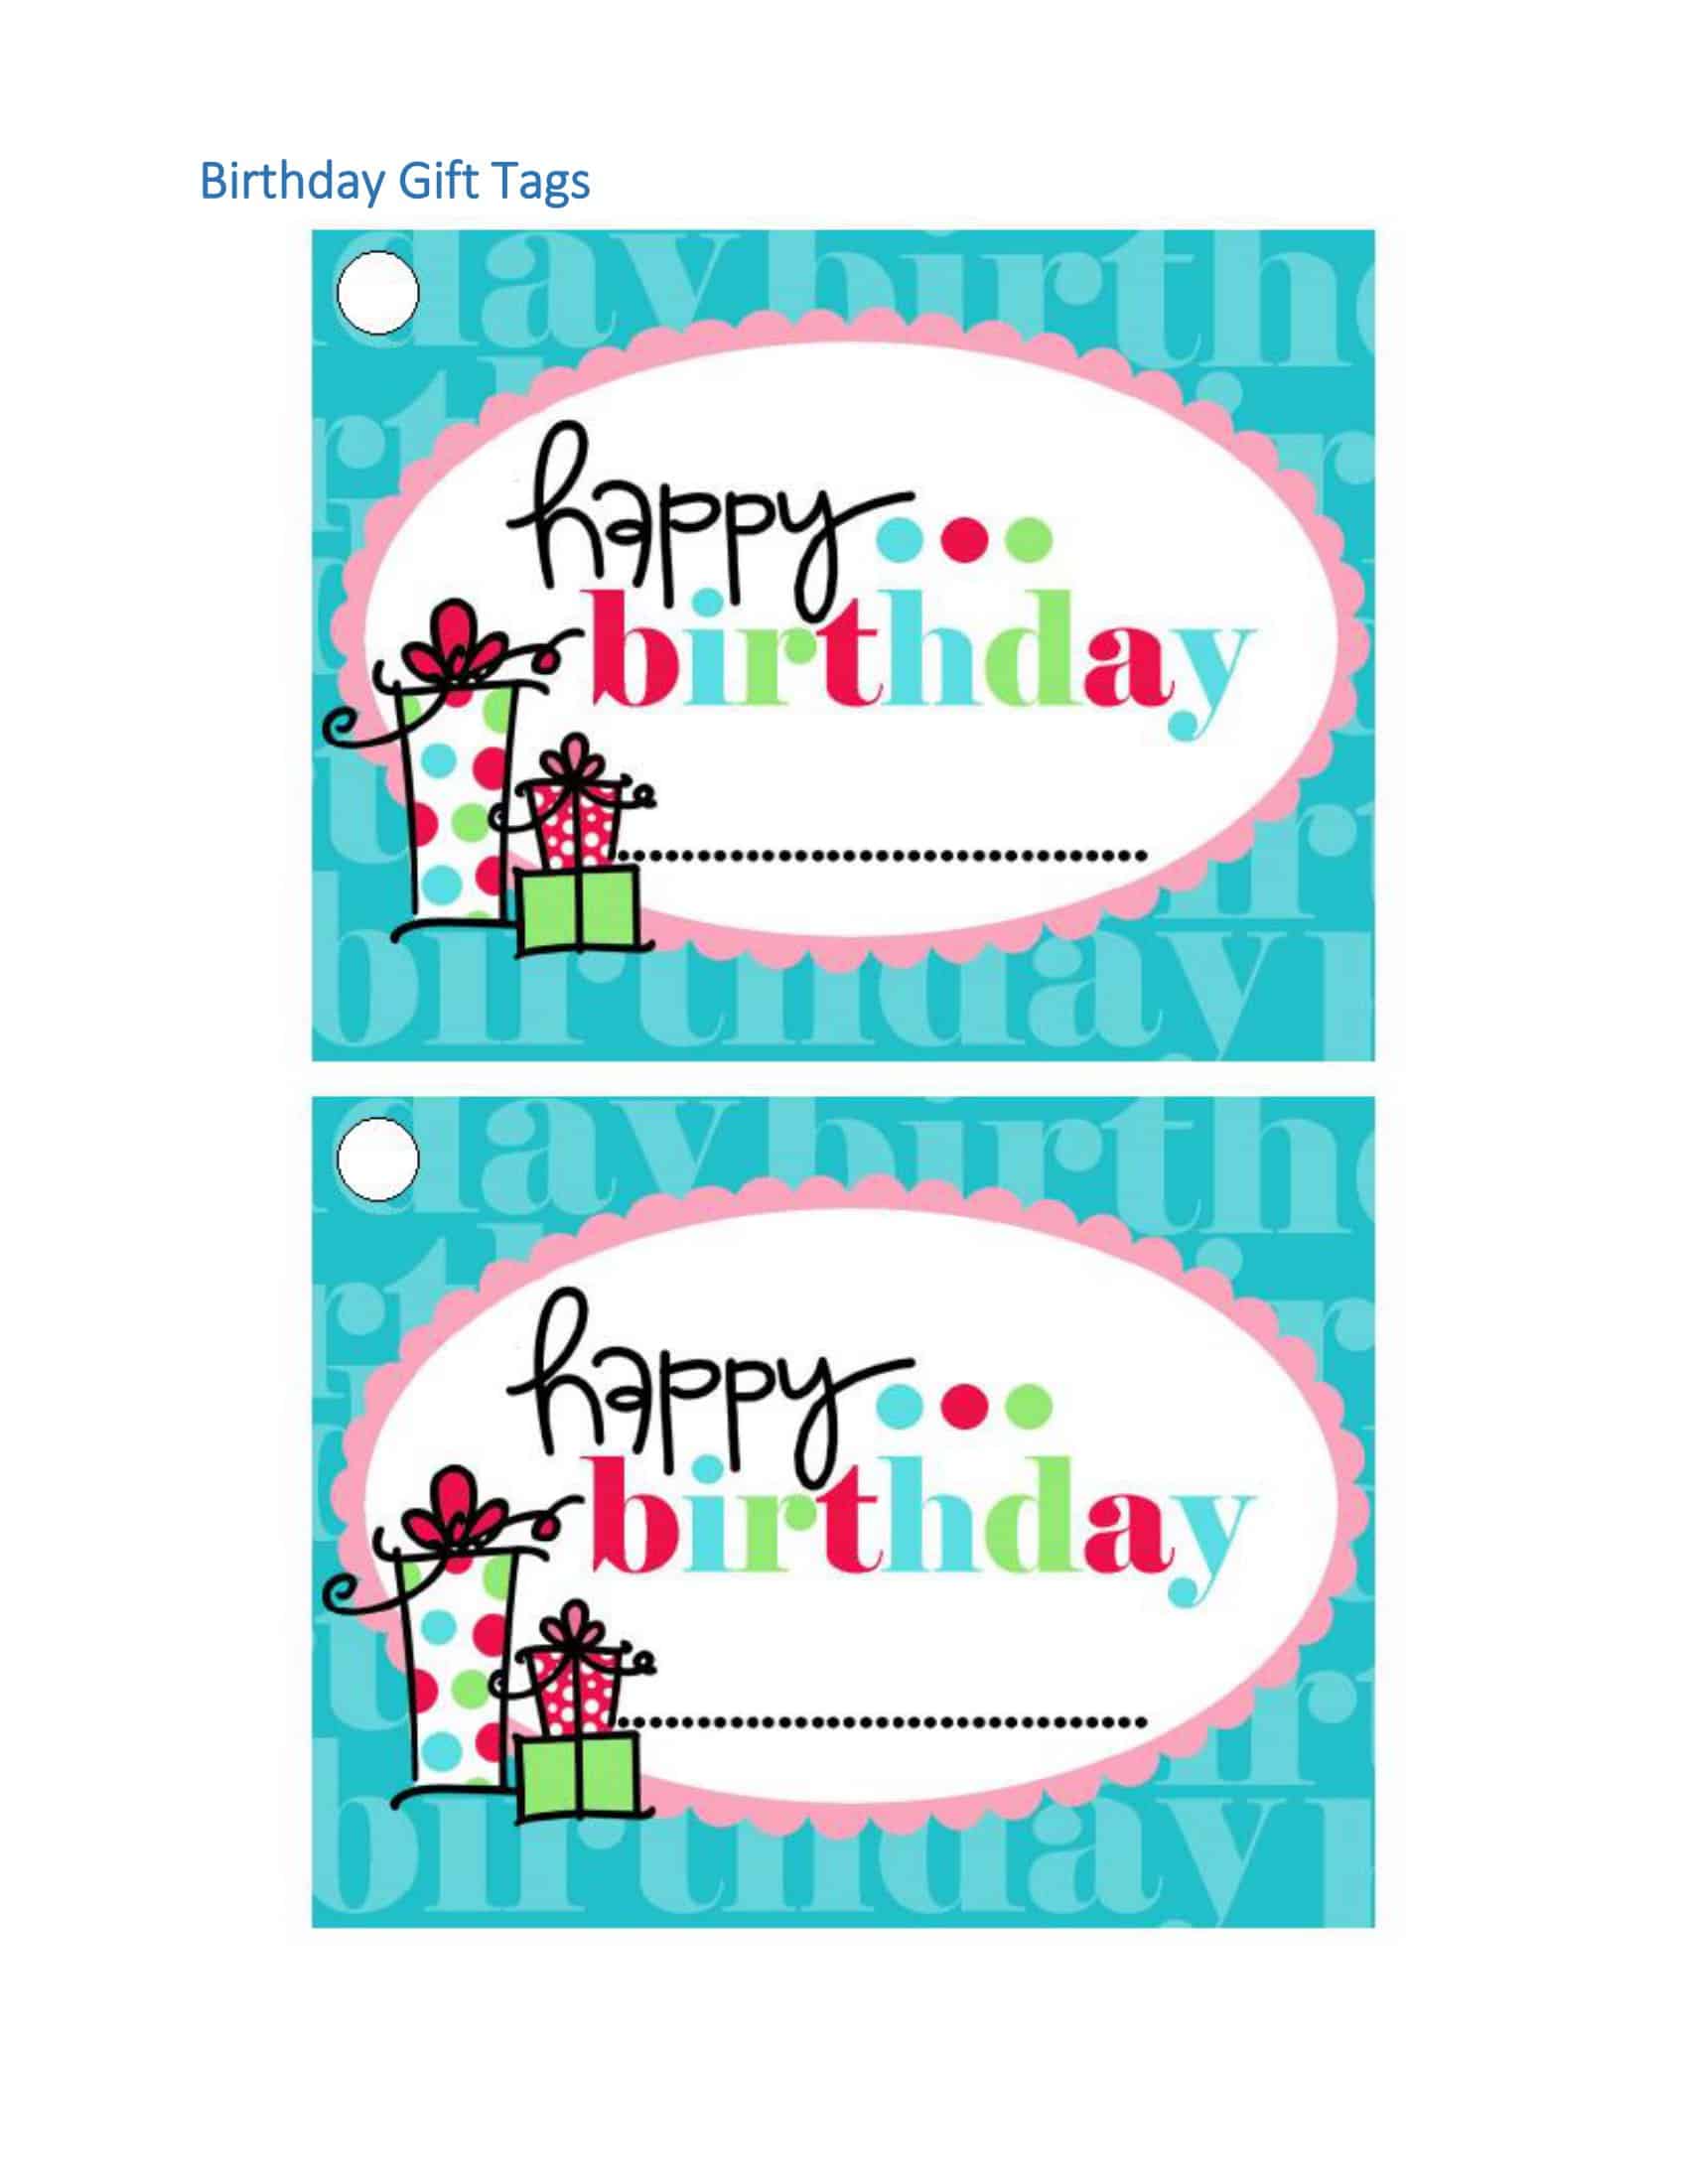
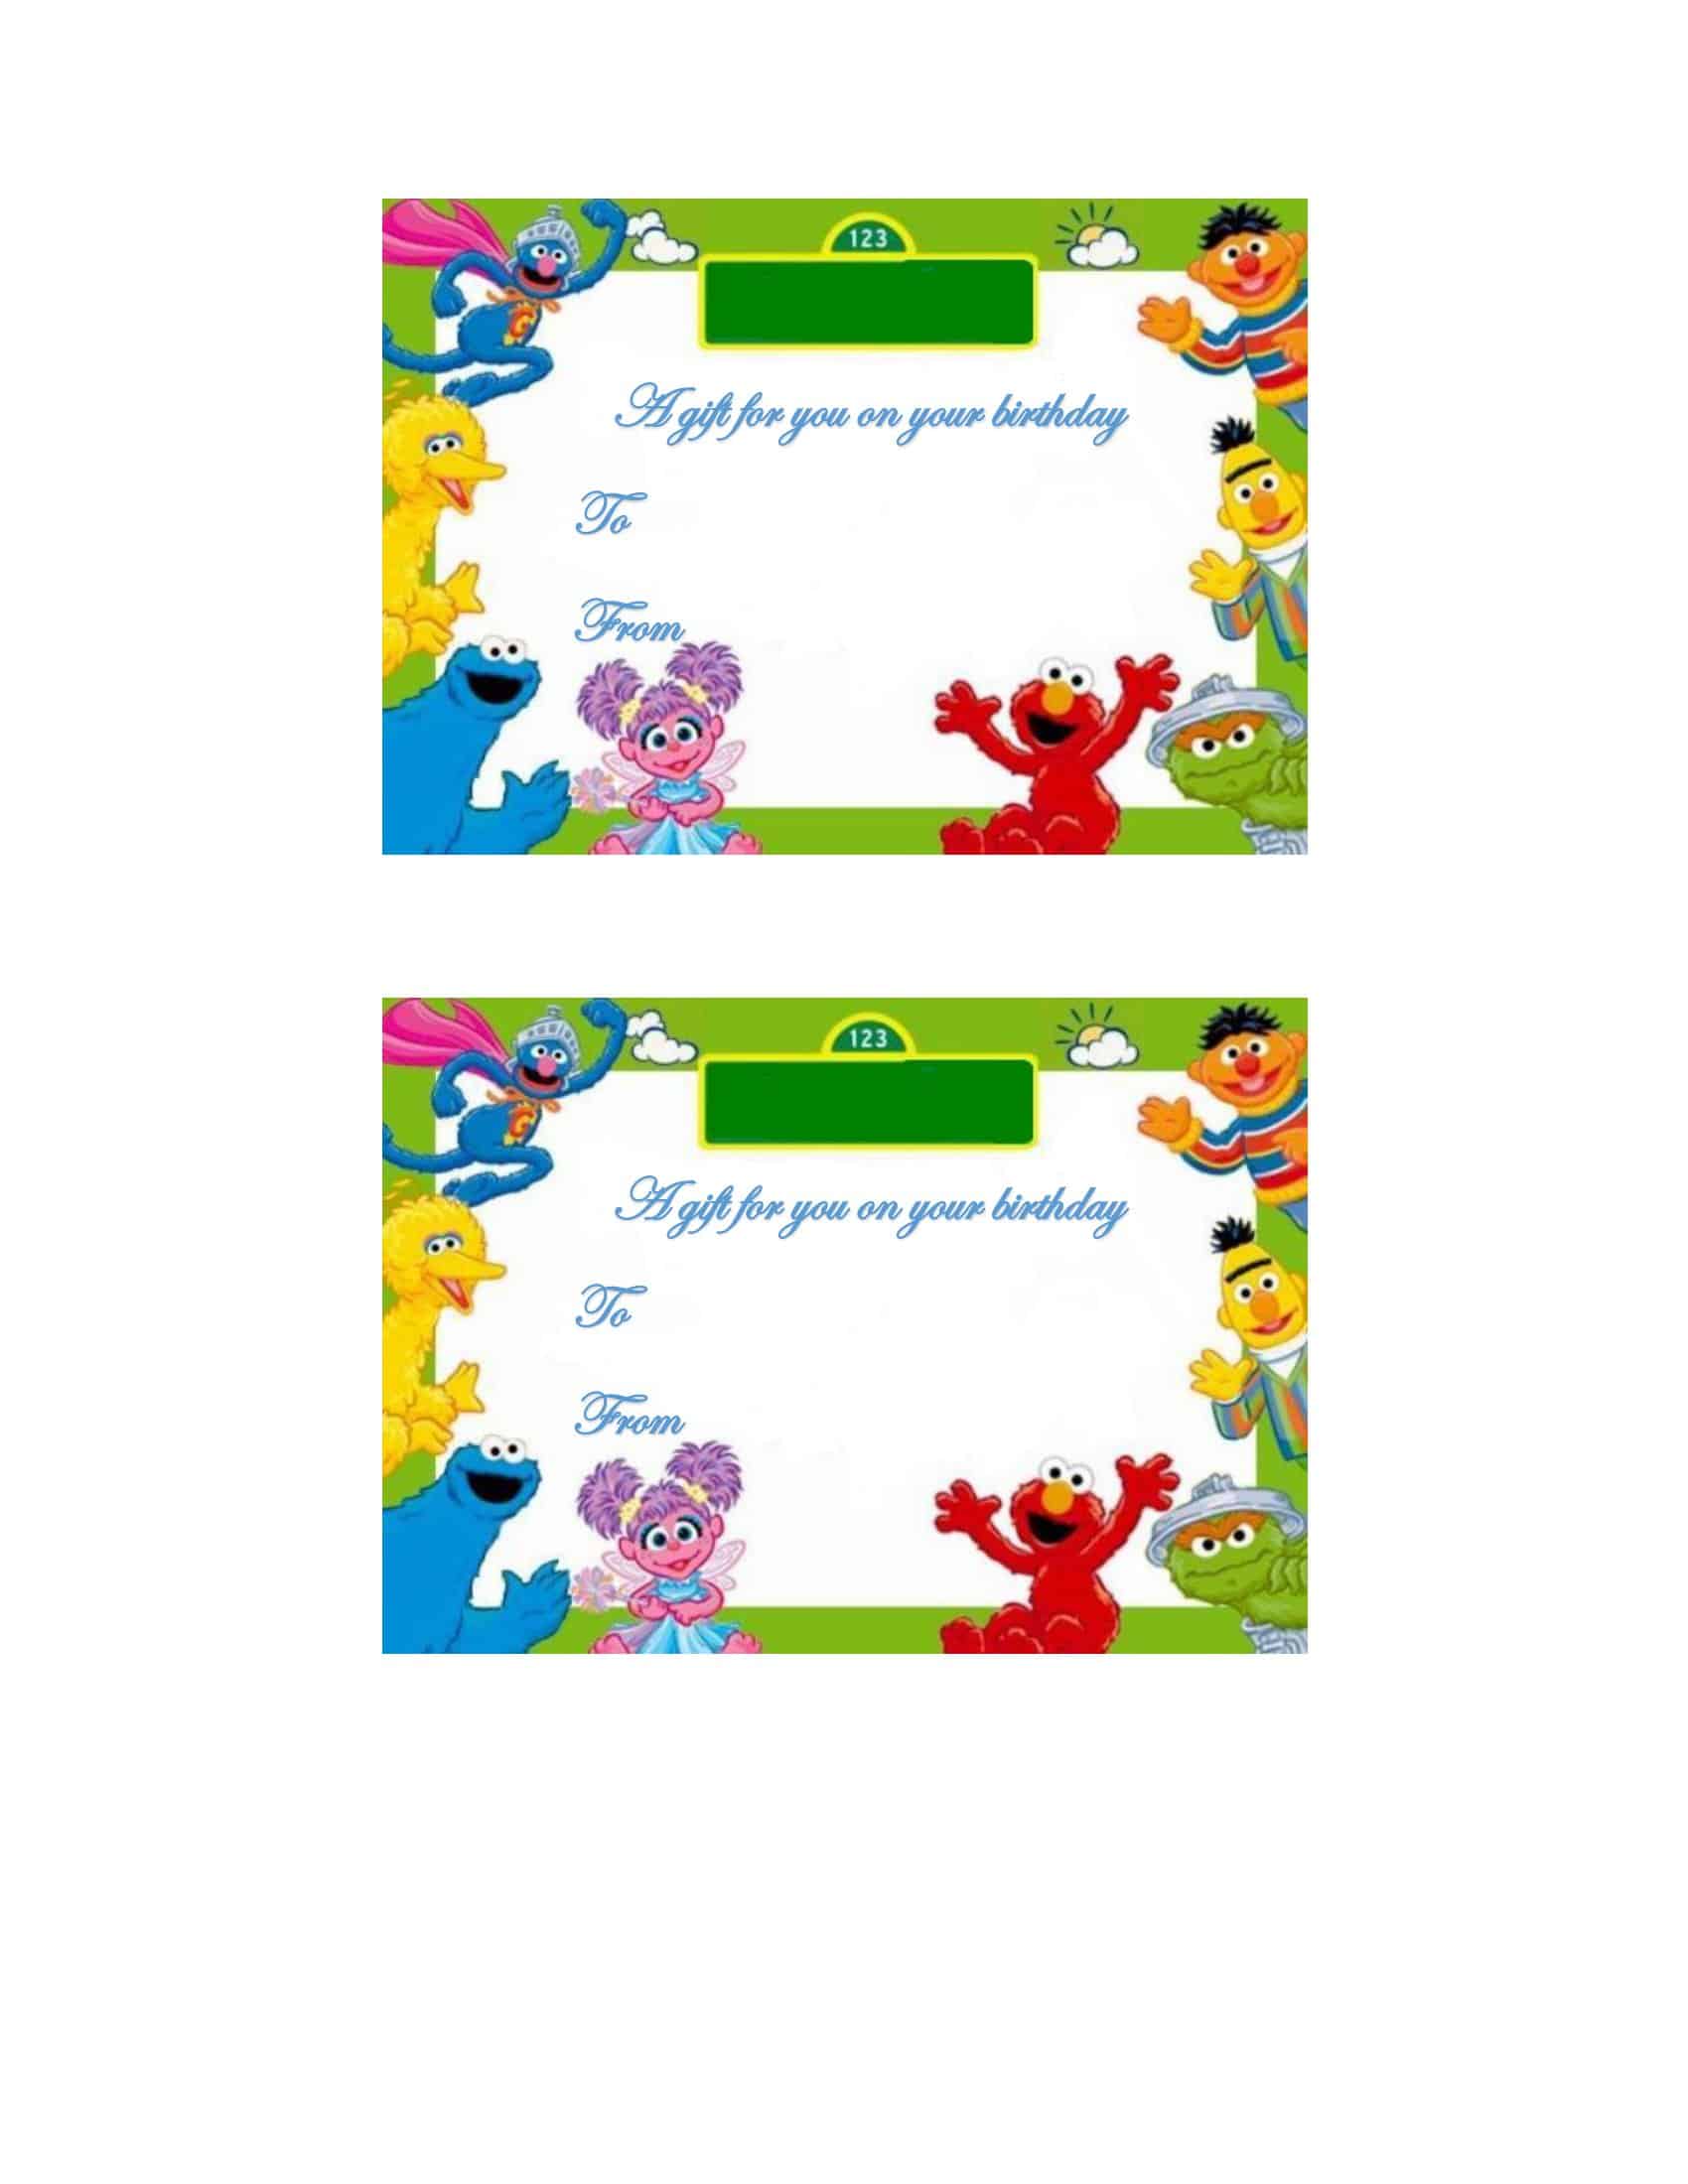
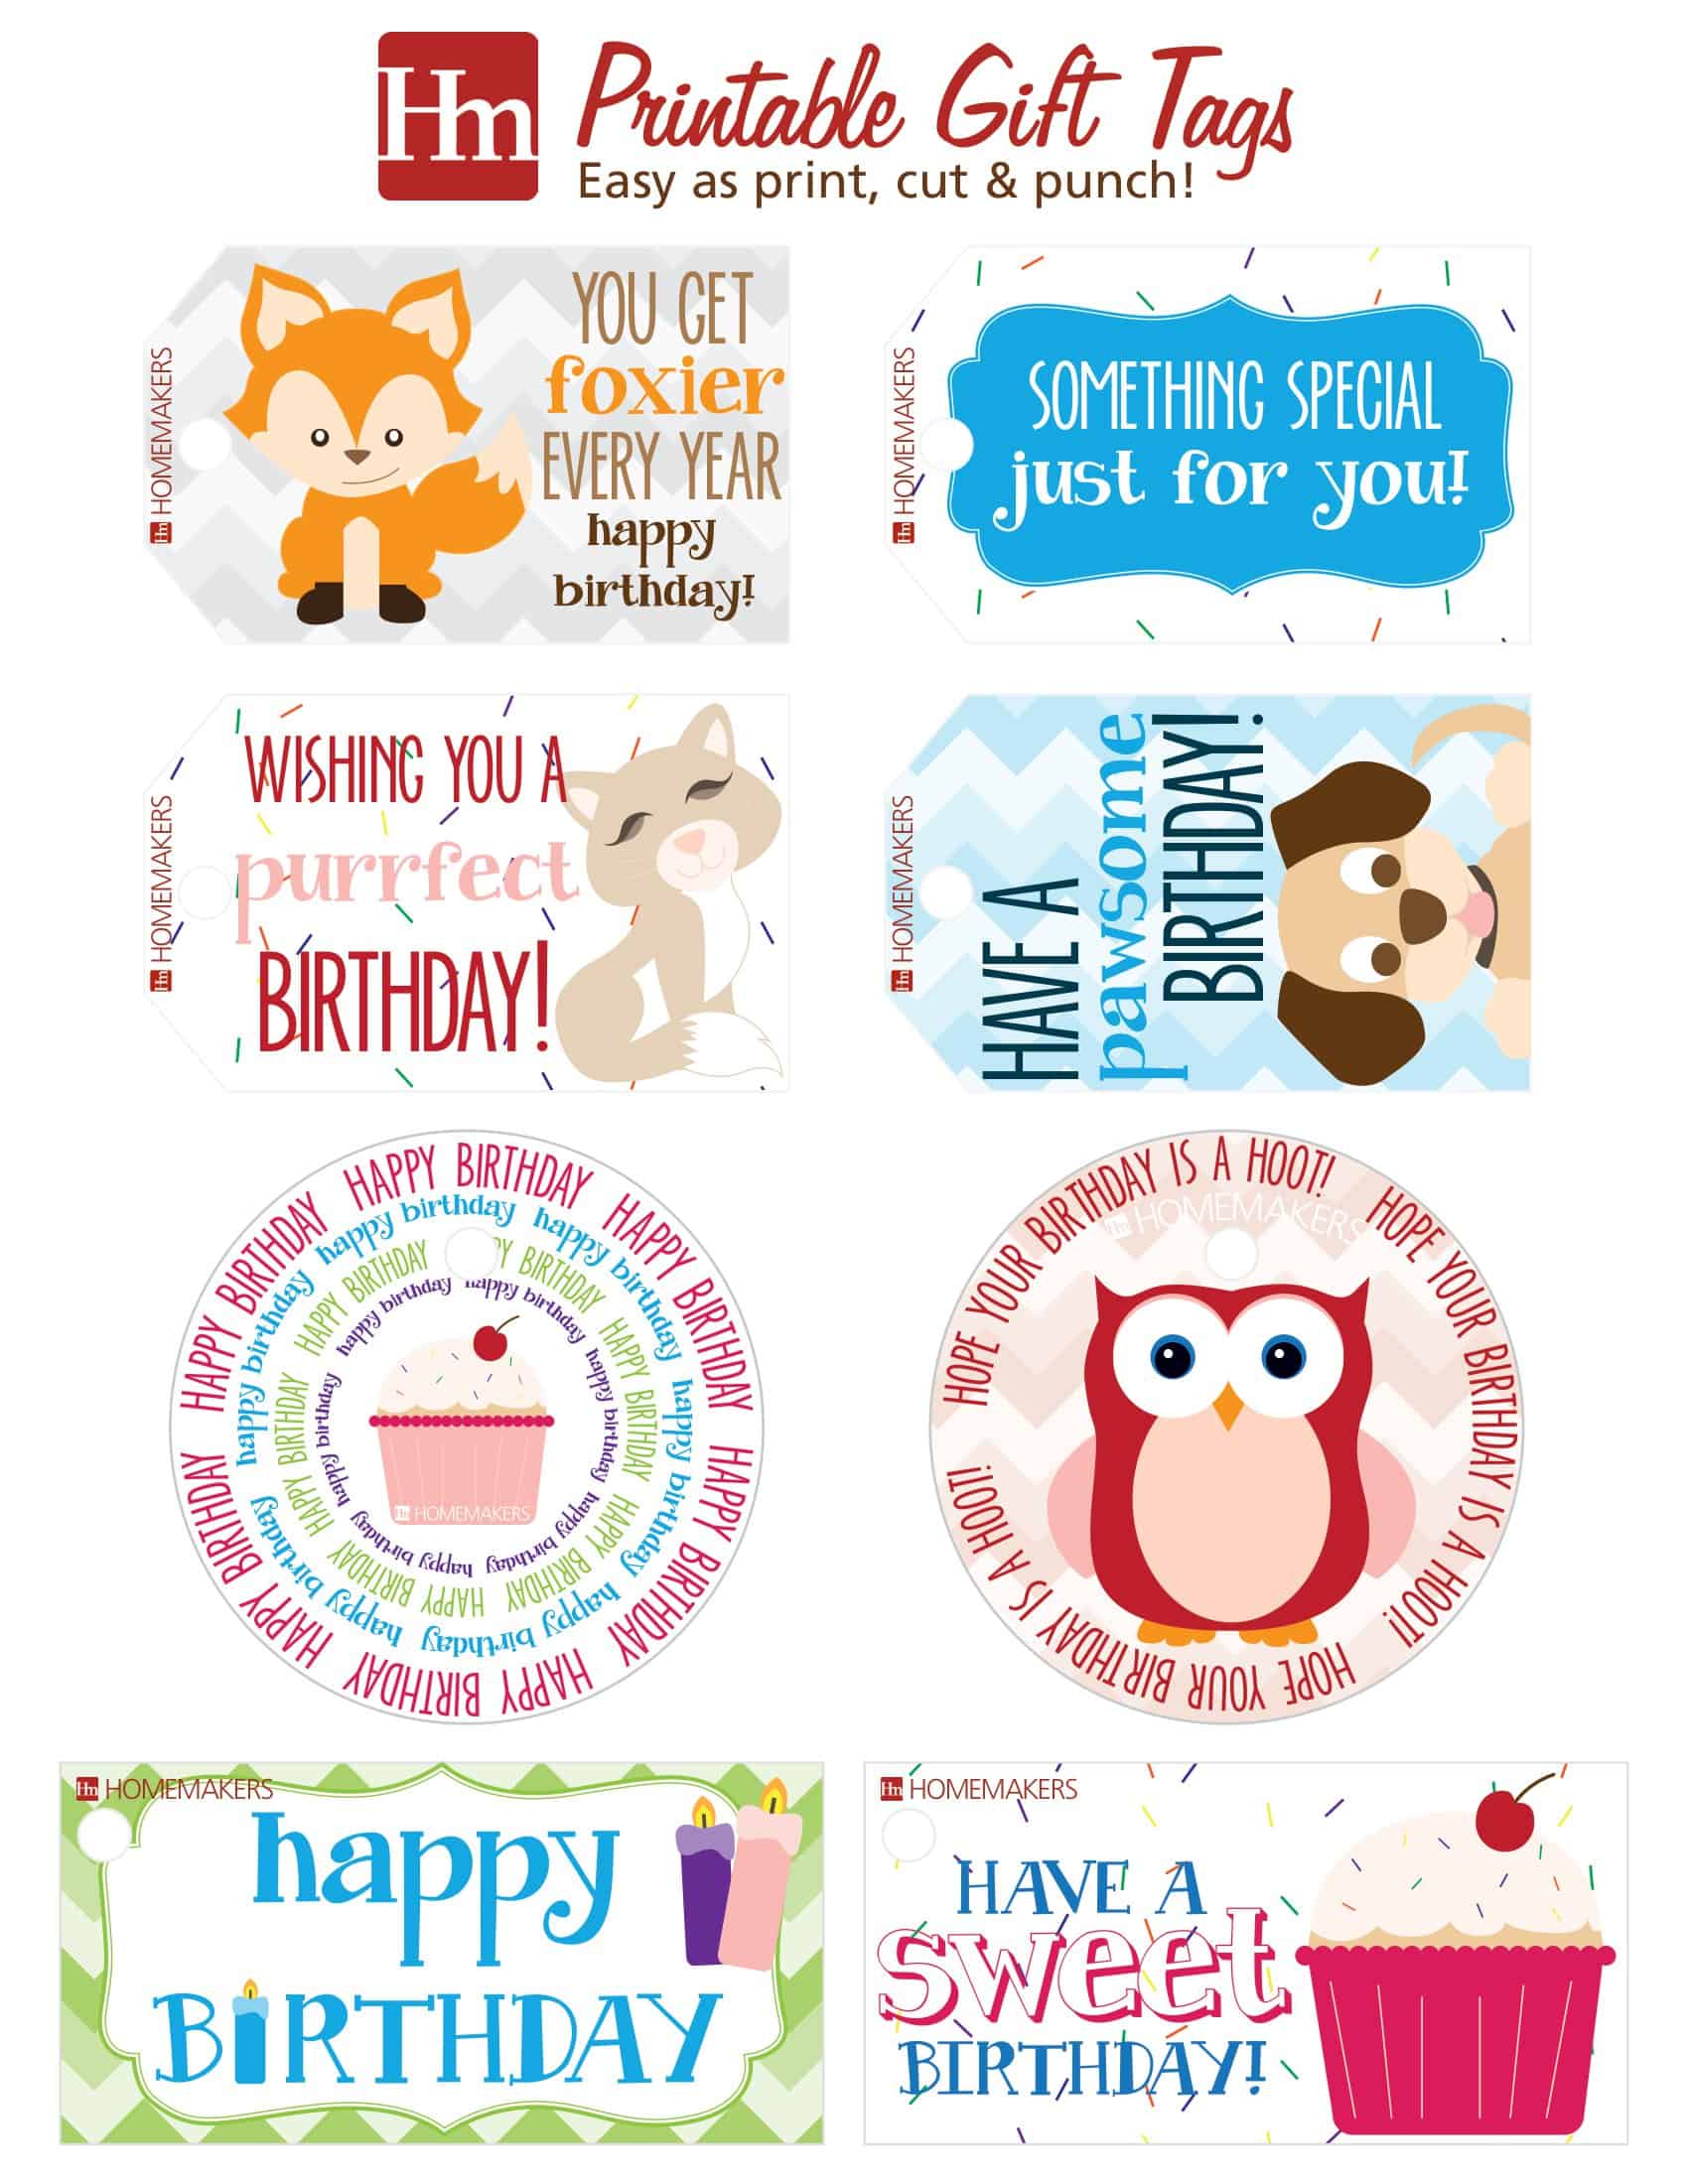
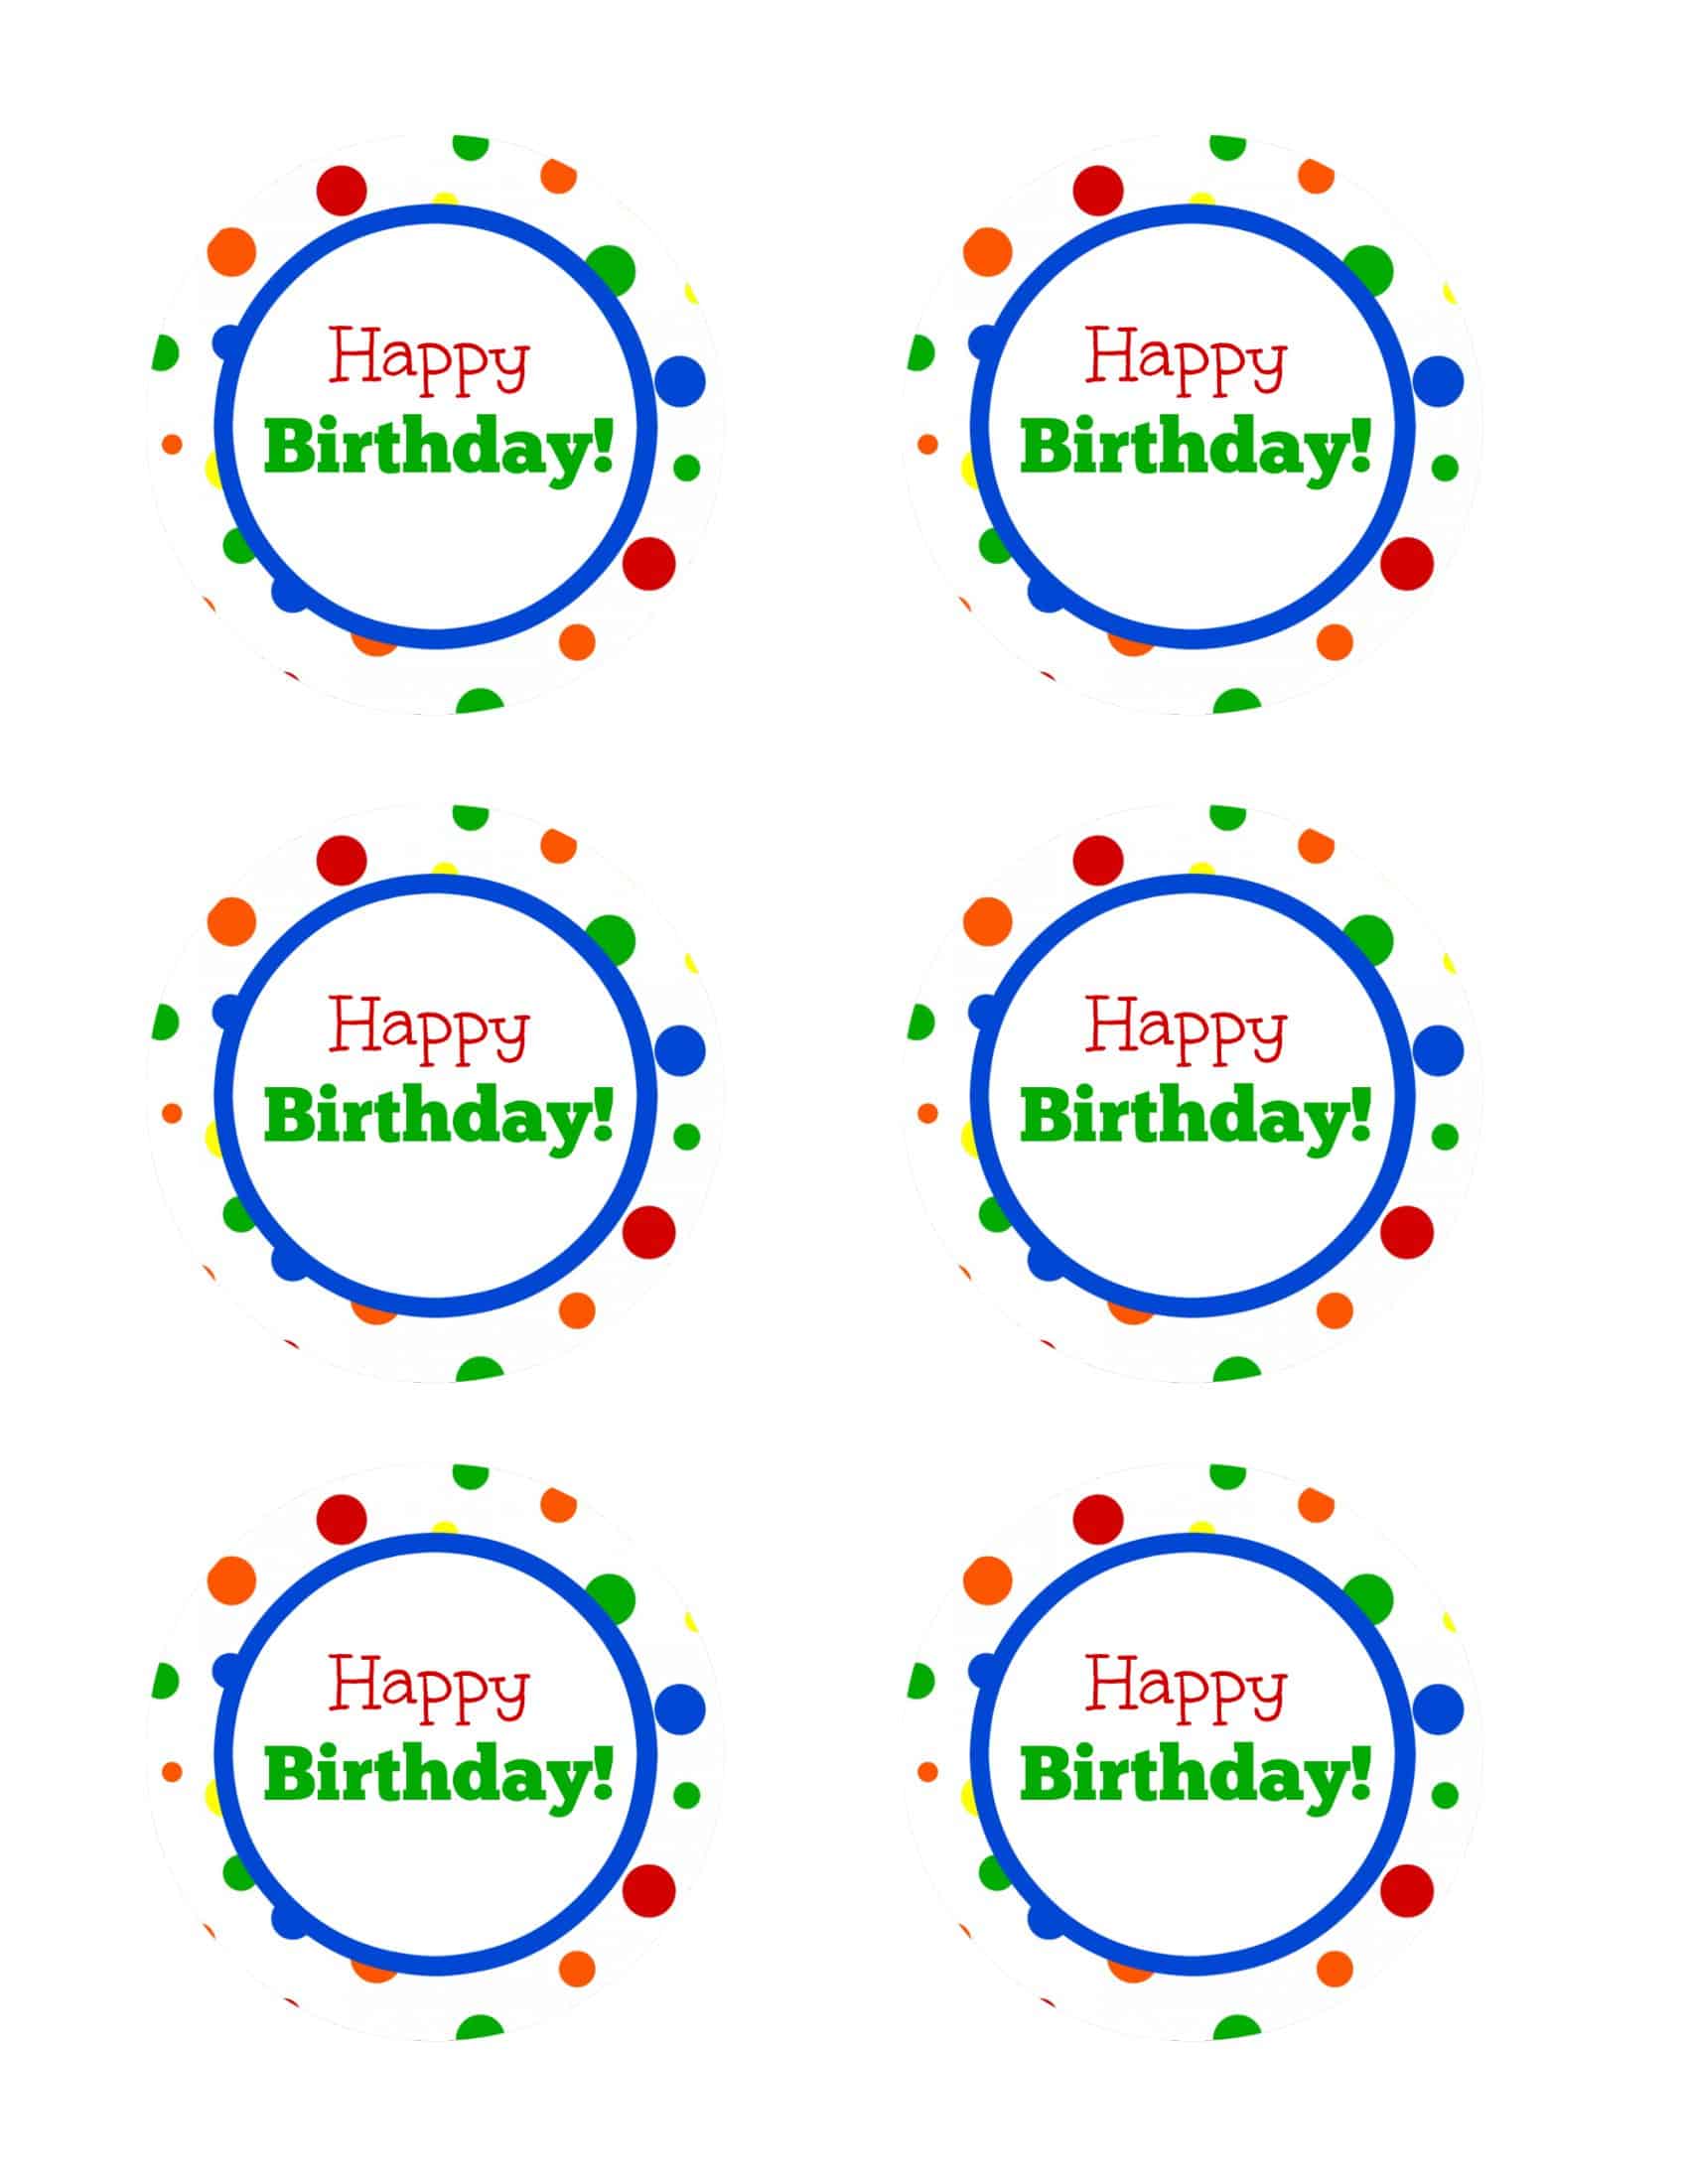
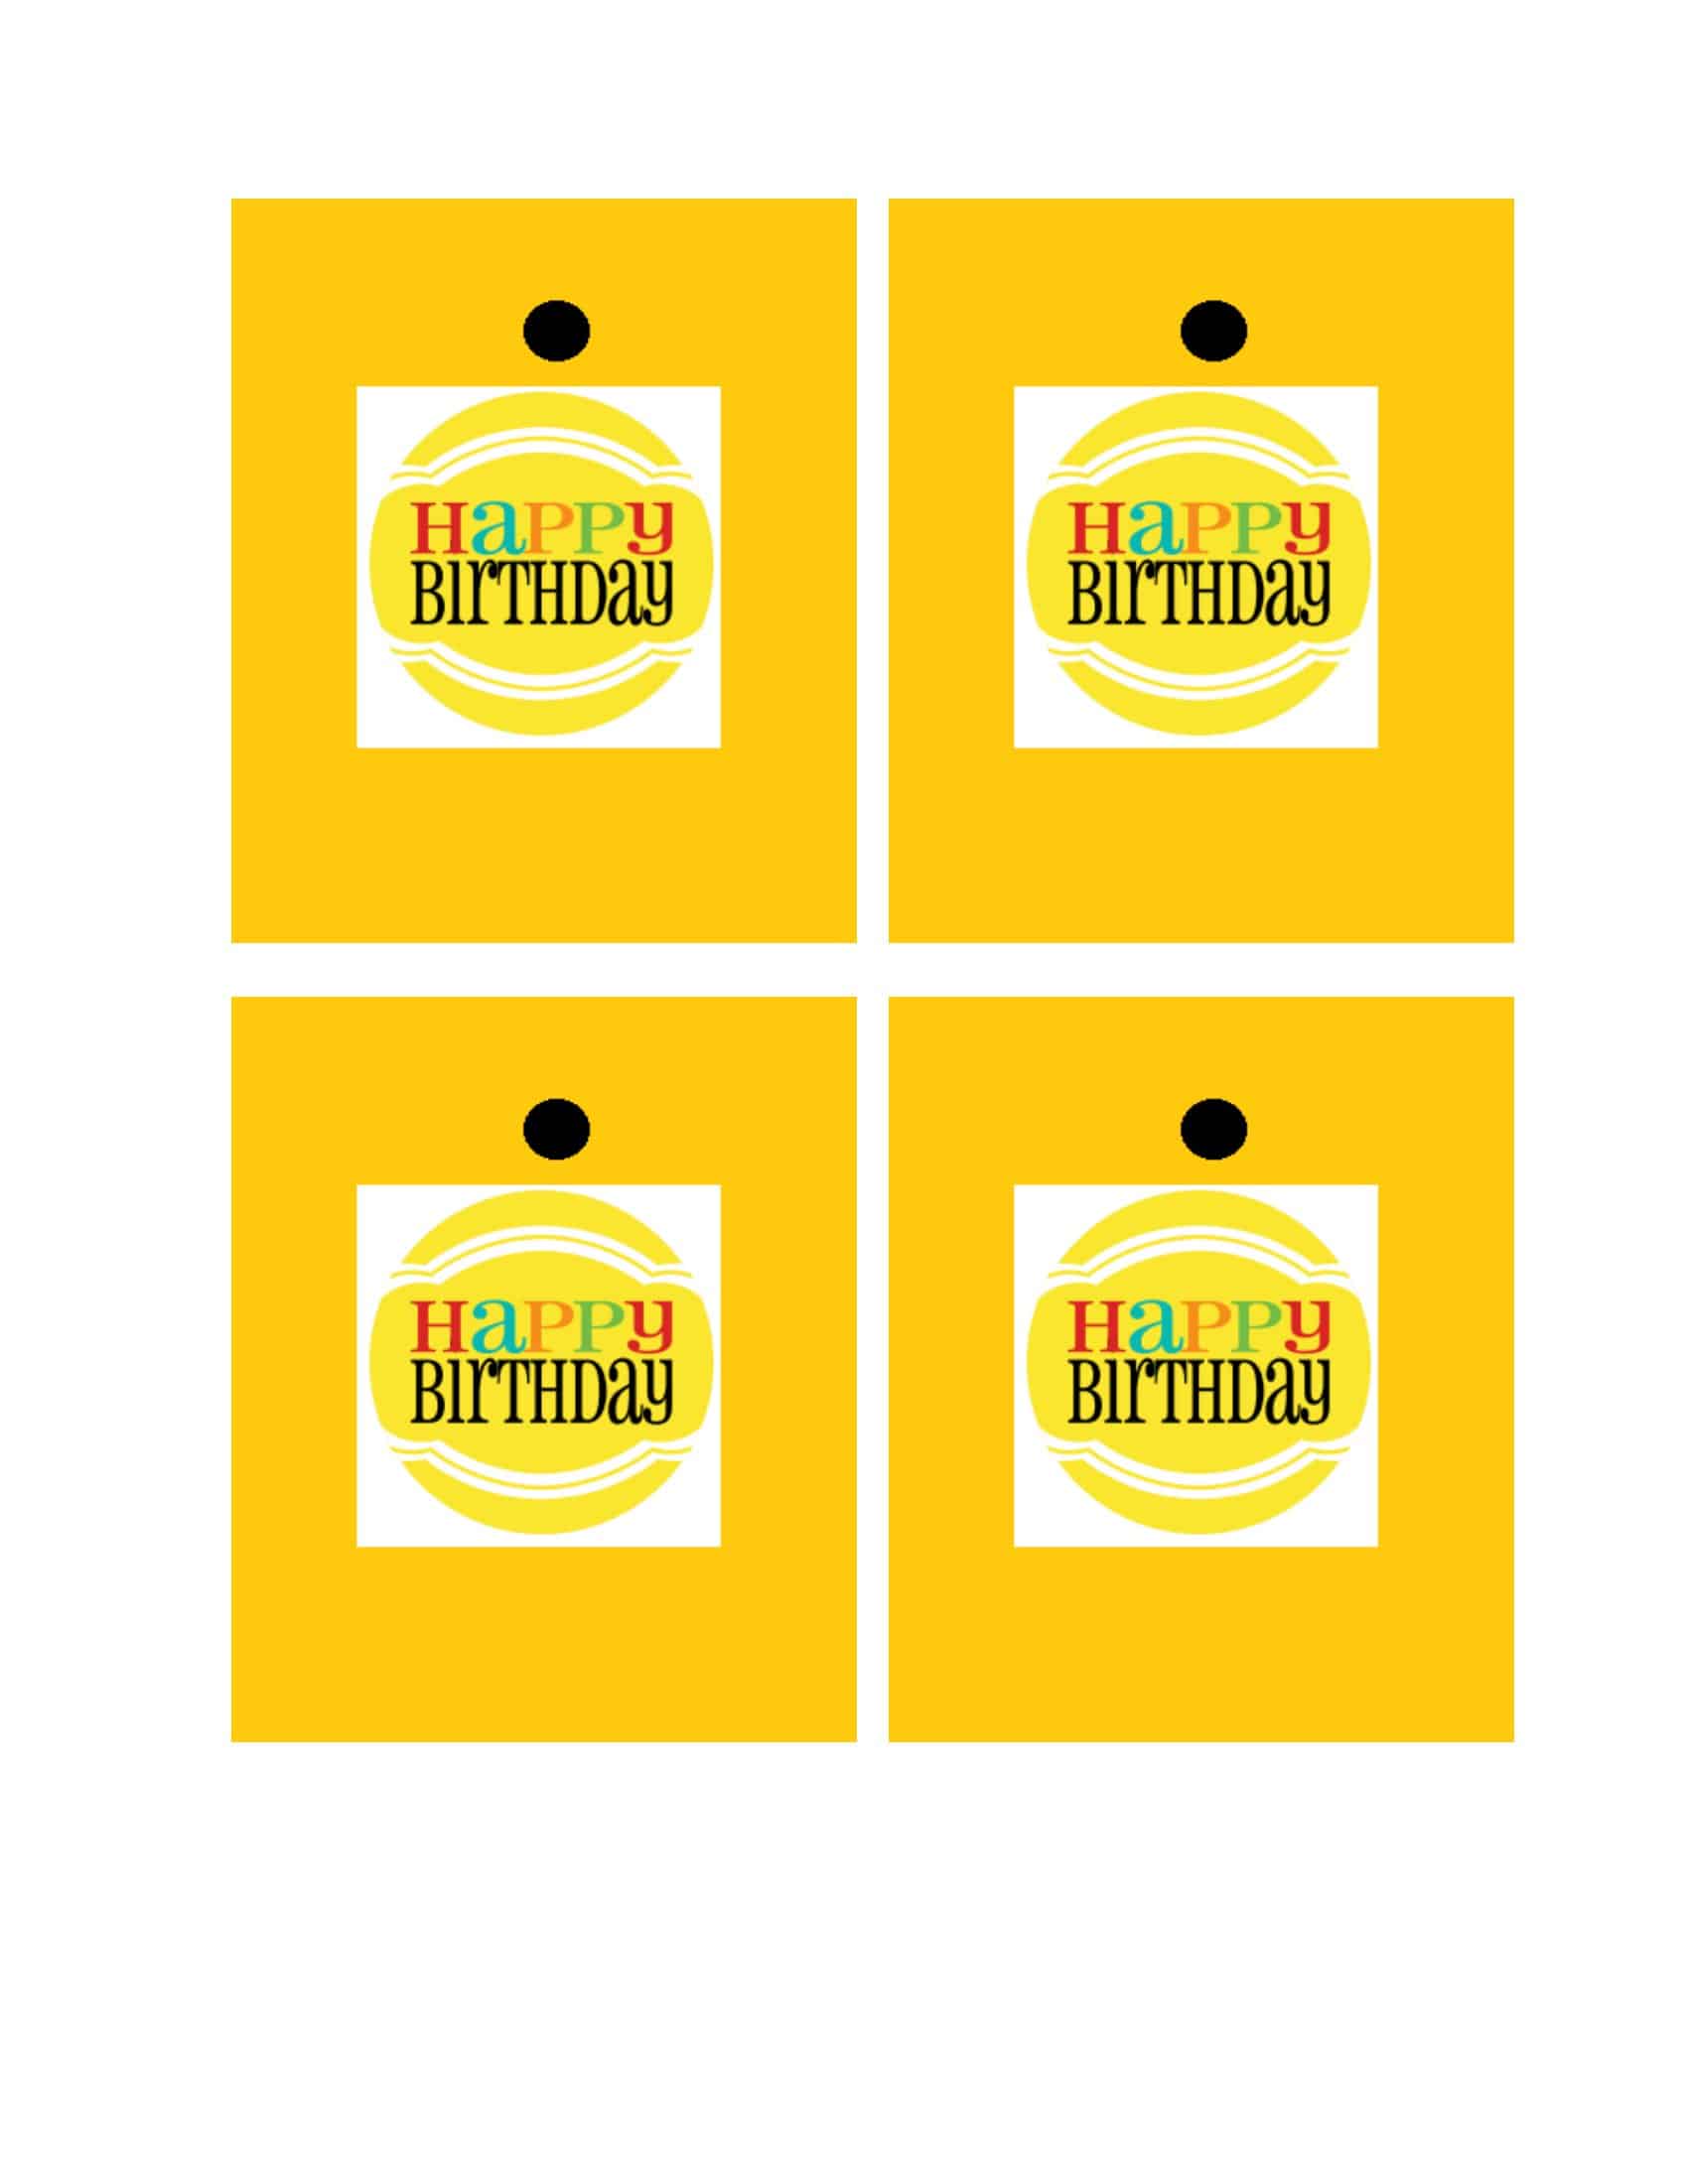
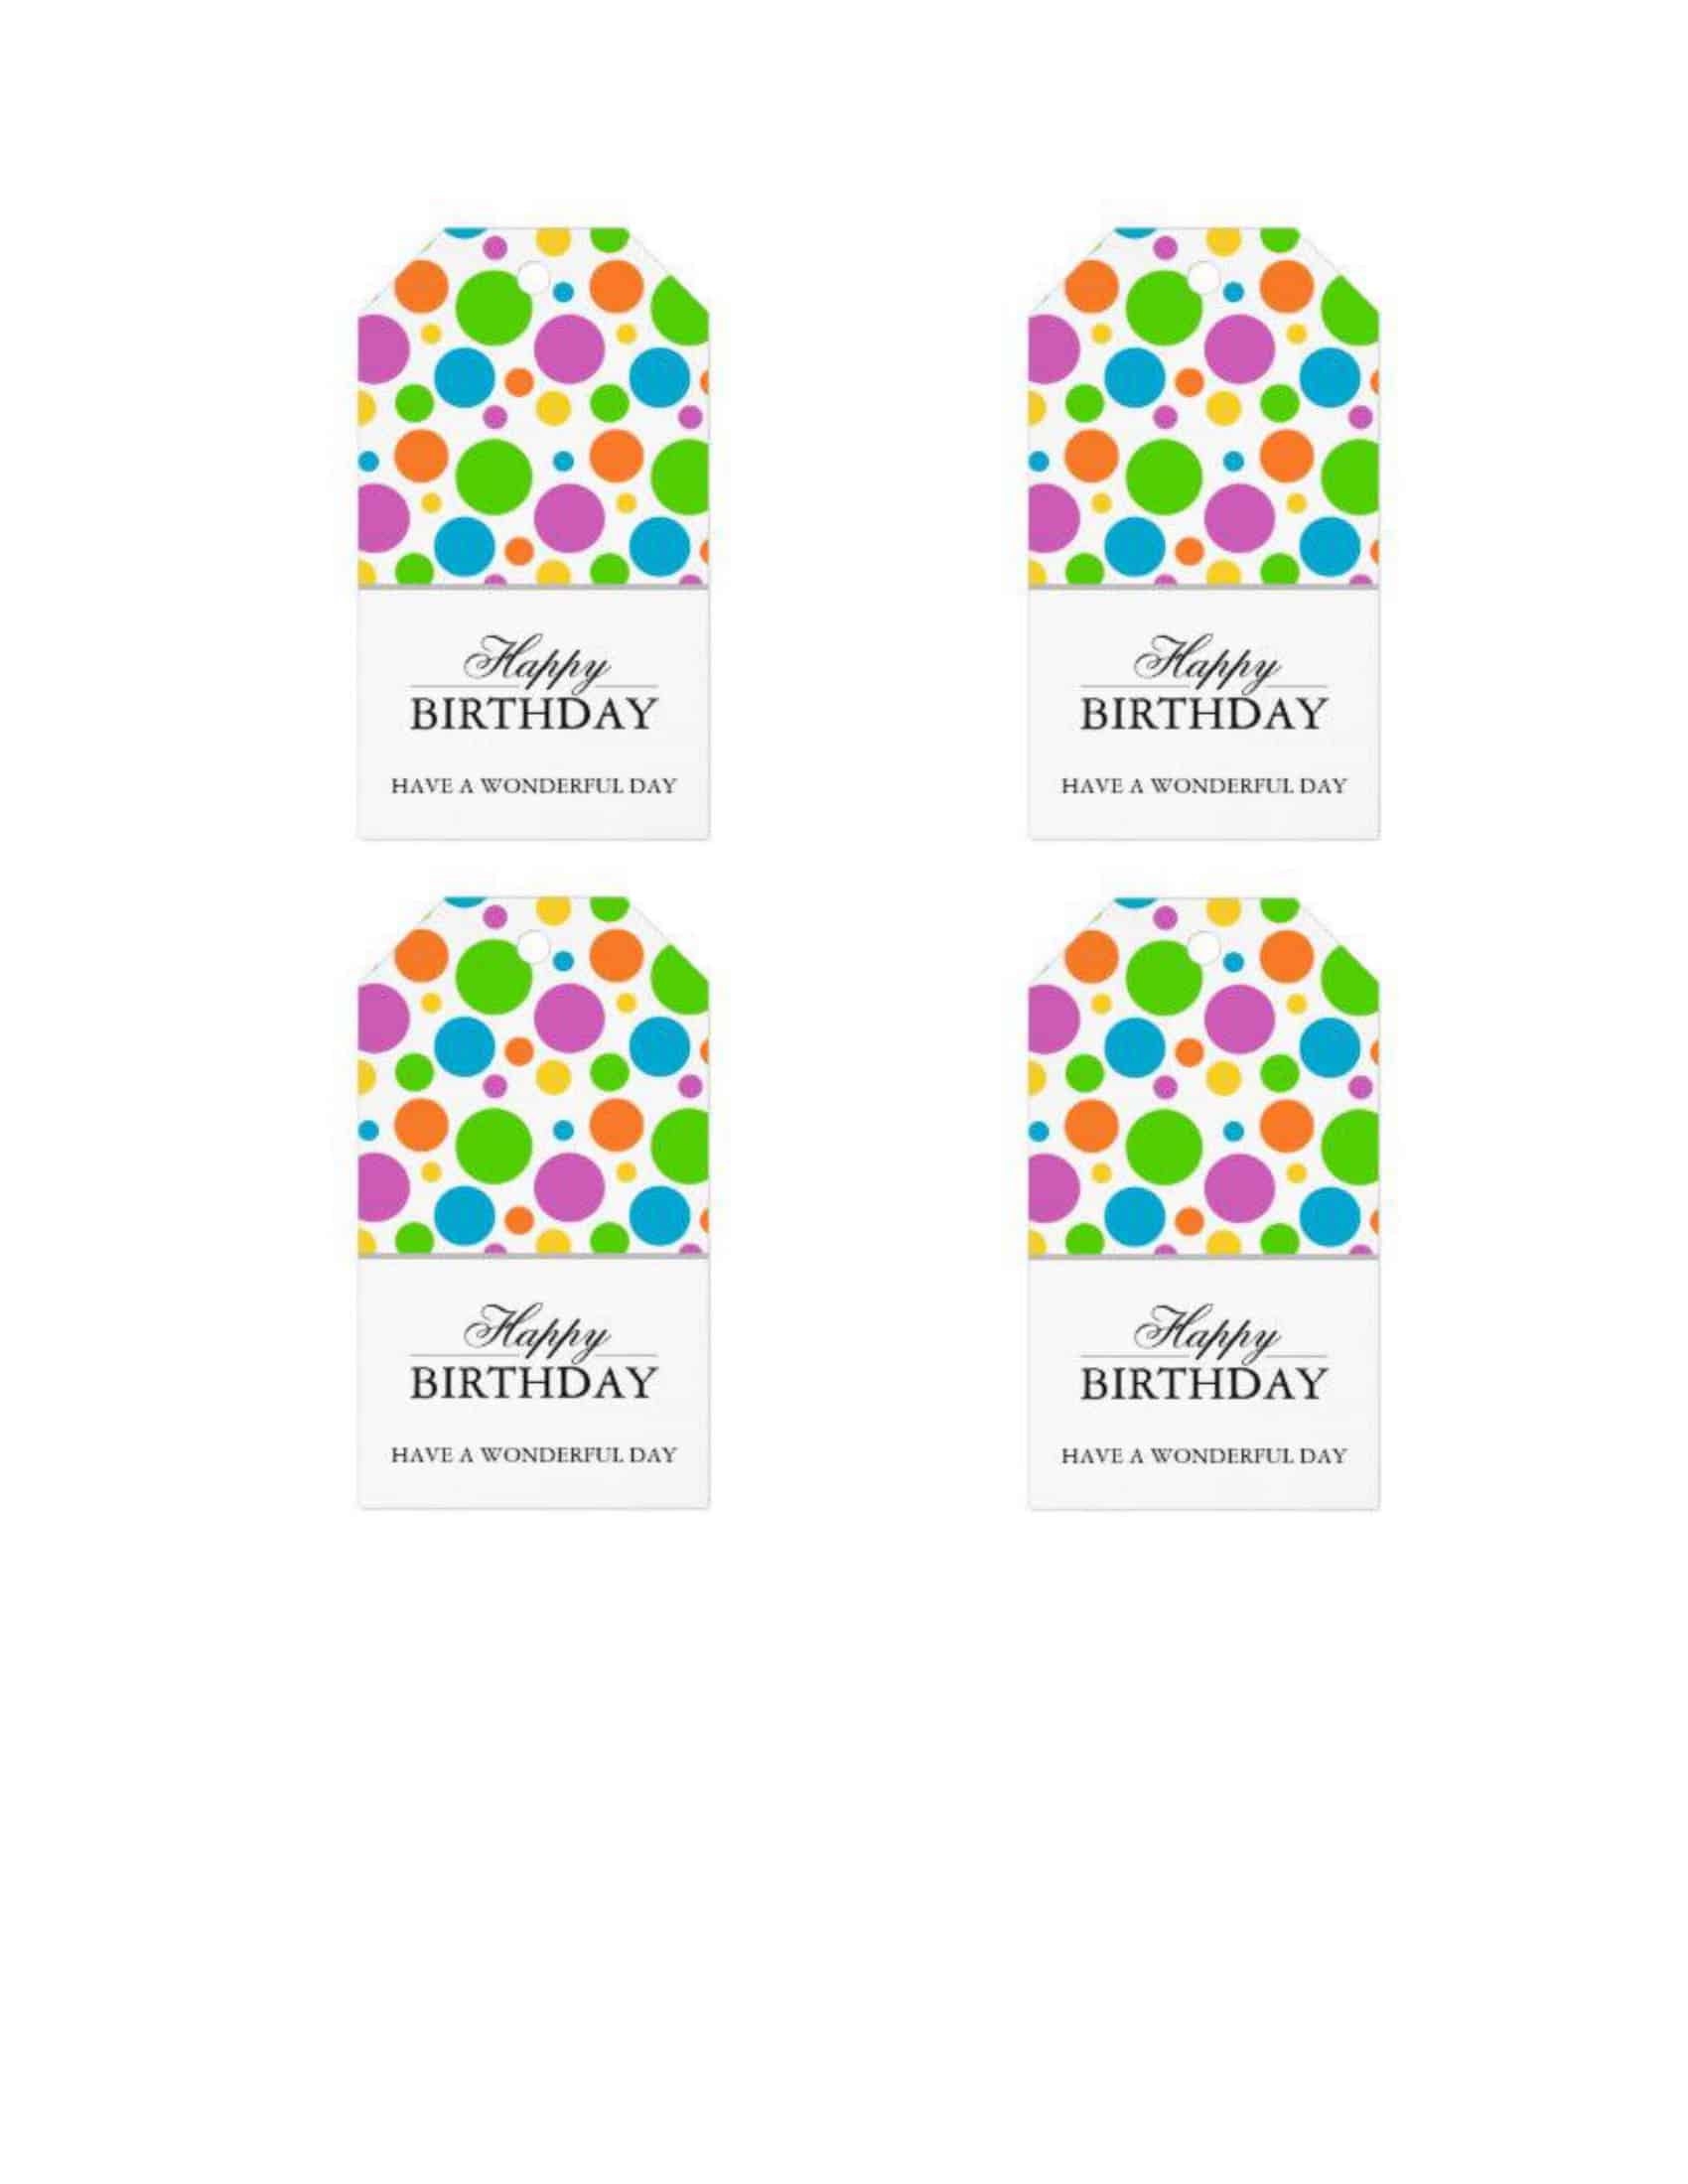
Birthdays are a time of joy and celebration, and the gift tags should reflect that. Vibrant and playful, these templates often feature balloons, cakes, or candles. But why stop there? You can also opt for age-specific templates, such as ones with cute animals for a child’s birthday or elegant designs for an adult’s special day. With these templates, your gift will stand out and add an extra touch of excitement to the birthday festivities.
Wedding Gift Tag Templates
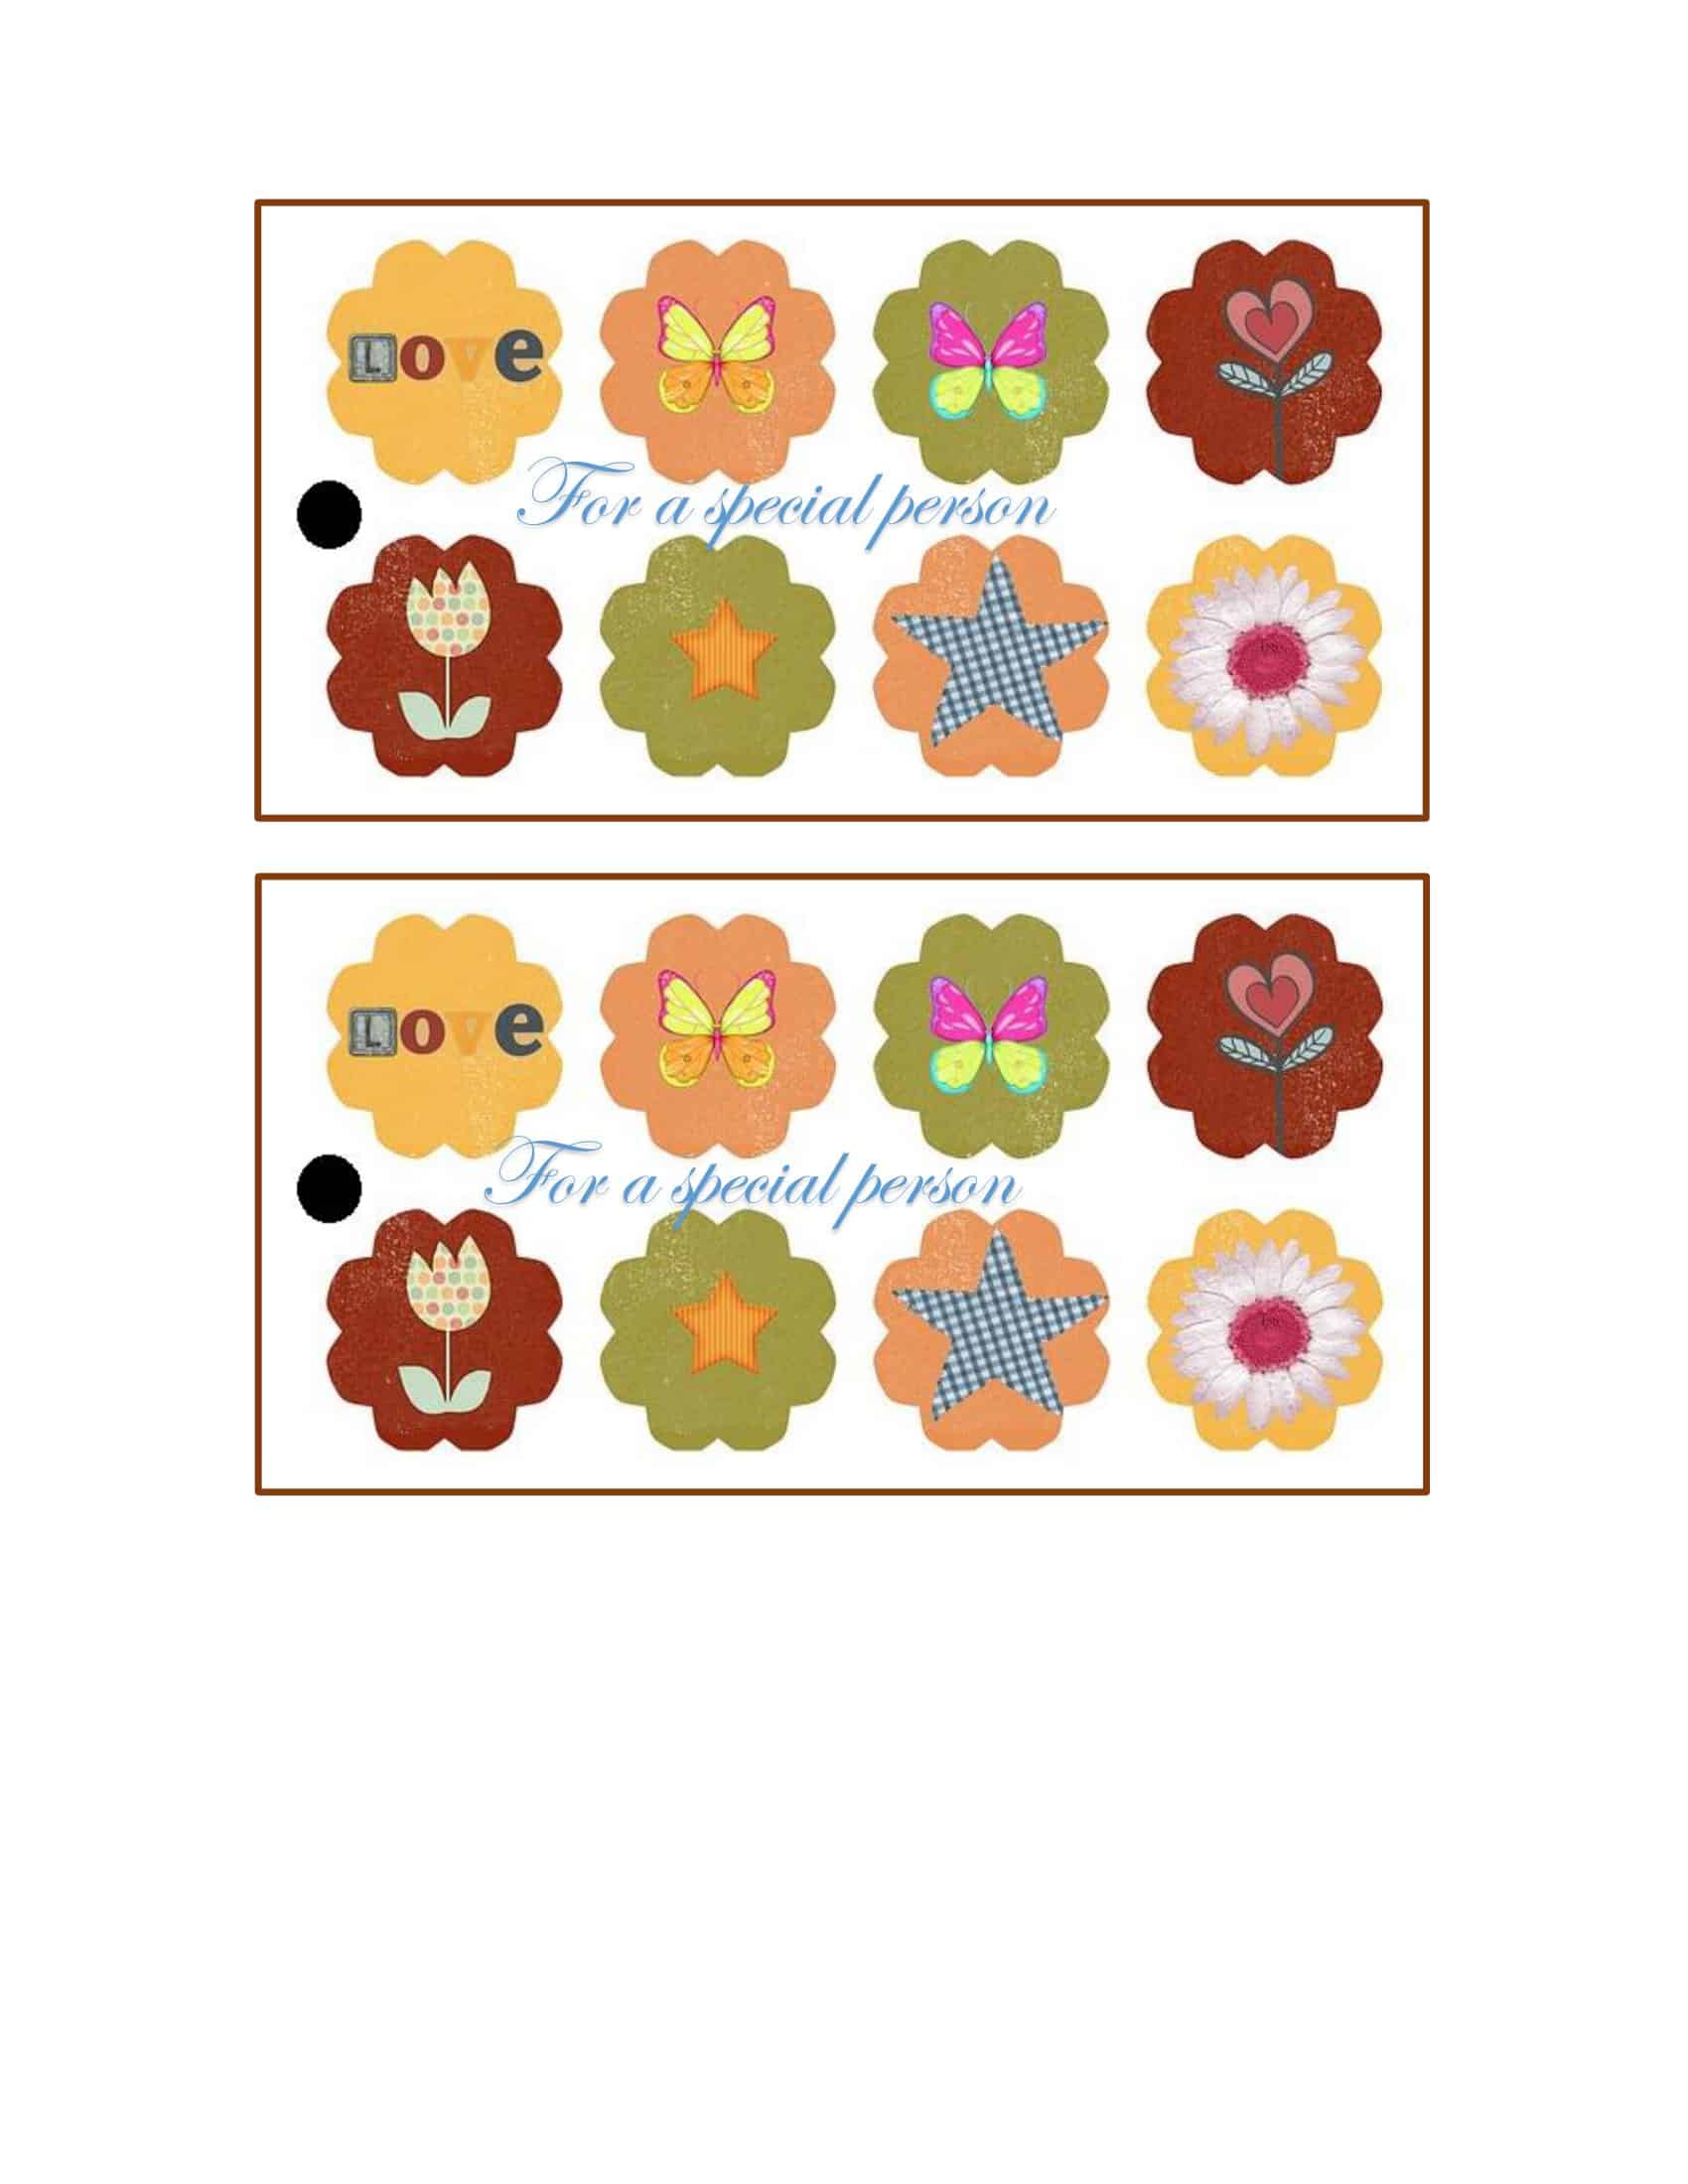
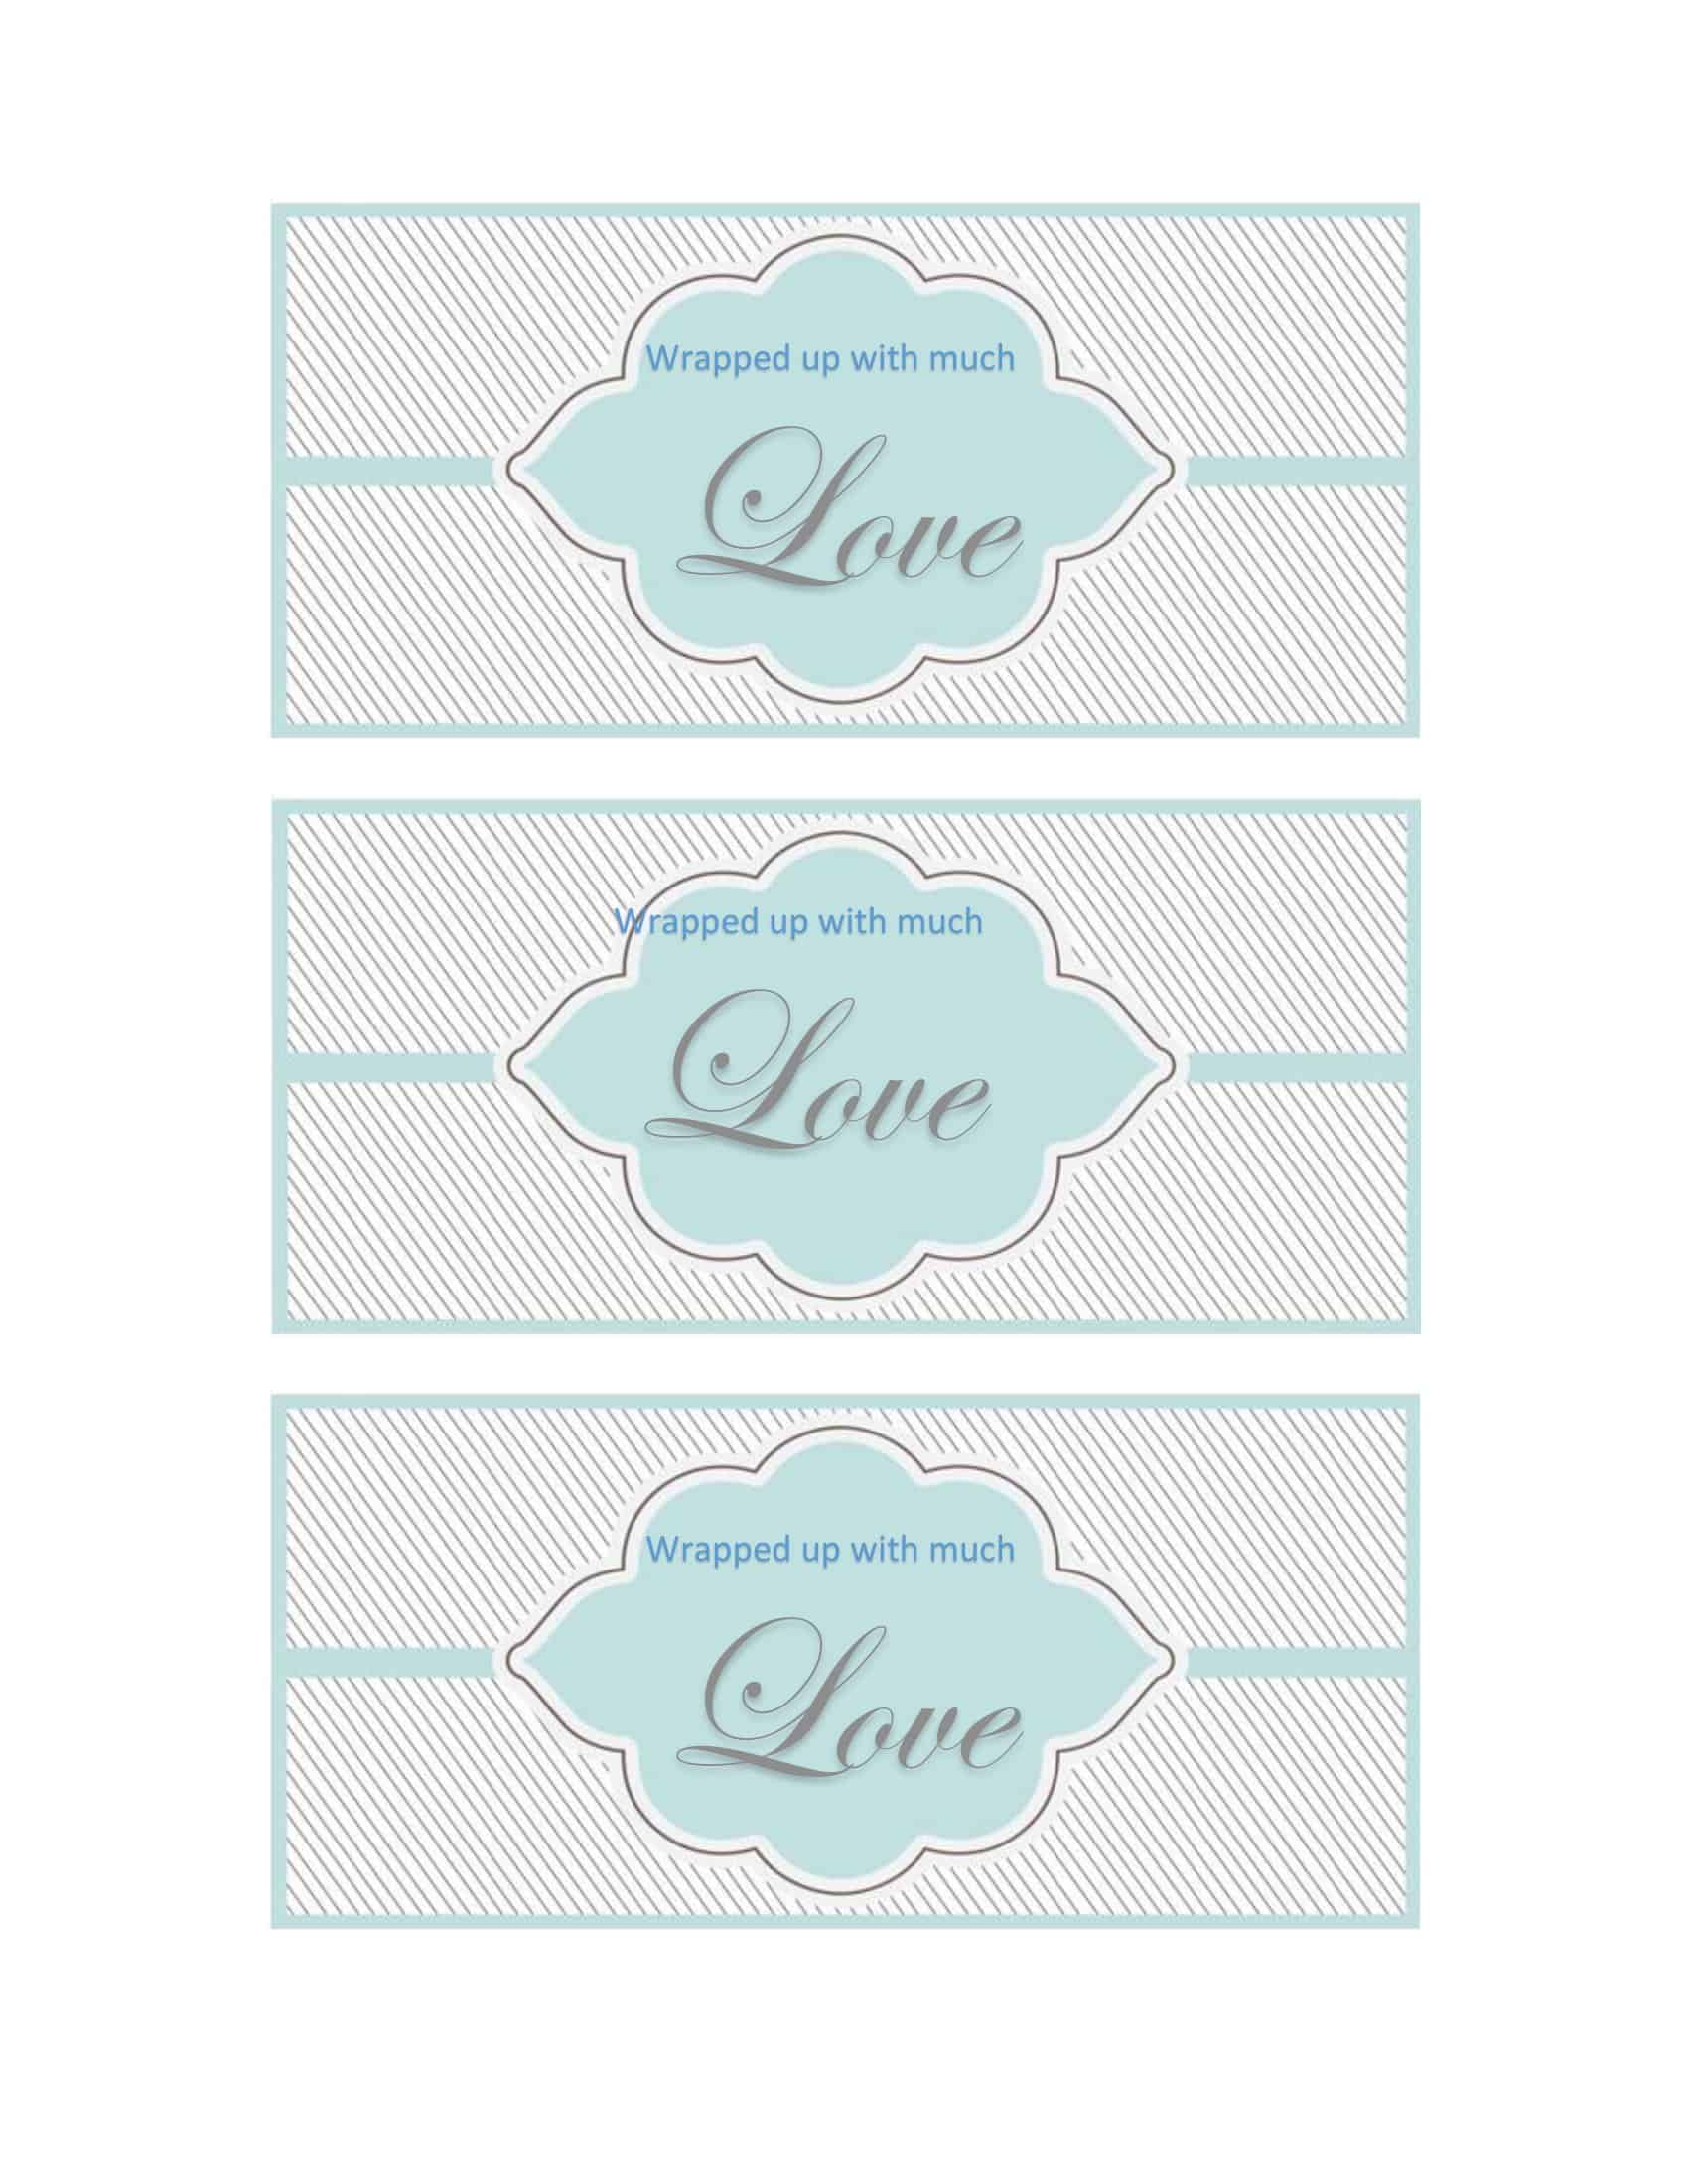
When it comes to weddings, elegance and sophistication are key. Wedding gift tags embrace this aesthetic, incorporating elements like beautiful florals, delicate lace patterns, or monograms. These templates not only add a touch of romance to the marriage celebration but also serve as a keepsake for the couple. Imagine the joy on their faces when they see their names elegantly displayed on a gift tag that perfectly complements the beauty of their special day.
Christmas Gift Tag Templates
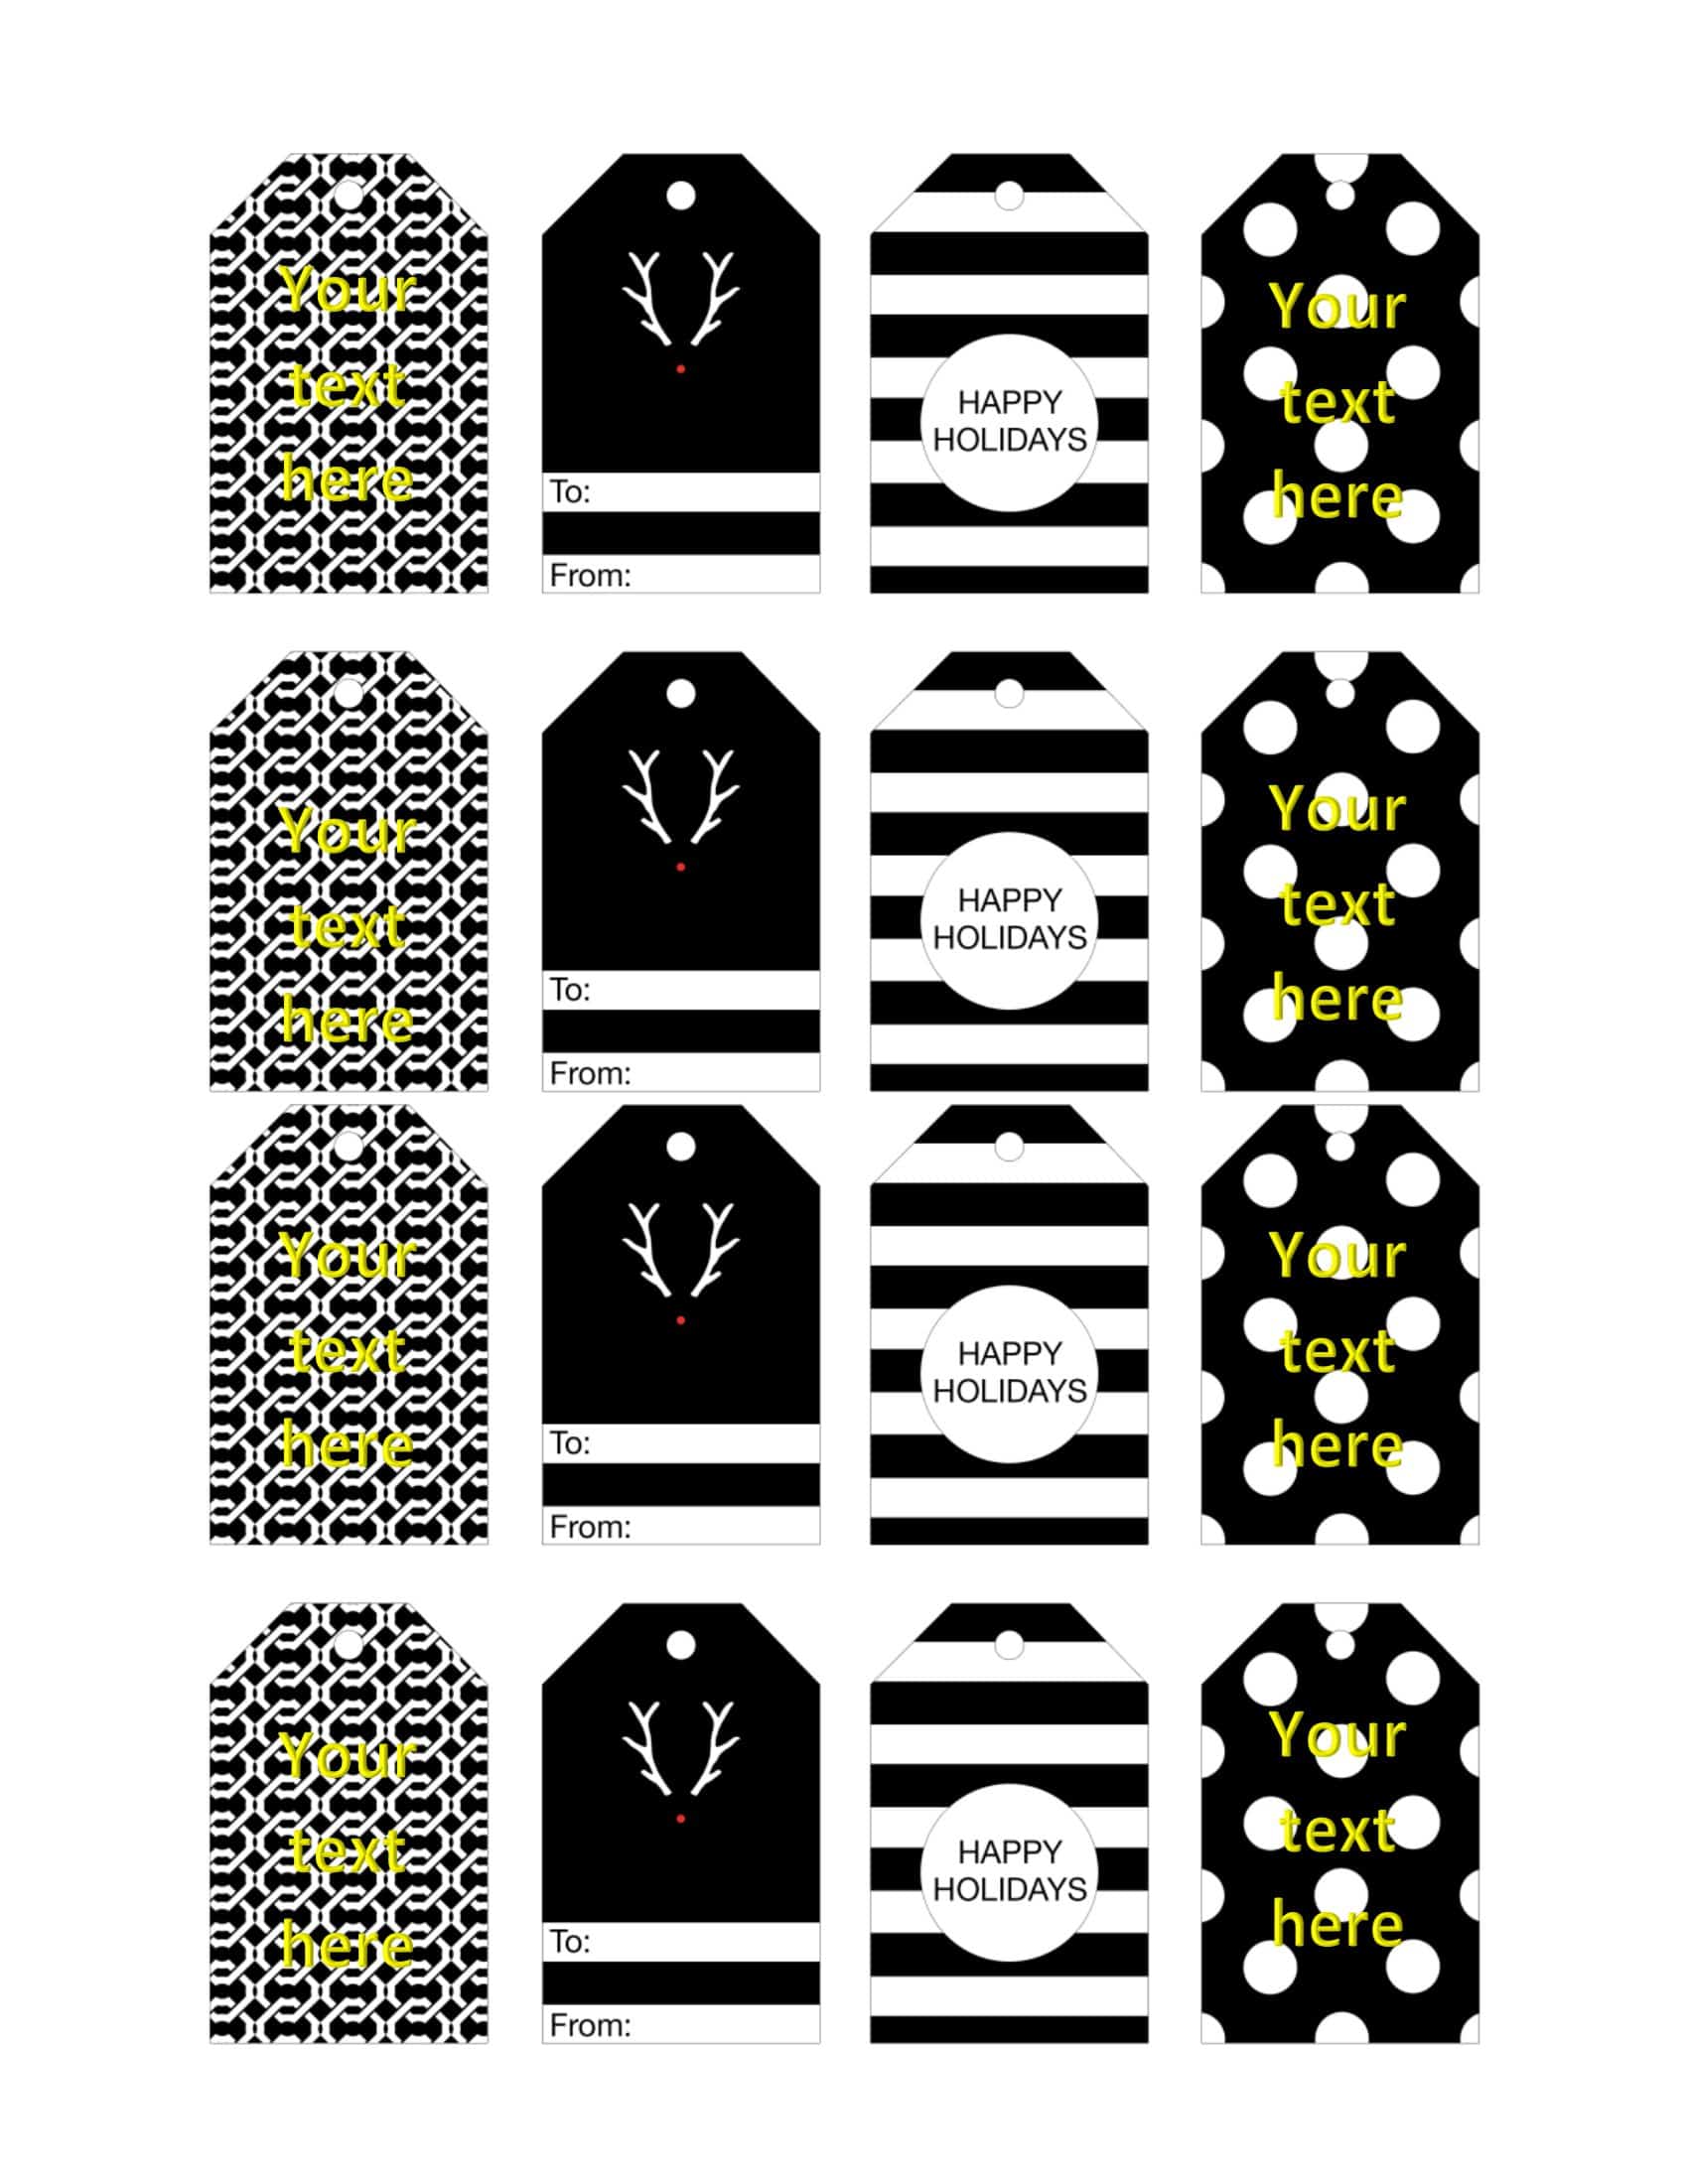
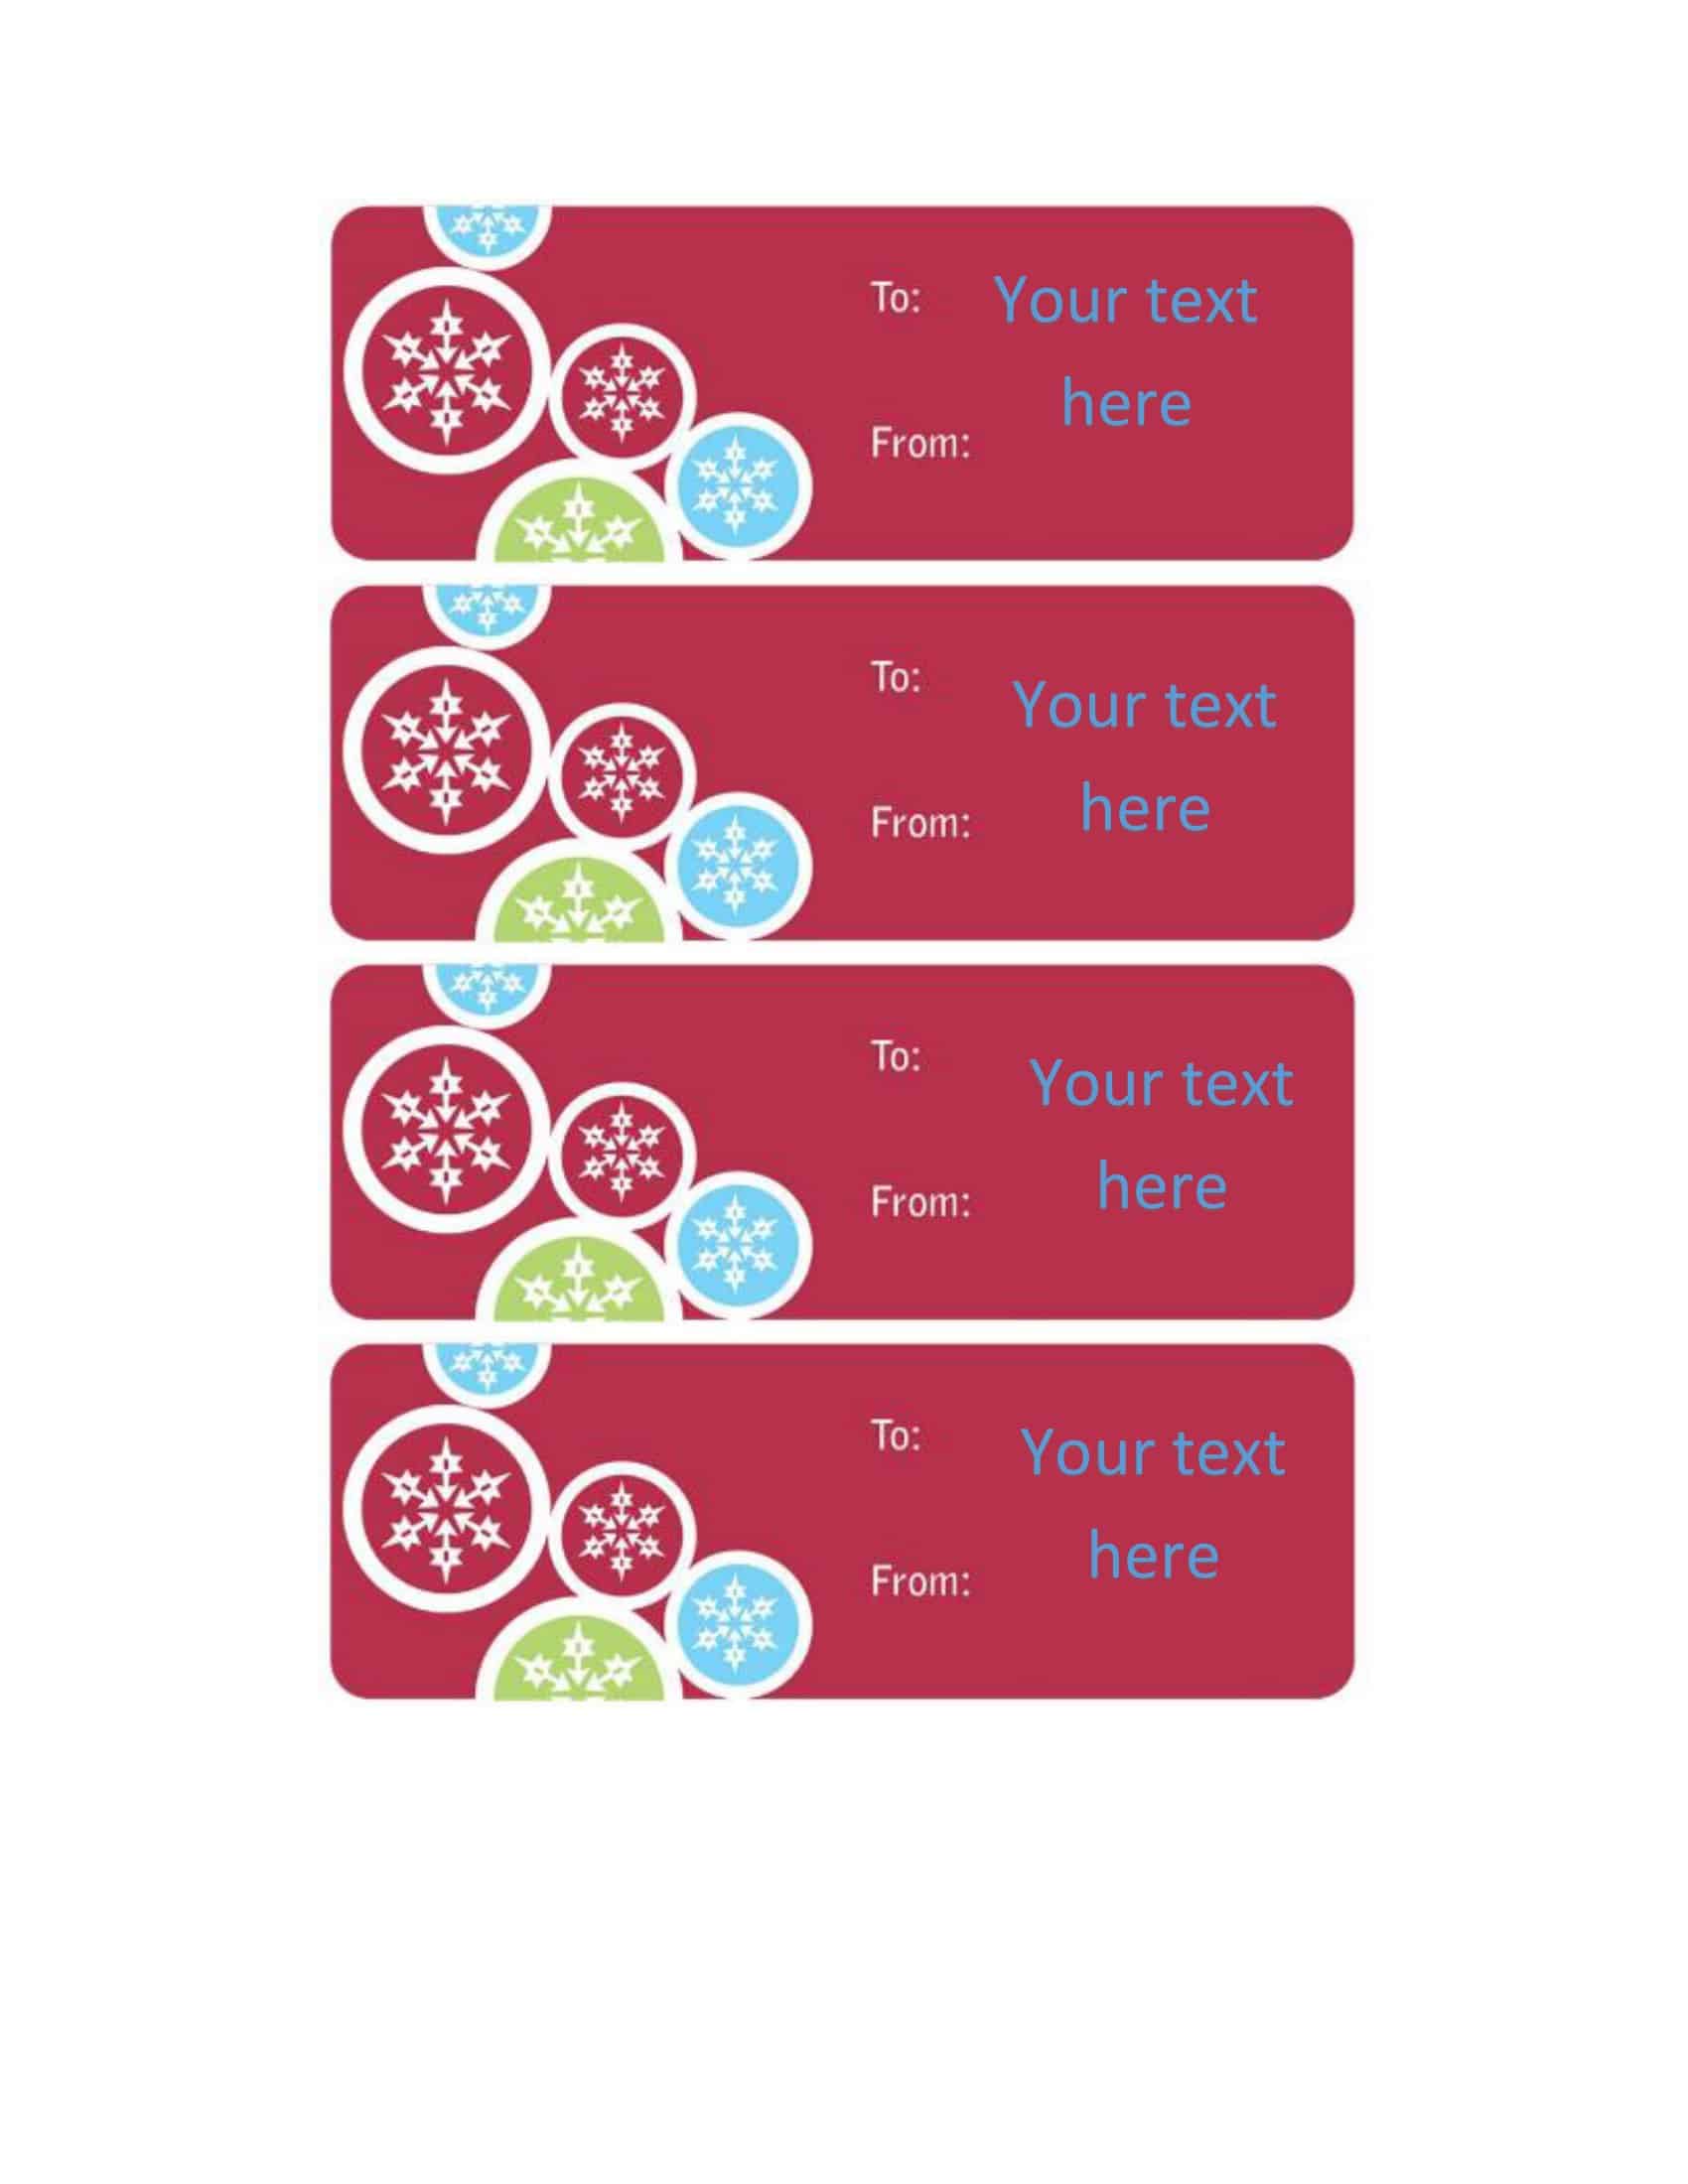
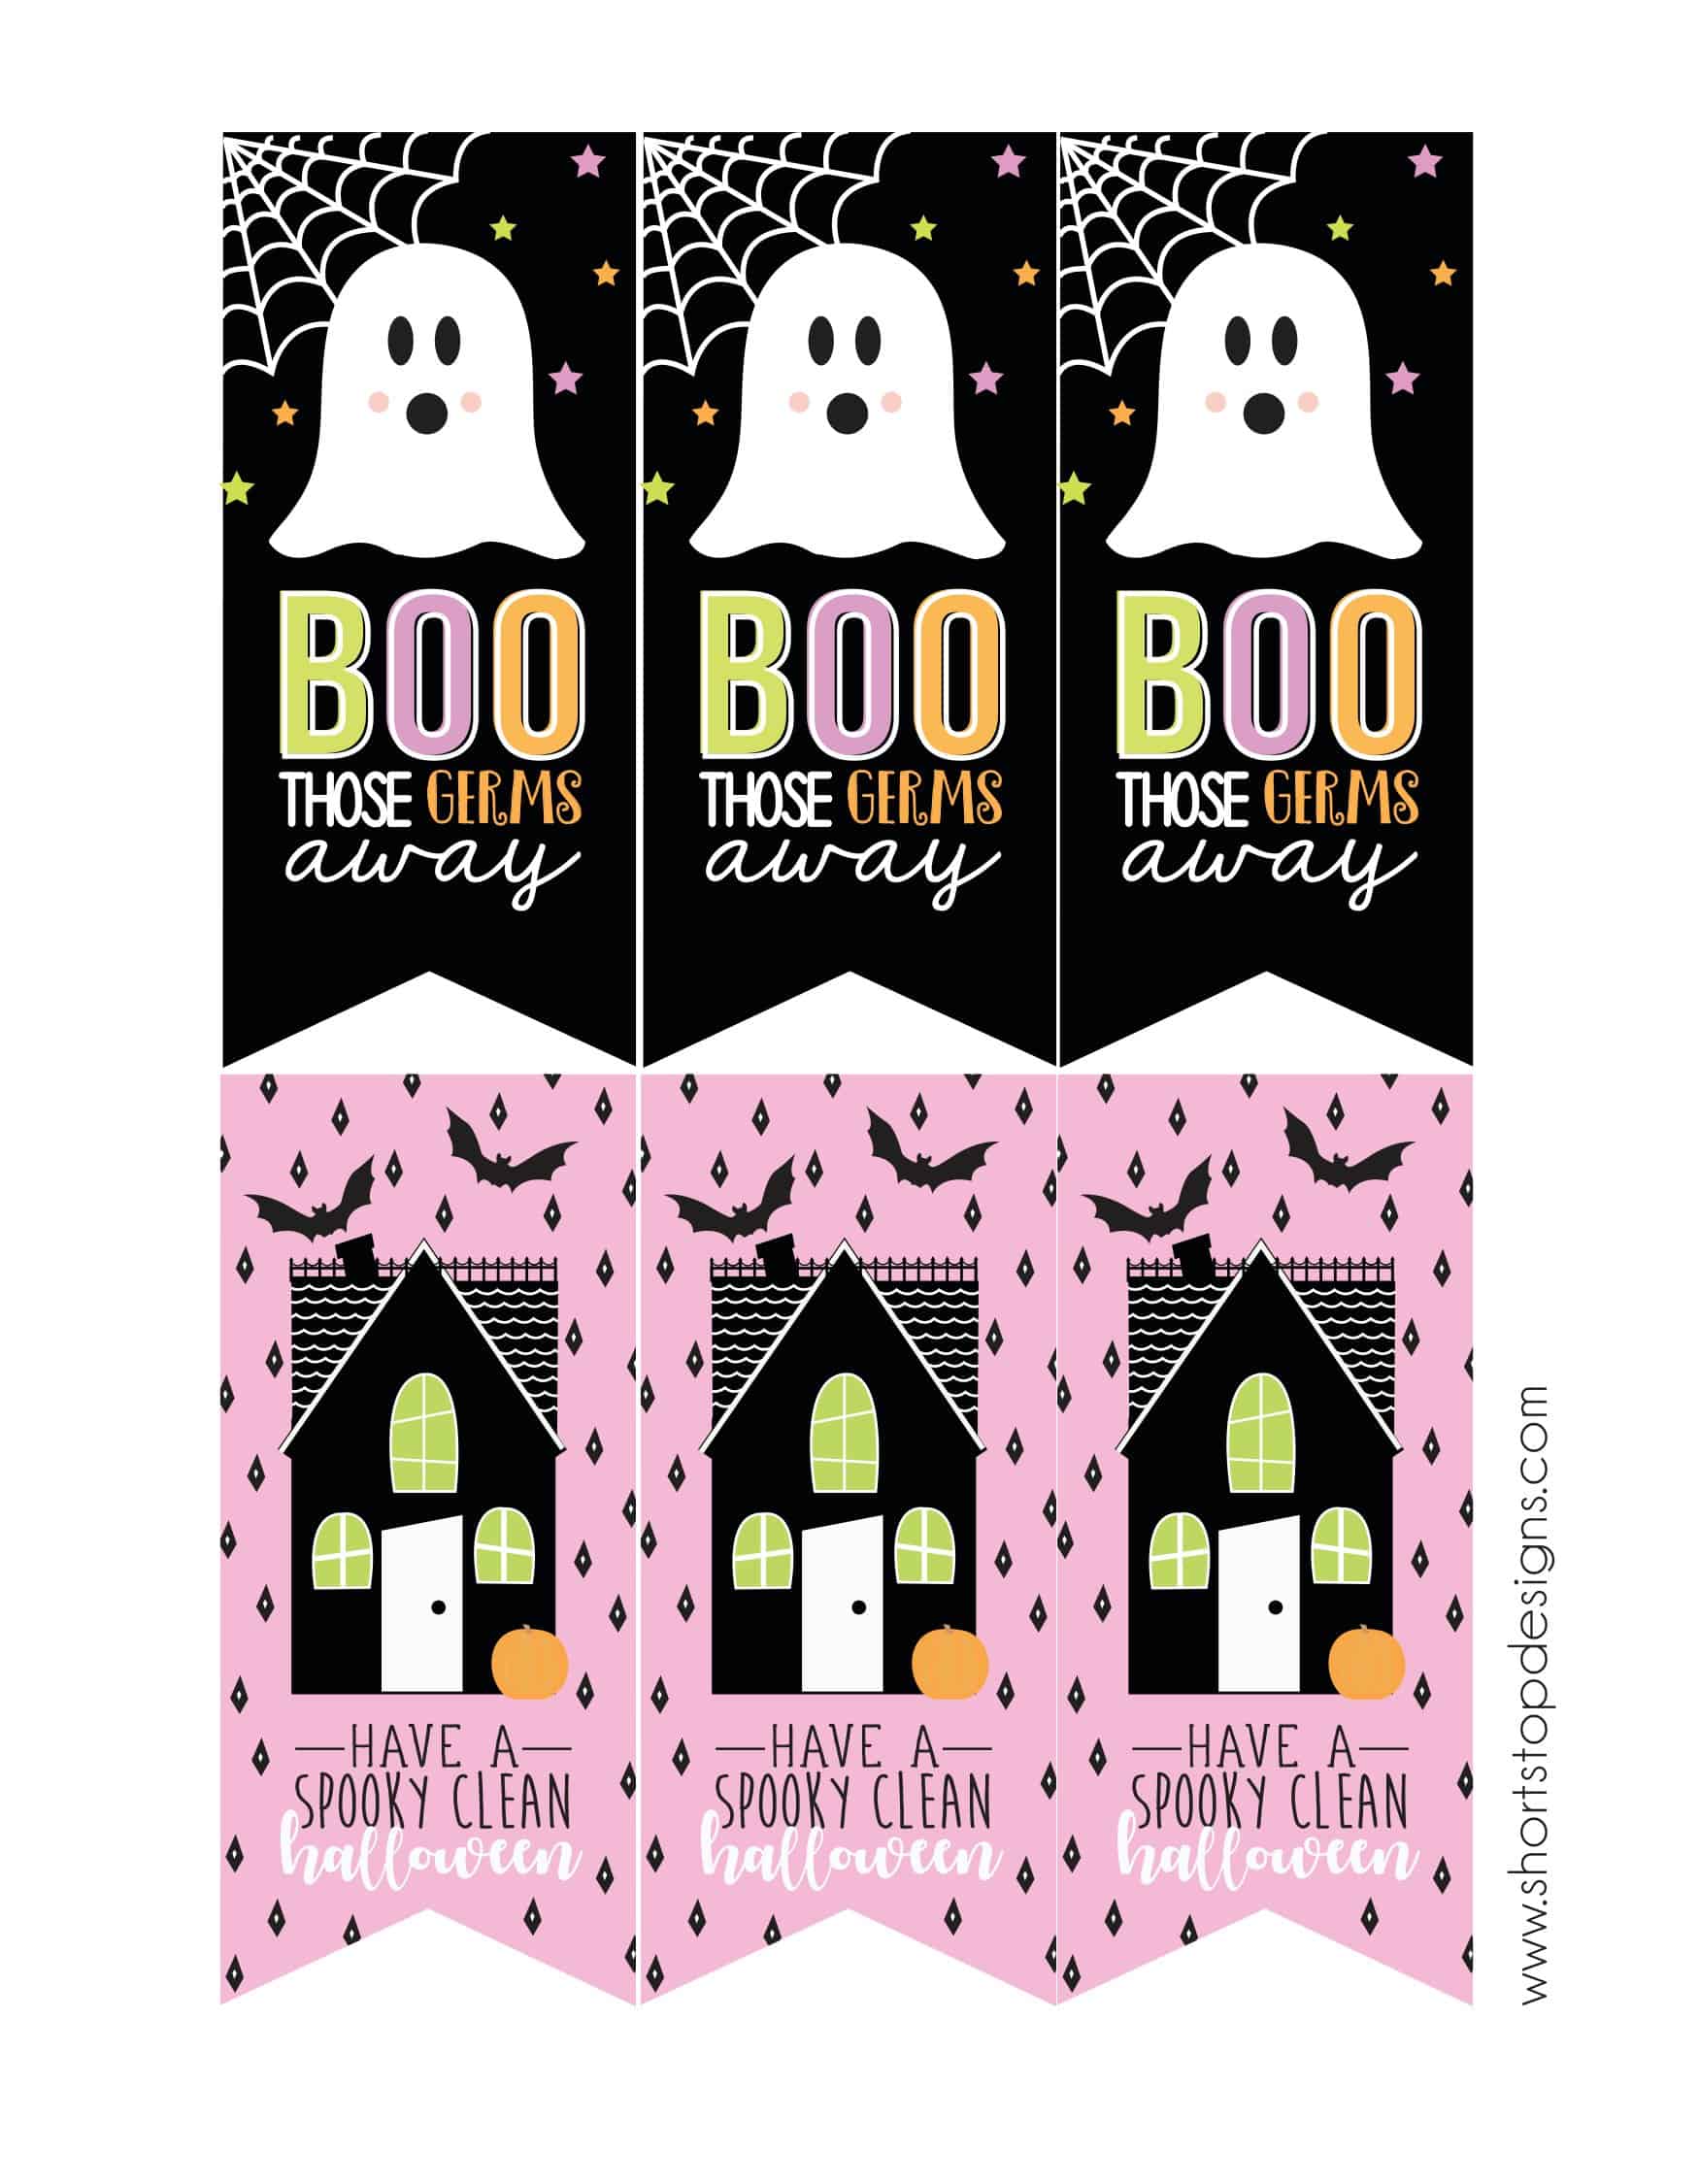
During the festive season, Christmas gift tags play a crucial role in spreading holiday cheer. These templates often feature classic symbols such as Santa Claus, reindeer, snowflakes, or Christmas trees. The designs evoke the joy and warmth of the holiday season, making them perfect for adding a festive touch to your gifts. Whether you’re giving presents to family, friends, or colleagues, these Christmas gift tags will make your packages stand out under the tree.
Baby Shower Gift Tag Templates
Celebrating the arrival of a newborn is a special occasion, and the gift tags should reflect the themes of innocence and tenderness. Baby shower gift tag templates often include adorable baby animals, pastel colors, or baby-related objects like rattles and bottles. These templates not only add an extra touch of sweetness to the celebration but also serve as a reminder of the joyous anticipation of welcoming a new life into the world. With these gift tags, your presents will be as adorable as the little bundle of joy they are meant for.
So, whether you’re celebrating a birthday, a wedding, Christmas, or a baby shower, there is a perfect gift tag template out there for you. By choosing the right template, you can add a personal touch to your gifts and make them even more memorable. So go ahead, explore the world of gift tag templates, and let your creativity shine!
Creating Your Own Gift Tag Templates
If you’re feeling creative and want to add a personal touch to your gift tags, creating your own templates is a wonderful option. Here’s a step-by-step guide to help you get started:
Choosing the Right Materials
To create your gift tag templates, you’ll need some basic materials like cardstock, scissors, a hole punch, and decorative elements like ribbons or stickers. Select cardstock in colors that match the occasion or your personal preference. Consider using different textures or finishes to enhance the visual appeal of your gift tags.
Designing Your Gift Tag
Begin by sketching out your desired gift tag shape on the cardstock. You can choose traditional rectangular, square, or get creative with unique shapes like hearts or stars. Once you’re satisfied with the shape, cut it out carefully using scissors. To add a professional touch, consider using a decorative edge punch for added flair.
Printing and Cutting Your Gift Tags
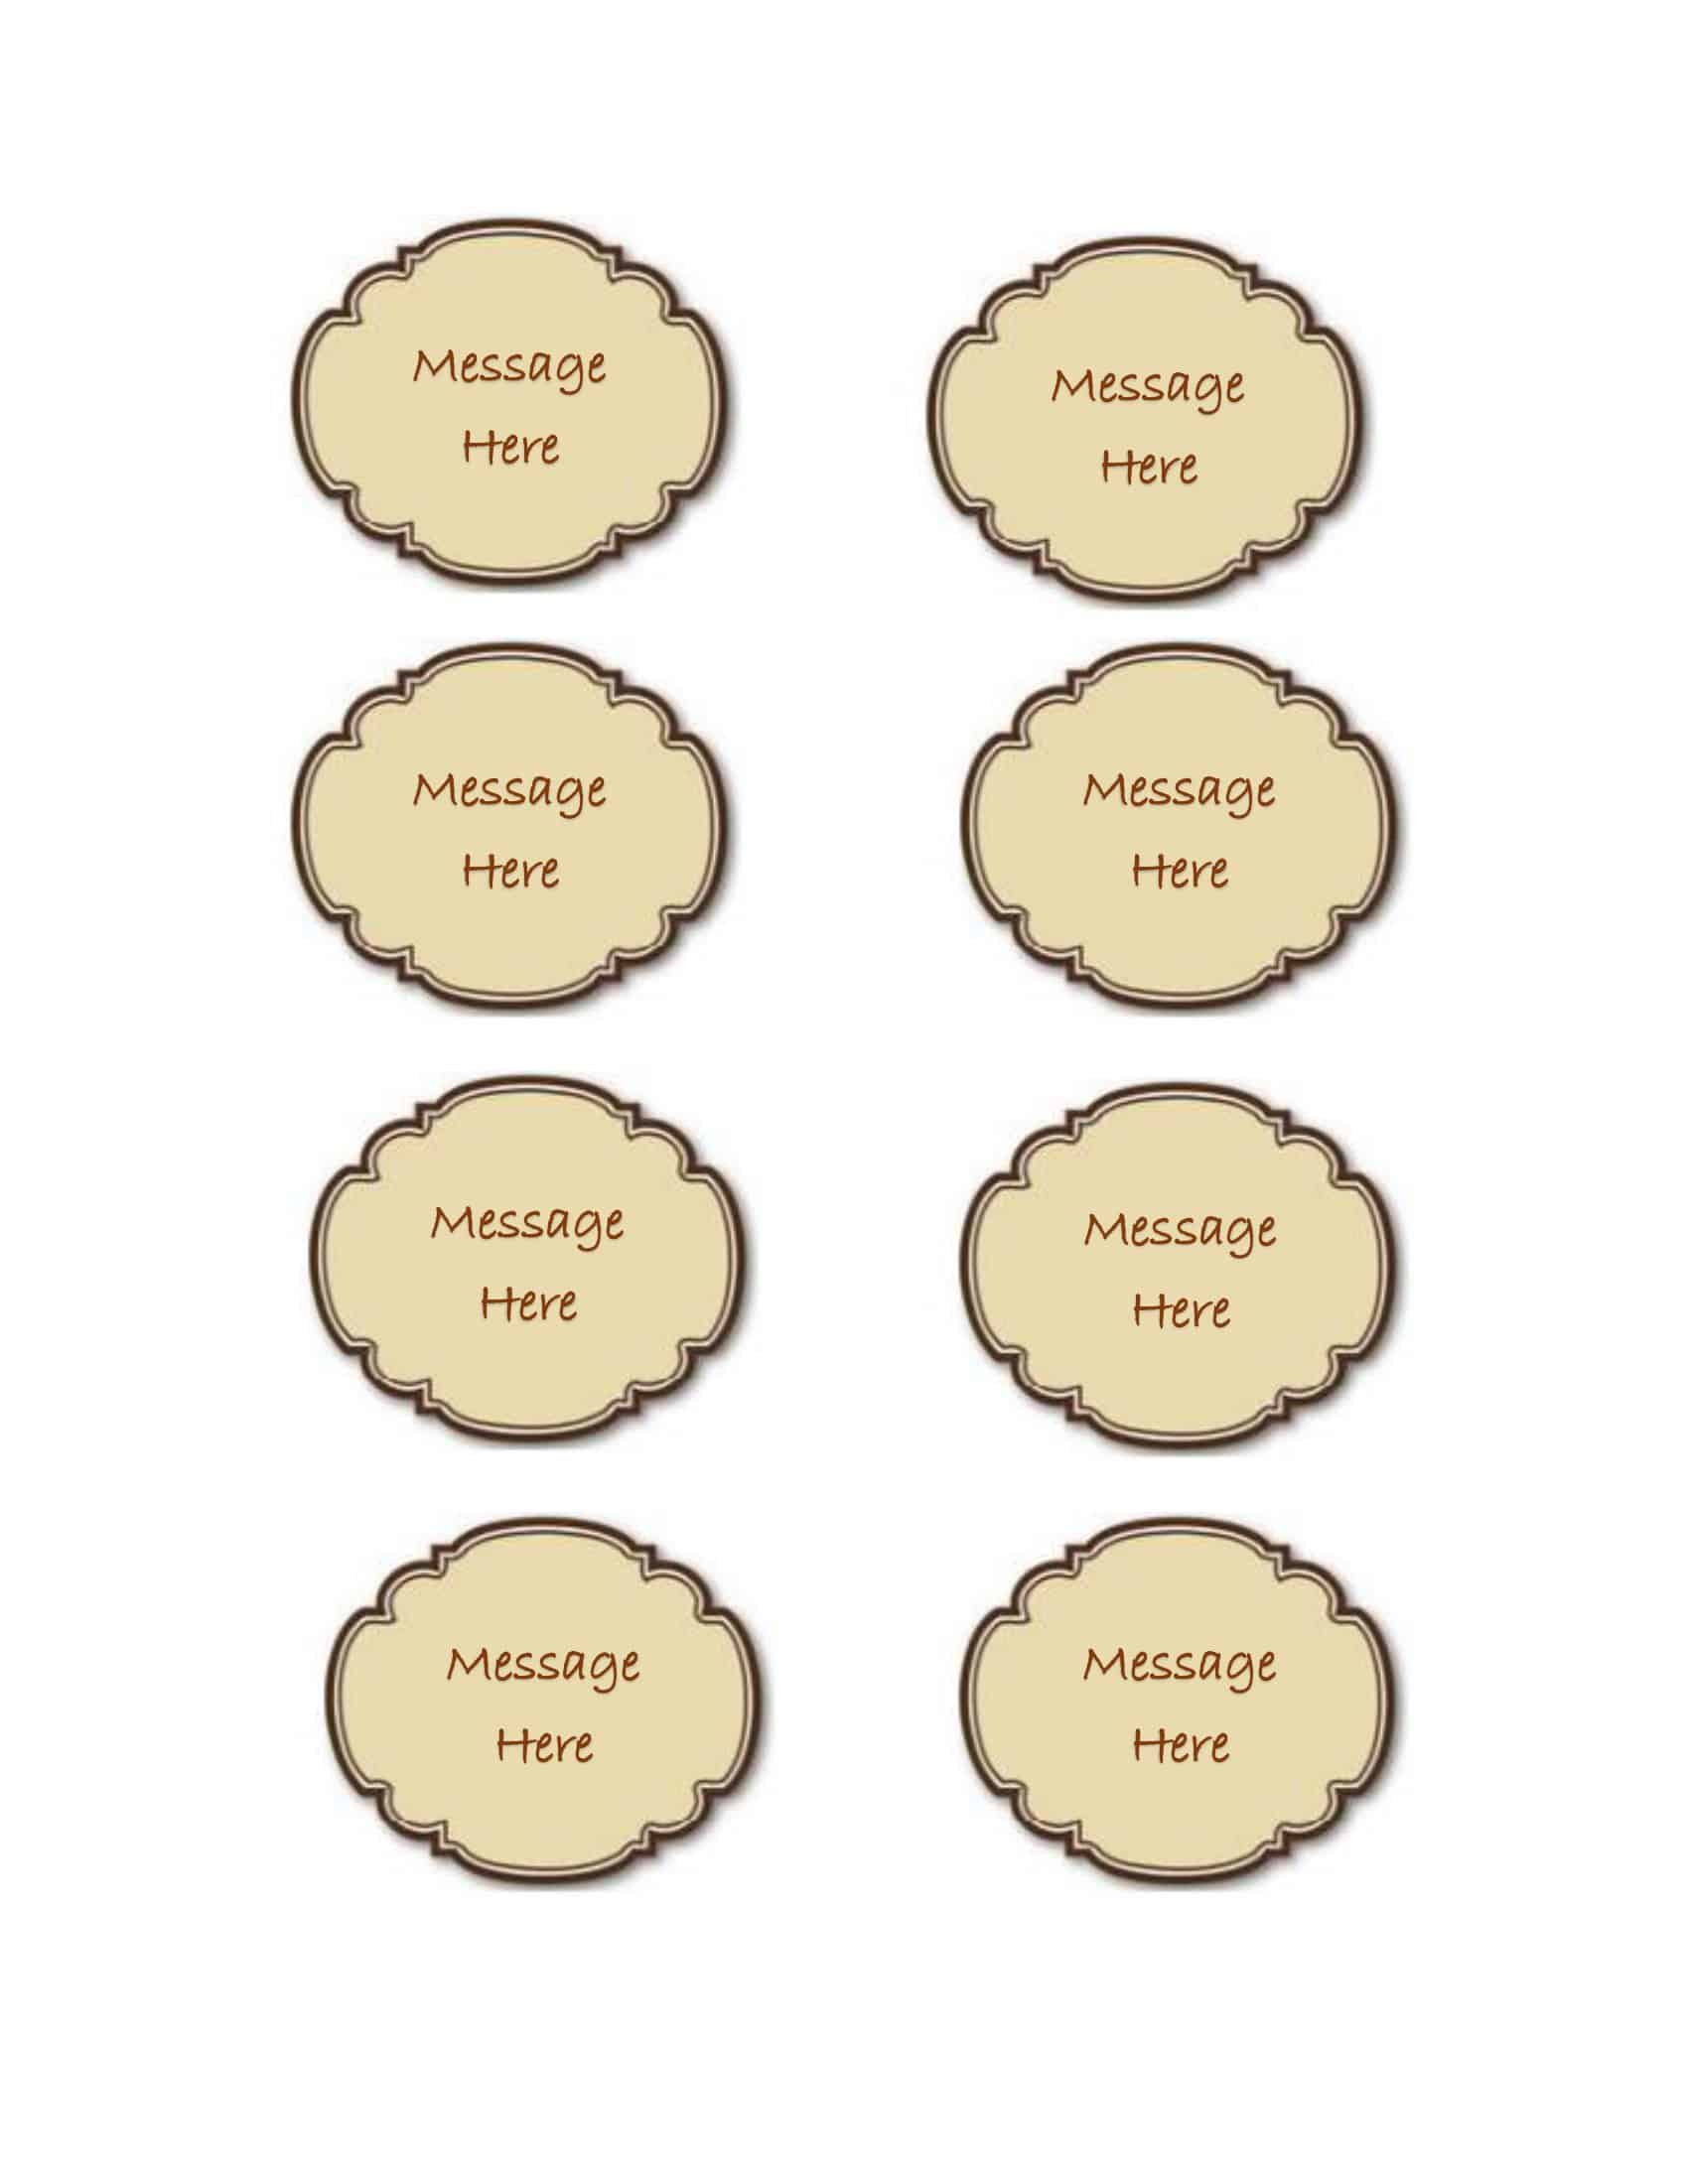
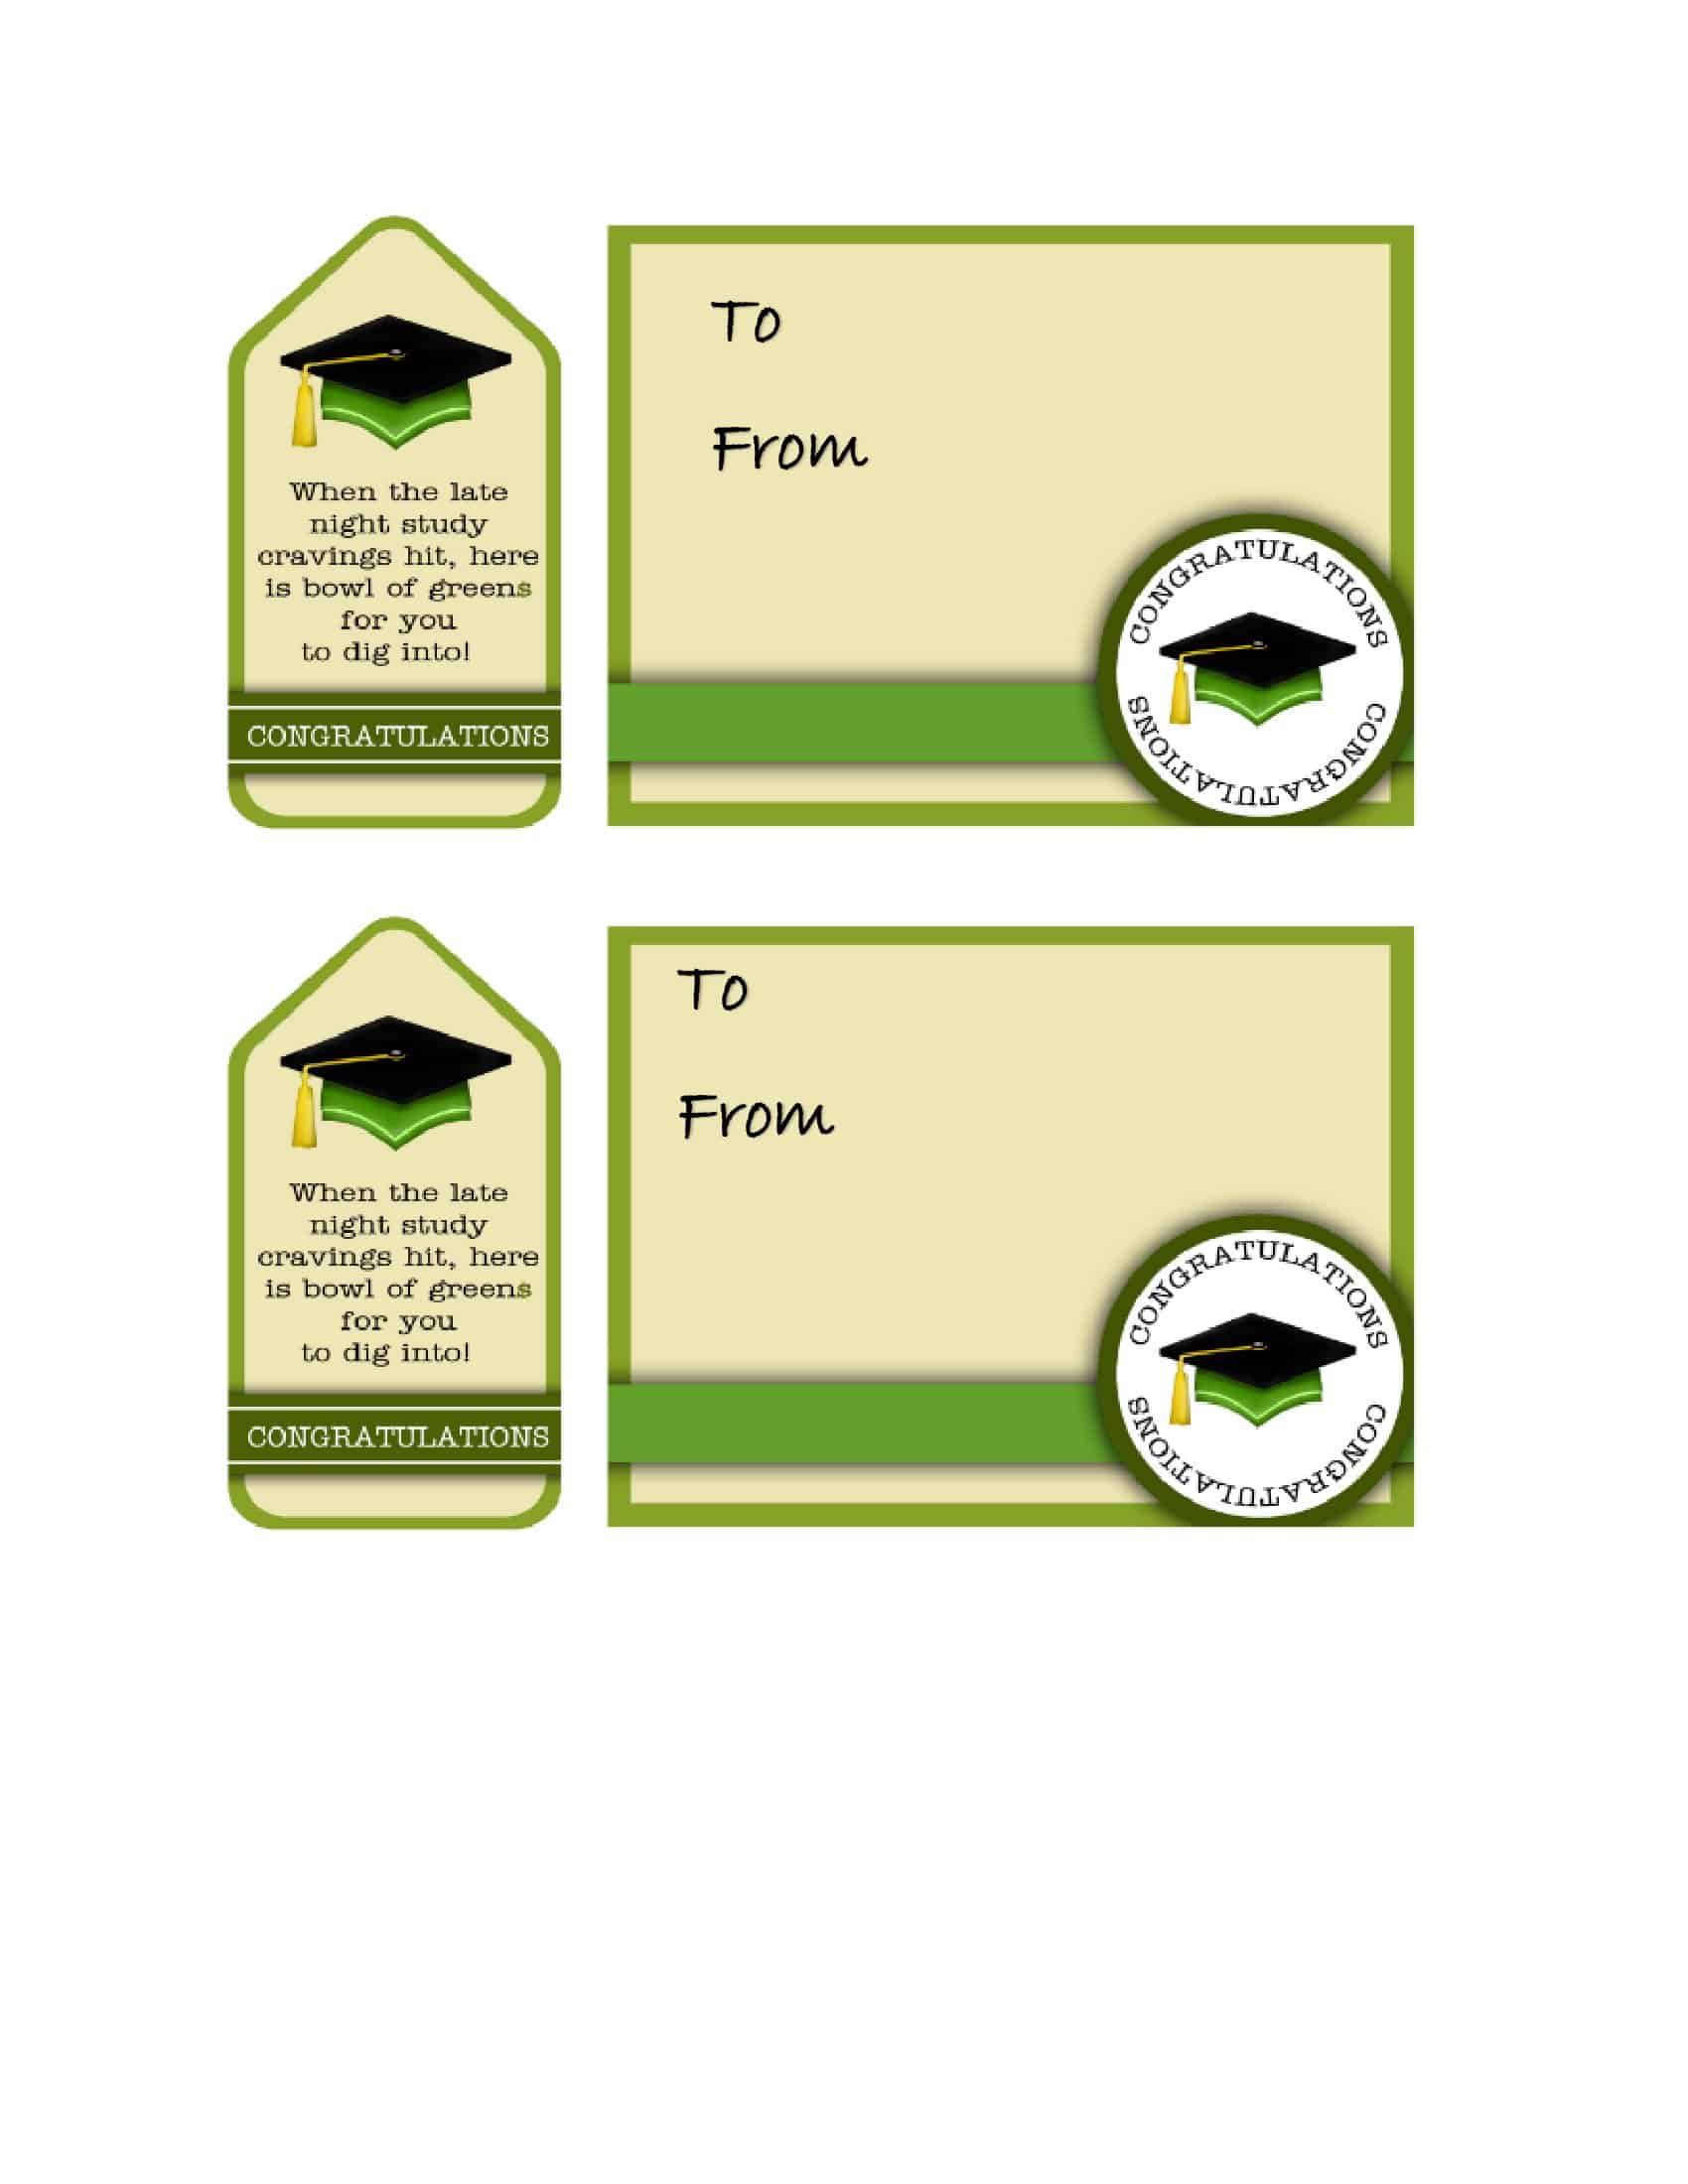
If you prefer a more precise and polished look, you can design your gift tags digitally. Use template software or online tools to create your desired design. Remember to include space for the recipient’s name and your heartfelt message. Once your design is ready, print it out on the cardstock and cut along the outline. Don’t forget to punch a hole at the top of the tag for attaching it to the gift.
Now that you have your basic gift tag template, it’s time to take it to the next level. Consider adding a personal touch by incorporating hand-drawn illustrations or calligraphy. You can use colored markers, gel pens, or even watercolors to create beautiful designs that reflect your style and personality. Let your creativity flow and experiment with different patterns, motifs, and lettering styles.
Another way to elevate your gift tags is by adding layers and dimension. Use adhesive foam squares or double-sided tape to attach embellishments like buttons, beads, or small flowers. These little details will make your gift tags stand out and add a charming touch to any present. Don’t be afraid to mix and match materials to create a unique and eye-catching design.
Tips for Writing on Gift Tags

When it comes to writing on gift tags, you want your messages to be thoughtful and heartfelt. Here are a few tips to help you craft the perfect sentiment:
Selecting the Perfect Pen
Choosing the right pen is crucial when it comes to writing on gift tags. You want a pen with a fine point that writes smoothly, ensuring that your words come out clear and legible. Consider using gel pens or metallic markers to add a touch of elegance to your tags. Experiment with different colors that complement your gift tag design, making your message stand out in a beautiful way.
Crafting a Heartfelt Message
Writing a heartfelt message on a gift tag requires a moment of reflection. Take the time to think about your relationship with the recipient and the occasion at hand. Consider what you want to convey – whether it’s love, appreciation, or best wishes – and craft a message that truly captures your sentiments. Remember to keep it concise yet meaningful, as gift tags have limited space. Adding a personal touch, such as an inside joke, a shared memory, or a simple “I love you,” can make the gift tag even more special and create a lasting impression.
But let’s dive deeper into the art of gift-giving and the significance of gift tags. Gift tags are not just pieces of paper; they are an essential component of the gifting experience. They allow you to personalize your presents, enhance the anticipation of unwrapping, and create lasting memories. The act of writing on a gift tag is like adding a personal touch to your gift, making it unique and meaningful.
Imagine the joy on your loved one’s face as they receive a beautifully wrapped present with a heartfelt message on the gift tag. It’s a moment that can bring tears of happiness, laughter, or a warm feeling of appreciation. Gift tags have the power to evoke emotions and make the recipient feel truly special.
So, the next time you find yourself writing on a gift tag, remember the importance of selecting the perfect pen and crafting a heartfelt message. Take the opportunity to make your gift even more memorable by adding a personal touch that will touch the recipient’s heart. By following these tips, you can create gift tags that are not only visually appealing but also filled with love and thoughtfulness.
FAQs
How do I make a printable gift tag?
To make printable gift tags, open a word processor or design program and create a small rectangle shape to your desired size. Add a border, festive colors or pattern, and text elements like “To:” and “From:” lines. Use decorative fonts and include a space for writing the gift recipient’s name. Add embellishments like ribbon graphics. Print on cardstock, cut out, punch a hole, and attach to gifts with string!
How do I create a gift tag in Word?
In Word, go to the Insert tab and click on Shapes. Select a small rectangle or rounded square shape, then drag to resize on page. Type in text boxes for the tag wording and customize fonts. On the Format tab, add Shape Fill color, Shape Outline, and Shape Effects. Insert images like bows. Print on paper or adhesive label sheets, then cut out each tag.
How do I create a gift tag in Microsoft?
In Microsoft Word, Excel, or PowerPoint, insert a pre-made gift tag template under New. Customize tag colors, text, and fonts. In Publisher, choose a template under Built-In Templates. Edit the tag design as needed. Tag templates are also available in Office’s online apps within Microsoft 365 subscription plans. Insert tags into Cards templates.
How do I create a tag template?
To make a gift tag template, design one customizable tag in a page layout program or graphic design tool. Include text boxes, frames, lines, and decorative elements that can be edited. Save as a template file type so the format cannot be accidentally changed. Share template file for others to customize tags with their own details and printables.














![Free Printable Roommate Agreement Templates [Word, PDF] 1 Roommate Agreement](https://www.typecalendar.com/wp-content/uploads/2023/06/Roommate-Agreement-150x150.jpg)
![Free Printable Credit Card Authorization Form Templates [PDF, Word, Excel] 2 Credit Card Authorization Form](https://www.typecalendar.com/wp-content/uploads/2023/06/Credit-Card-Authorization-Form-150x150.jpg)
![Free Printable Stock Ledger Templates [Excel,PDF, Word] 3 Stock Ledger](https://www.typecalendar.com/wp-content/uploads/2023/08/Stock-Ledger-150x150.jpg)
