Charting the course of student success often begins with the classroom’s physical layout. Unseen threads link the arrangement of desks and chairs to the heart of learning – engagement, participation, and comprehension. This article offers a comprehensive exploration of the underappreciated art of creating effective classroom seating charts, addressing their impact on classroom management and instructional strategies, as well as practical tips for successful implementation.
Table of Contents
What is a classroom seating chart?

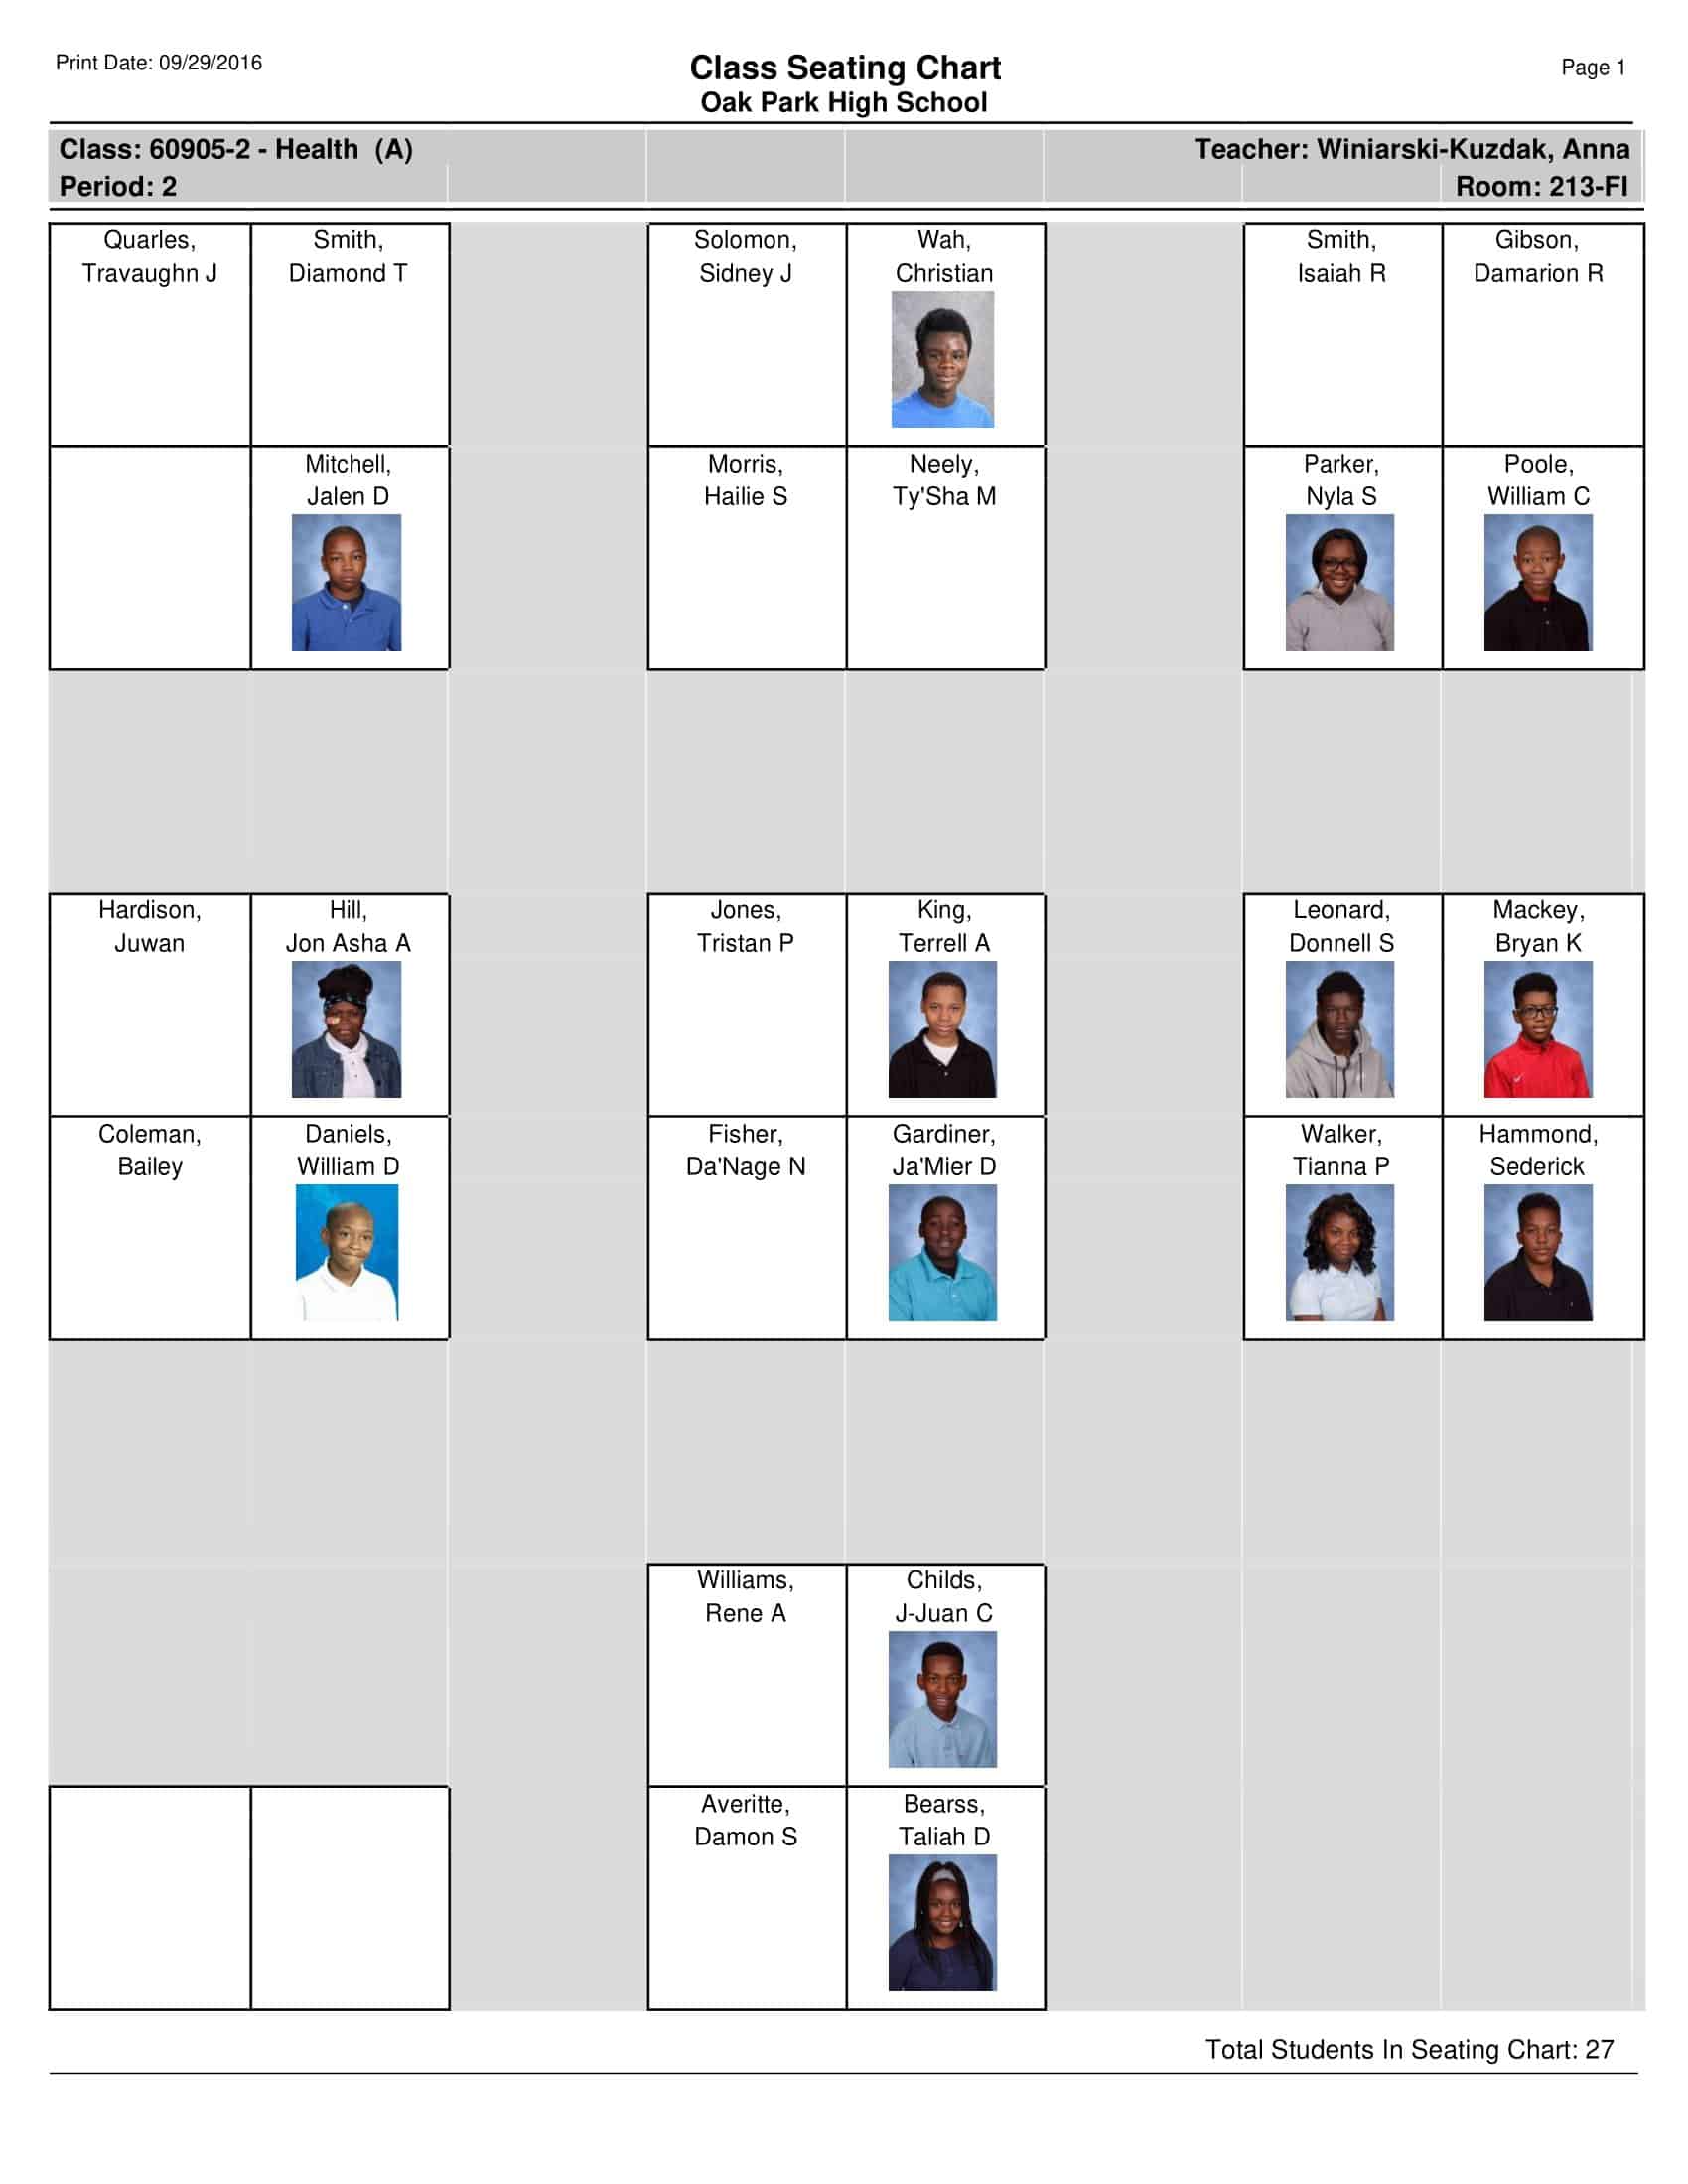
A classroom seating chart is a visual representation of the arrangement of seats or desks in a classroom. It provides a layout of where each student is expected to sit during classes. This tool serves multiple purposes in the educational process.
It helps teachers manage the classroom dynamics, ensuring a conducive learning environment, aiding in taking attendance, and facilitating group work. Furthermore, it enables educators to strategically place students to promote positive behavior, improve student interactions, and enhance academic performance.
Classroom Seating Chart Templates
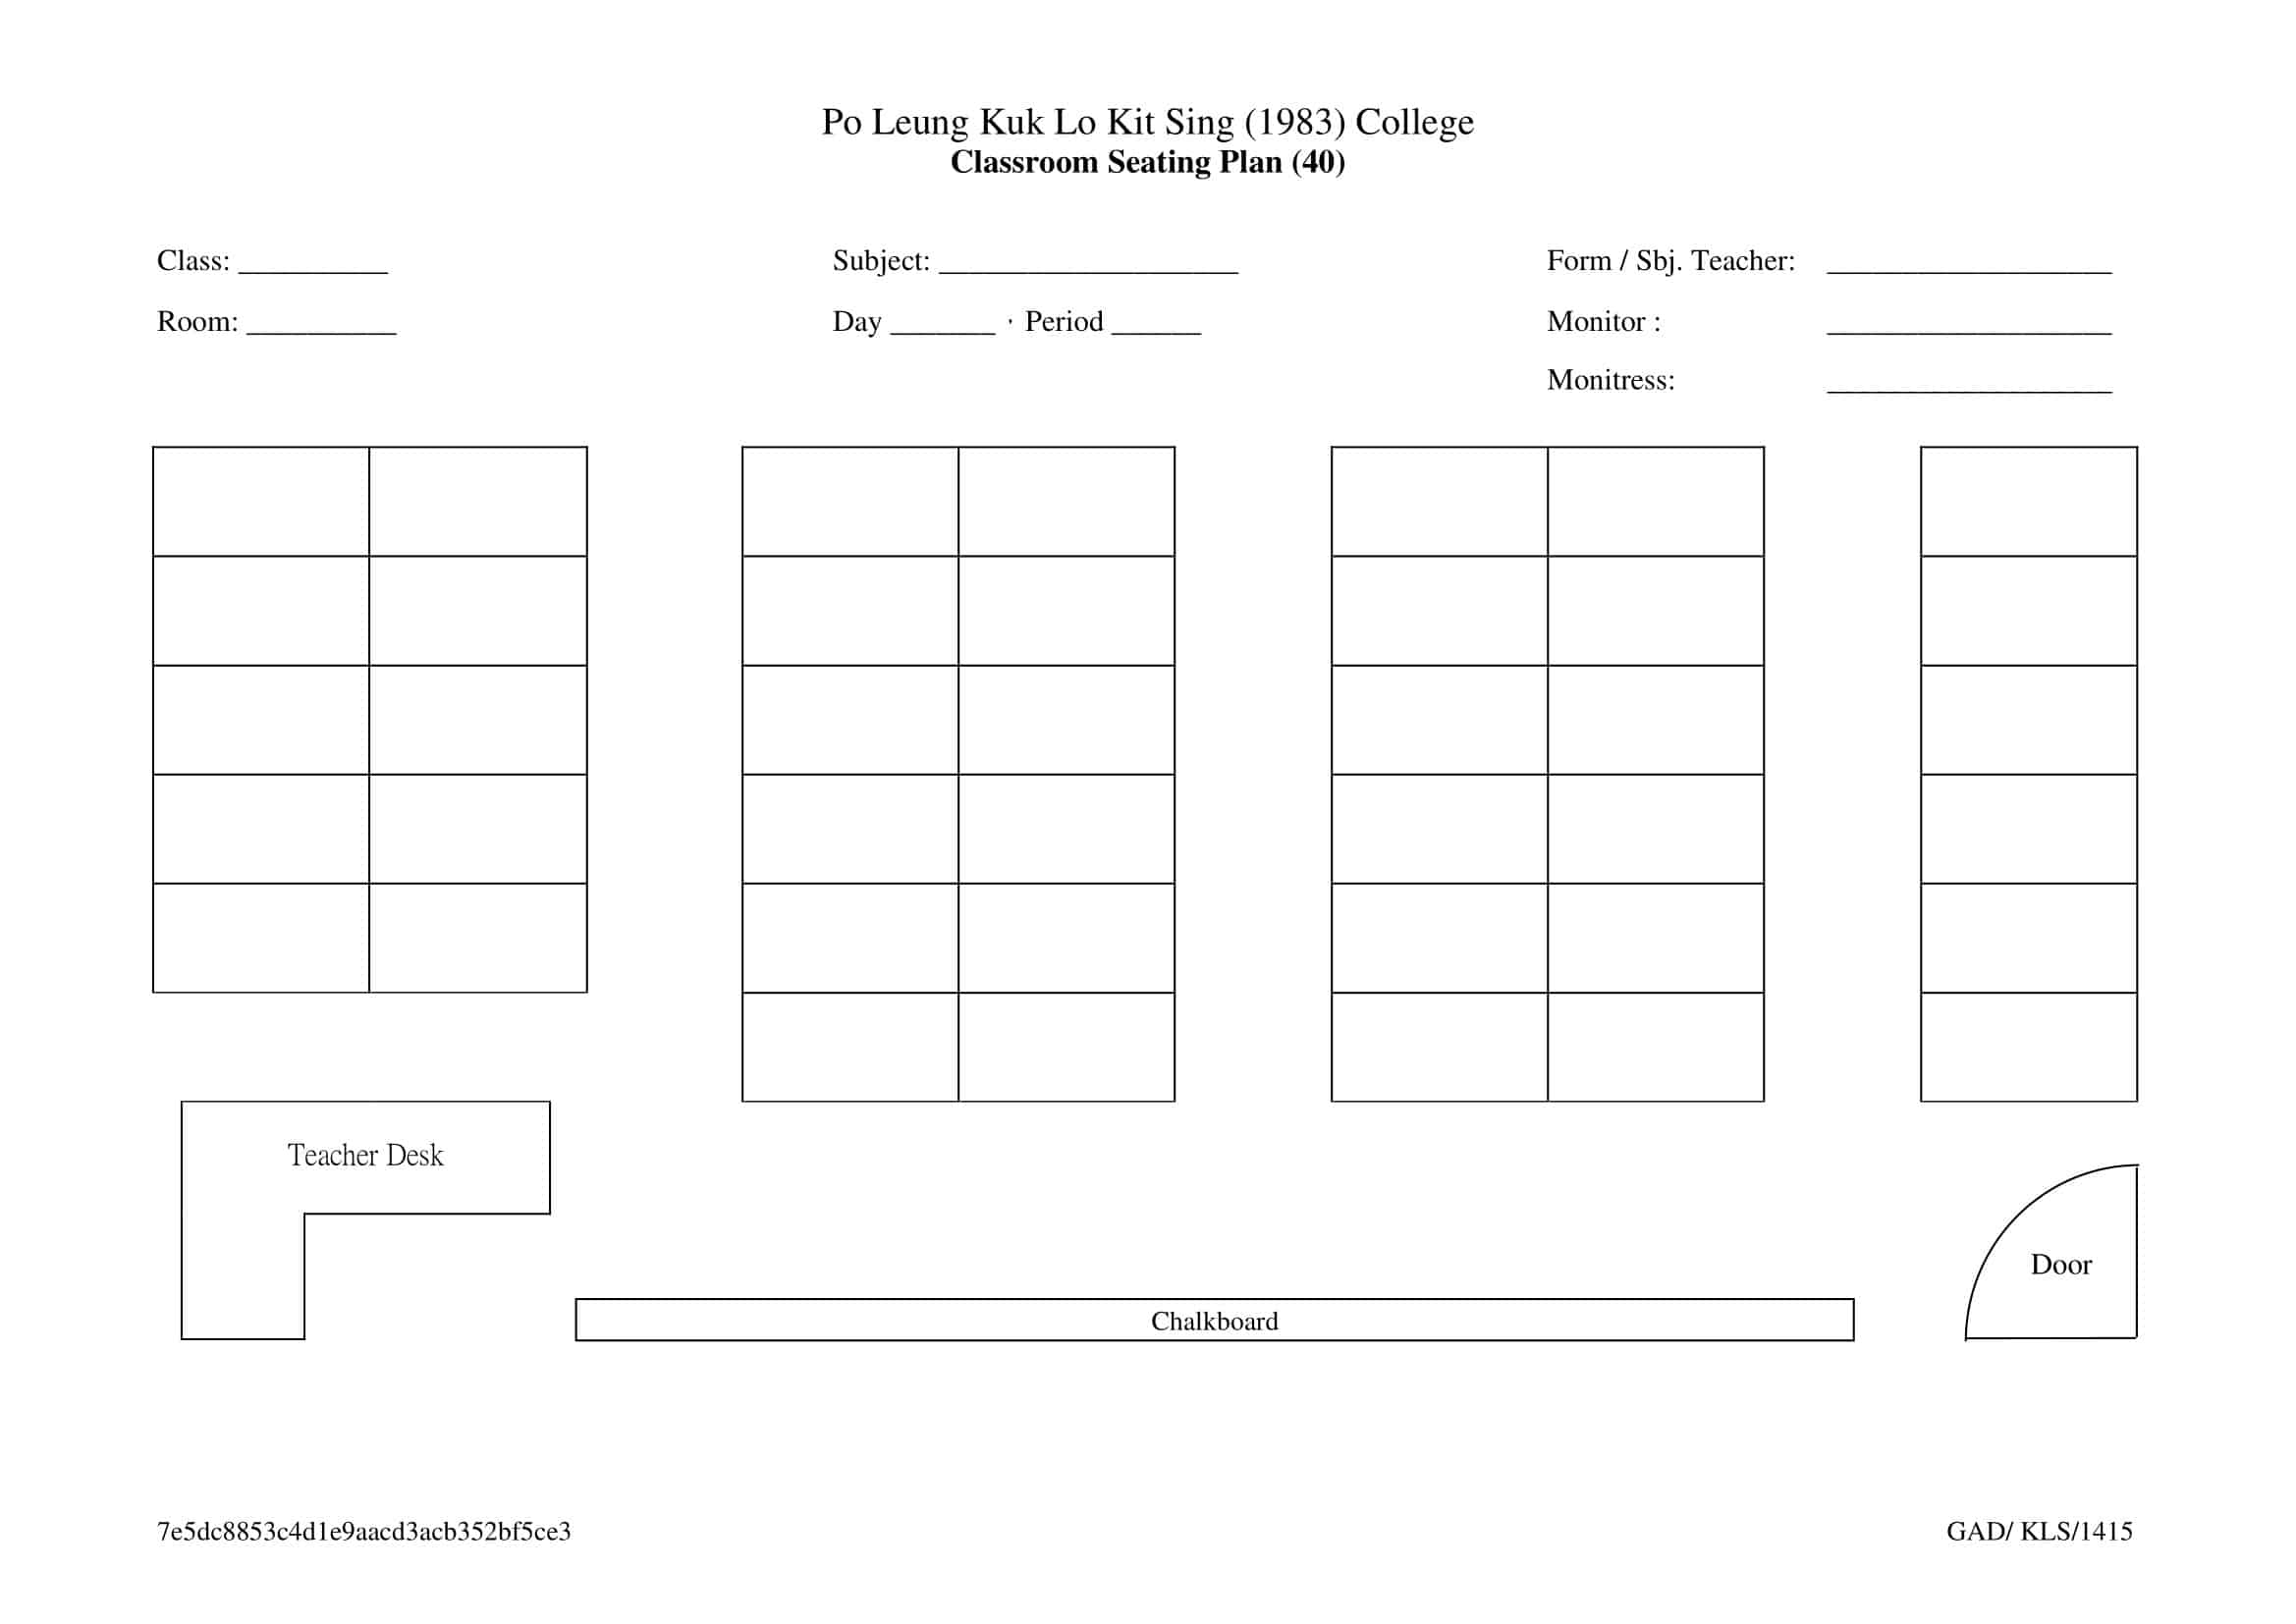
Classroom Seating Chart Templates are standardized layouts designed to assist educators in arranging student seating within a classroom environment. They contribute to organizing the physical space effectively, managing classroom dynamics, and supporting diverse teaching strategies.
Typically at the top of these templates, there’s a section to indicate the class name, grade level, and school year. This provides a quick reference for educators managing multiple classrooms or classes.
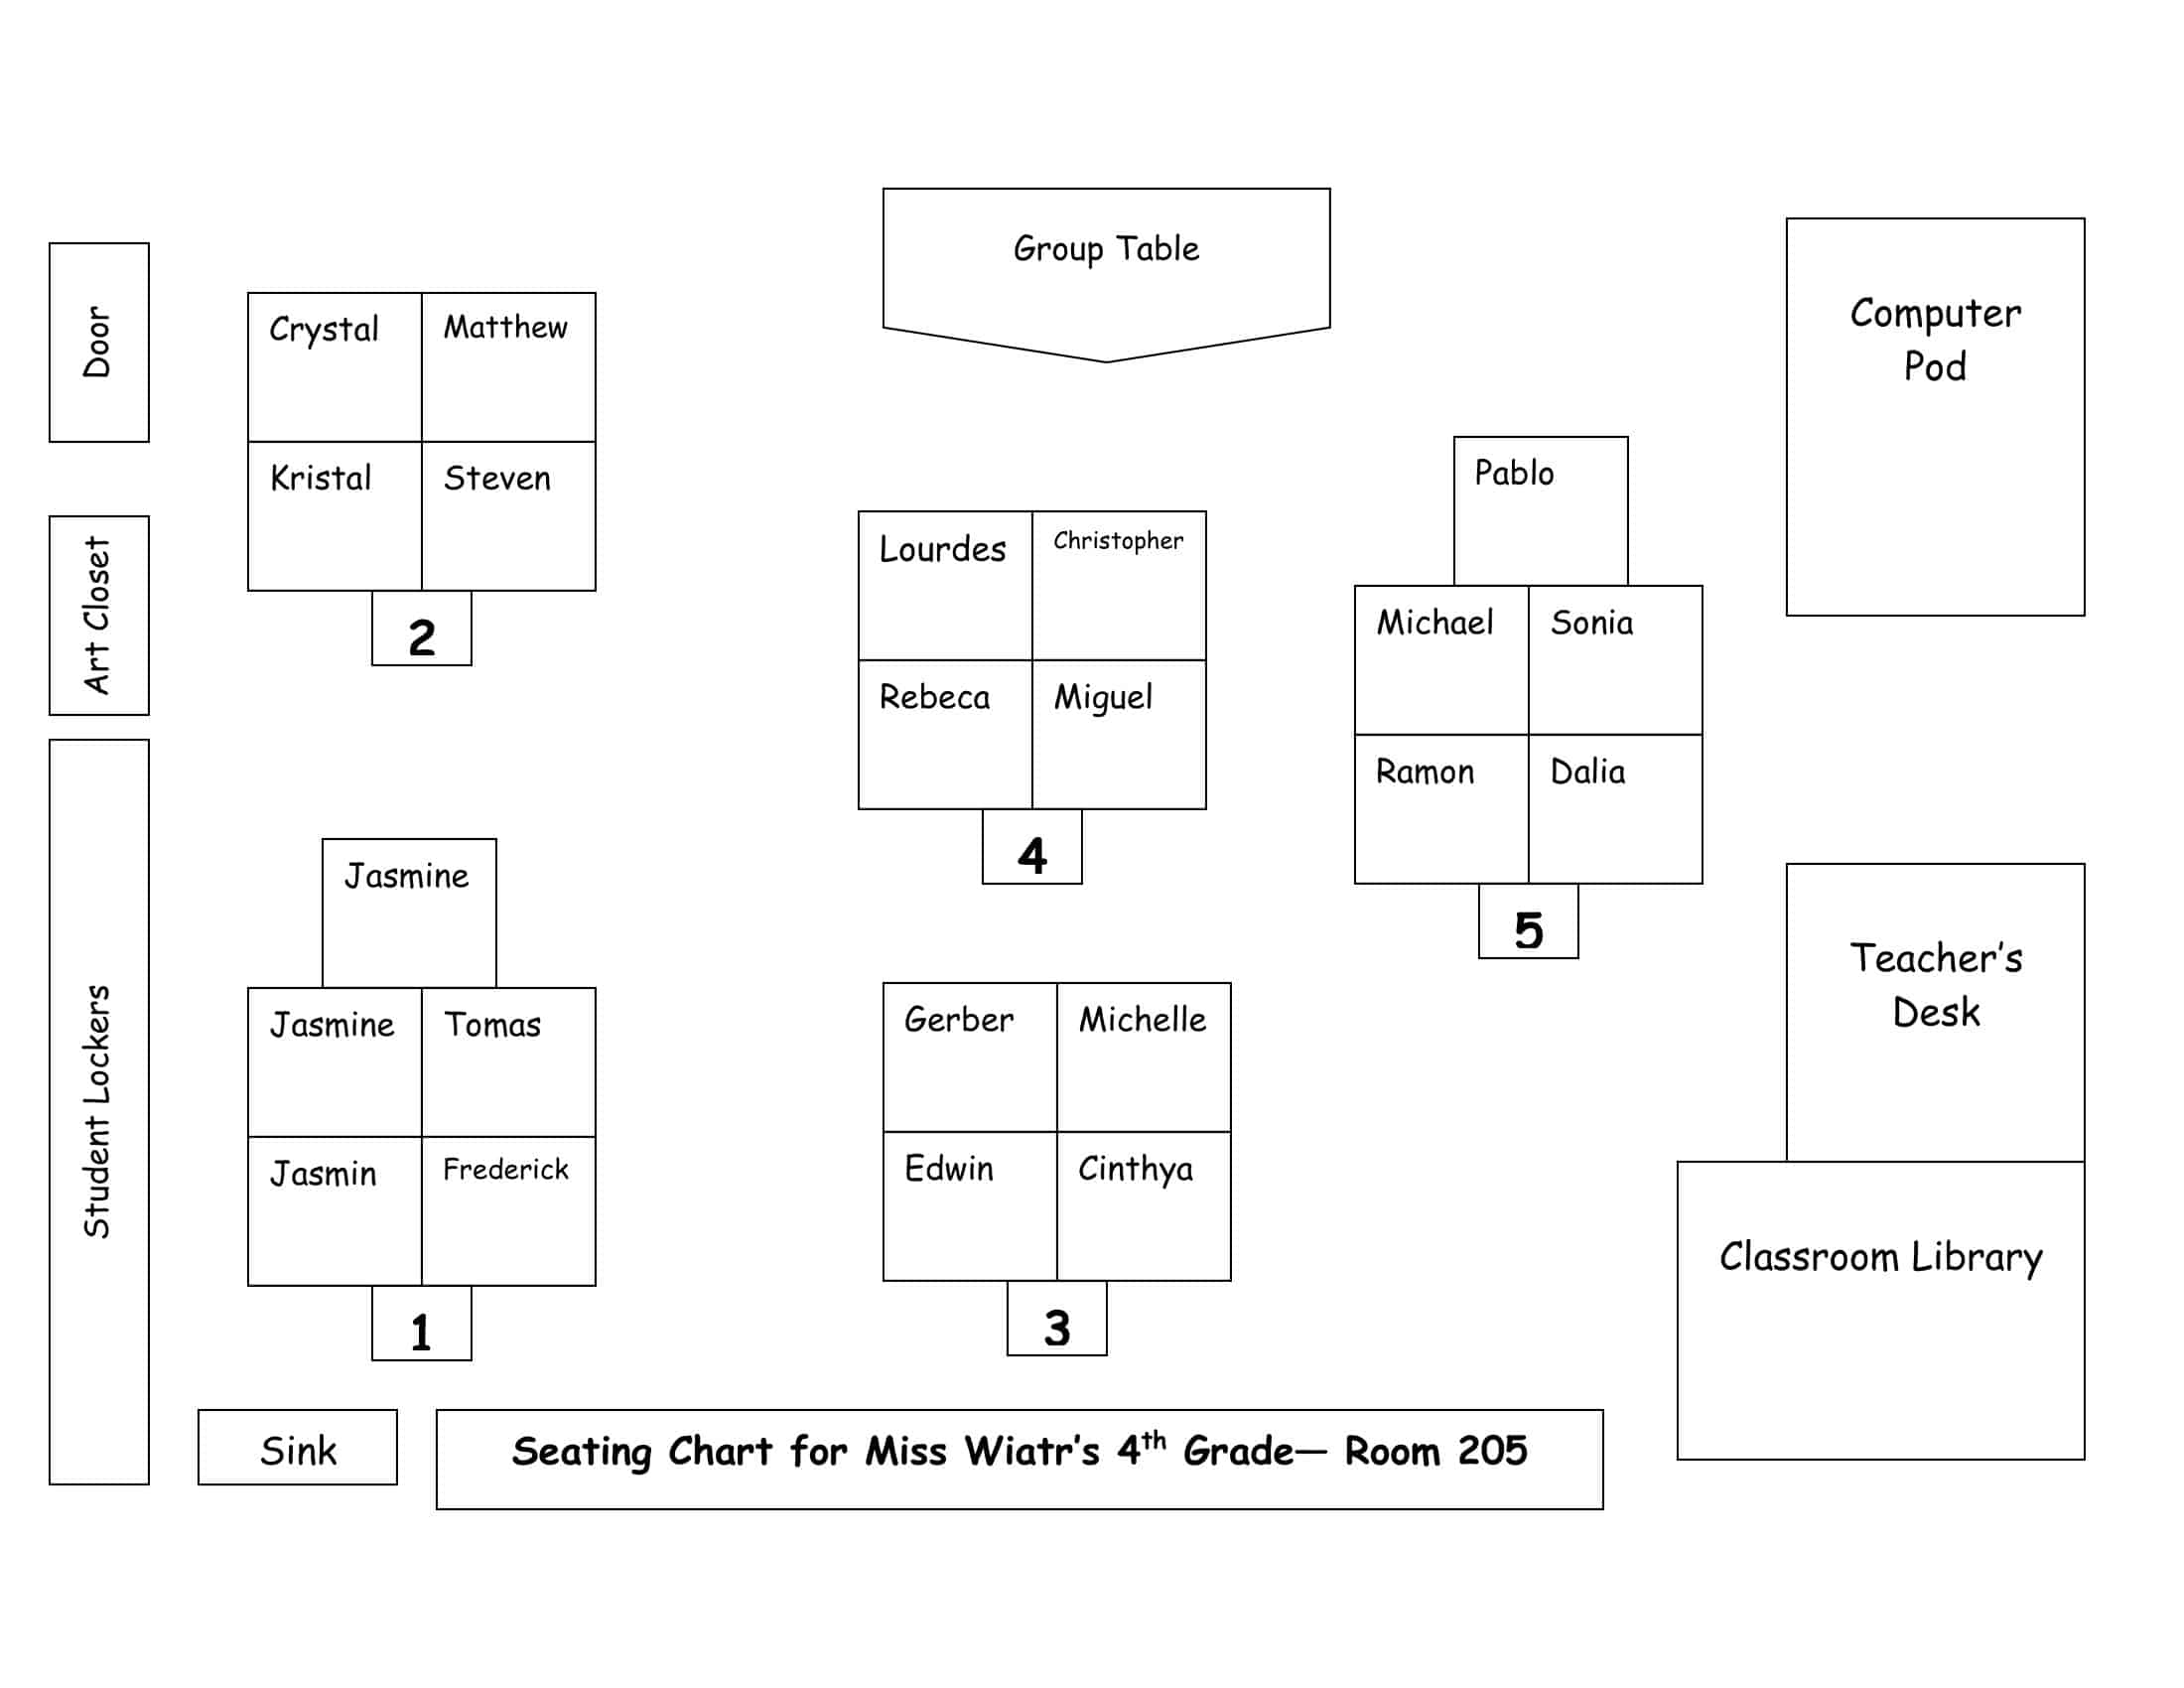
Following this in many templates, there’s a depiction of the classroom layout. This can include locations of doors, windows, the teacher’s desk, whiteboards, or any other significant features of the room. This visual element aids in planning the students’ placement in relation to the physical attributes of the classroom.
Why do you need classroom seating chart?
A classroom seating chart is more than just a plan for where students sit. Its strategic use can significantly impact the learning environment, contributing to effective classroom management, enhancing student learning, and promoting positive behavior. Here’s a detailed guide explaining why you need a classroom seating chart:
- Classroom Management: An effective seating chart is instrumental in maintaining discipline in the classroom. By strategically positioning students, teachers can prevent disruptive behaviors, minimize distractions, and promote a positive learning environment. For instance, placing talkative students apart or seating students with attention difficulties closer to the teacher can contribute to smoother classroom operations.
- Promote Student Engagement: The arrangement of the classroom can directly affect student engagement. Cluster or circle arrangements promote discussion and teamwork, while traditional row arrangements can be suitable for lecture-based teaching. A well-planned seating chart can ensure that all students are engaged, regardless of the teaching style.
- Facilitate Learning Needs: Seating charts can accommodate individual learning needs. Students who benefit from reduced distractions, such as those with ADHD, can be seated in areas with less traffic or away from windows. Students with hearing or vision impairments can be placed in positions optimal for their needs.
- Encourage Positive Peer Interactions: Teachers can use seating charts to foster positive peer relationships. This can involve grouping students with diverse skills and backgrounds together to promote collaborative learning or to pair struggling students with those who can provide academic help.
- Ease Administrative Tasks: From attendance tracking to distributing materials, a seating chart simplifies administrative tasks. It helps teachers learn students’ names faster and makes it easier to assign and collect work.
- Behavior Modification: Seating charts can assist in managing and modifying student behavior. The strategic placement of students with behavioral issues can reduce incidents and improve the overall classroom atmosphere. Also, rotating the seating arrangement regularly can discourage the formation of cliques and maintain freshness in class dynamics.
- Pedagogical Flexibility: A seating chart doesn’t have to be static. It can be changed based on the lesson plan, student dynamics, or teacher observation. This flexibility allows the teacher to continually adapt the learning environment for optimal outcomes.
What to consider when you arranging seating chart
Creating a classroom seating chart requires a thoughtful approach. Several factors must be taken into consideration to maximize the positive impact on the learning environment. Here’s a detailed guide to help you:
Student Needs
One of the primary considerations is the individual needs of your students. Pay attention to their academic strengths, social skills, and special needs. Some students might need to be near the front to see or hear better, while others might benefit from sitting near particular classmates for collaborative learning.
Classroom Dynamics
Take into account the general dynamics of your class. If some students tend to distract each other, it may be best to seat them separately. If certain students work well together, consider placing them in close proximity to each other.
Classroom Size and Shape
The physical limitations of your classroom will undoubtedly influence your seating plan. The size, shape, and features (like windows, doors, and the location of the teacher’s desk or the blackboard) all need to be considered when planning your seating arrangement.
Teaching Style
Your style of teaching should greatly influence your seating arrangement. If you prefer a lecture-style, a traditional row arrangement might work best. If you prefer group work and collaboration, you might choose a cluster or circular arrangement.
Age and Grade Level
Younger students may need more guidance and supervision, so a seating arrangement where the teacher can easily observe all students would be beneficial. Older students might benefit from arrangements that encourage more interaction and collaboration.
Lesson Objectives
Different lessons might require different seating arrangements. A lesson that requires a lot of group work might benefit from students being seated in clusters, while a test would typically require students to be seated individually and spaced out for concentration.
Behavioral Considerations
Seating can be used as a tool for behavior management. Seating students with behavioral issues away from each other or closer to the teacher can help manage disruptions. It can also be used as a way to promote positive behavior. For example, students might earn the privilege to sit in a preferred seat by demonstrating good behavior.
Ease of Movement
Ensure the seating plan allows for easy movement around the classroom for both the teacher and the students. This is important for activities that require interaction, access to resources, and for overall safety.
Fostering Independence
The seating chart can also foster independence and responsibility among students. Encourage self-directed learning by grouping more independent students together or seating them in areas where they can focus without much supervision.
Fairness
It’s also important to ensure that the seating arrangement is perceived as fair by the students. Avoid making seating arrangements that could be seen as favoritism or punishment.
Types of classroom seating arrangements to choose from
Choosing the right seating arrangement for a classroom depends on a variety of factors including student needs, classroom size, and teaching style. Here’s a comprehensive guide on the various types of classroom seating arrangements:
- Traditional (or Rows): This is the most common seating arrangement, where desks or tables are aligned in rows facing the front of the classroom where the teacher’s desk or the board is located.
- Pros: It’s efficient for teacher-centered instruction and lecture-style teaching. It reduces distractions and allows students to focus on the teacher and the board. It’s easy for taking attendance and distributing materials.
- Cons: It doesn’t promote interaction among students and may limit opportunities for group work or collaborative learning. It can also be harder for the teacher to reach students in the back rows.
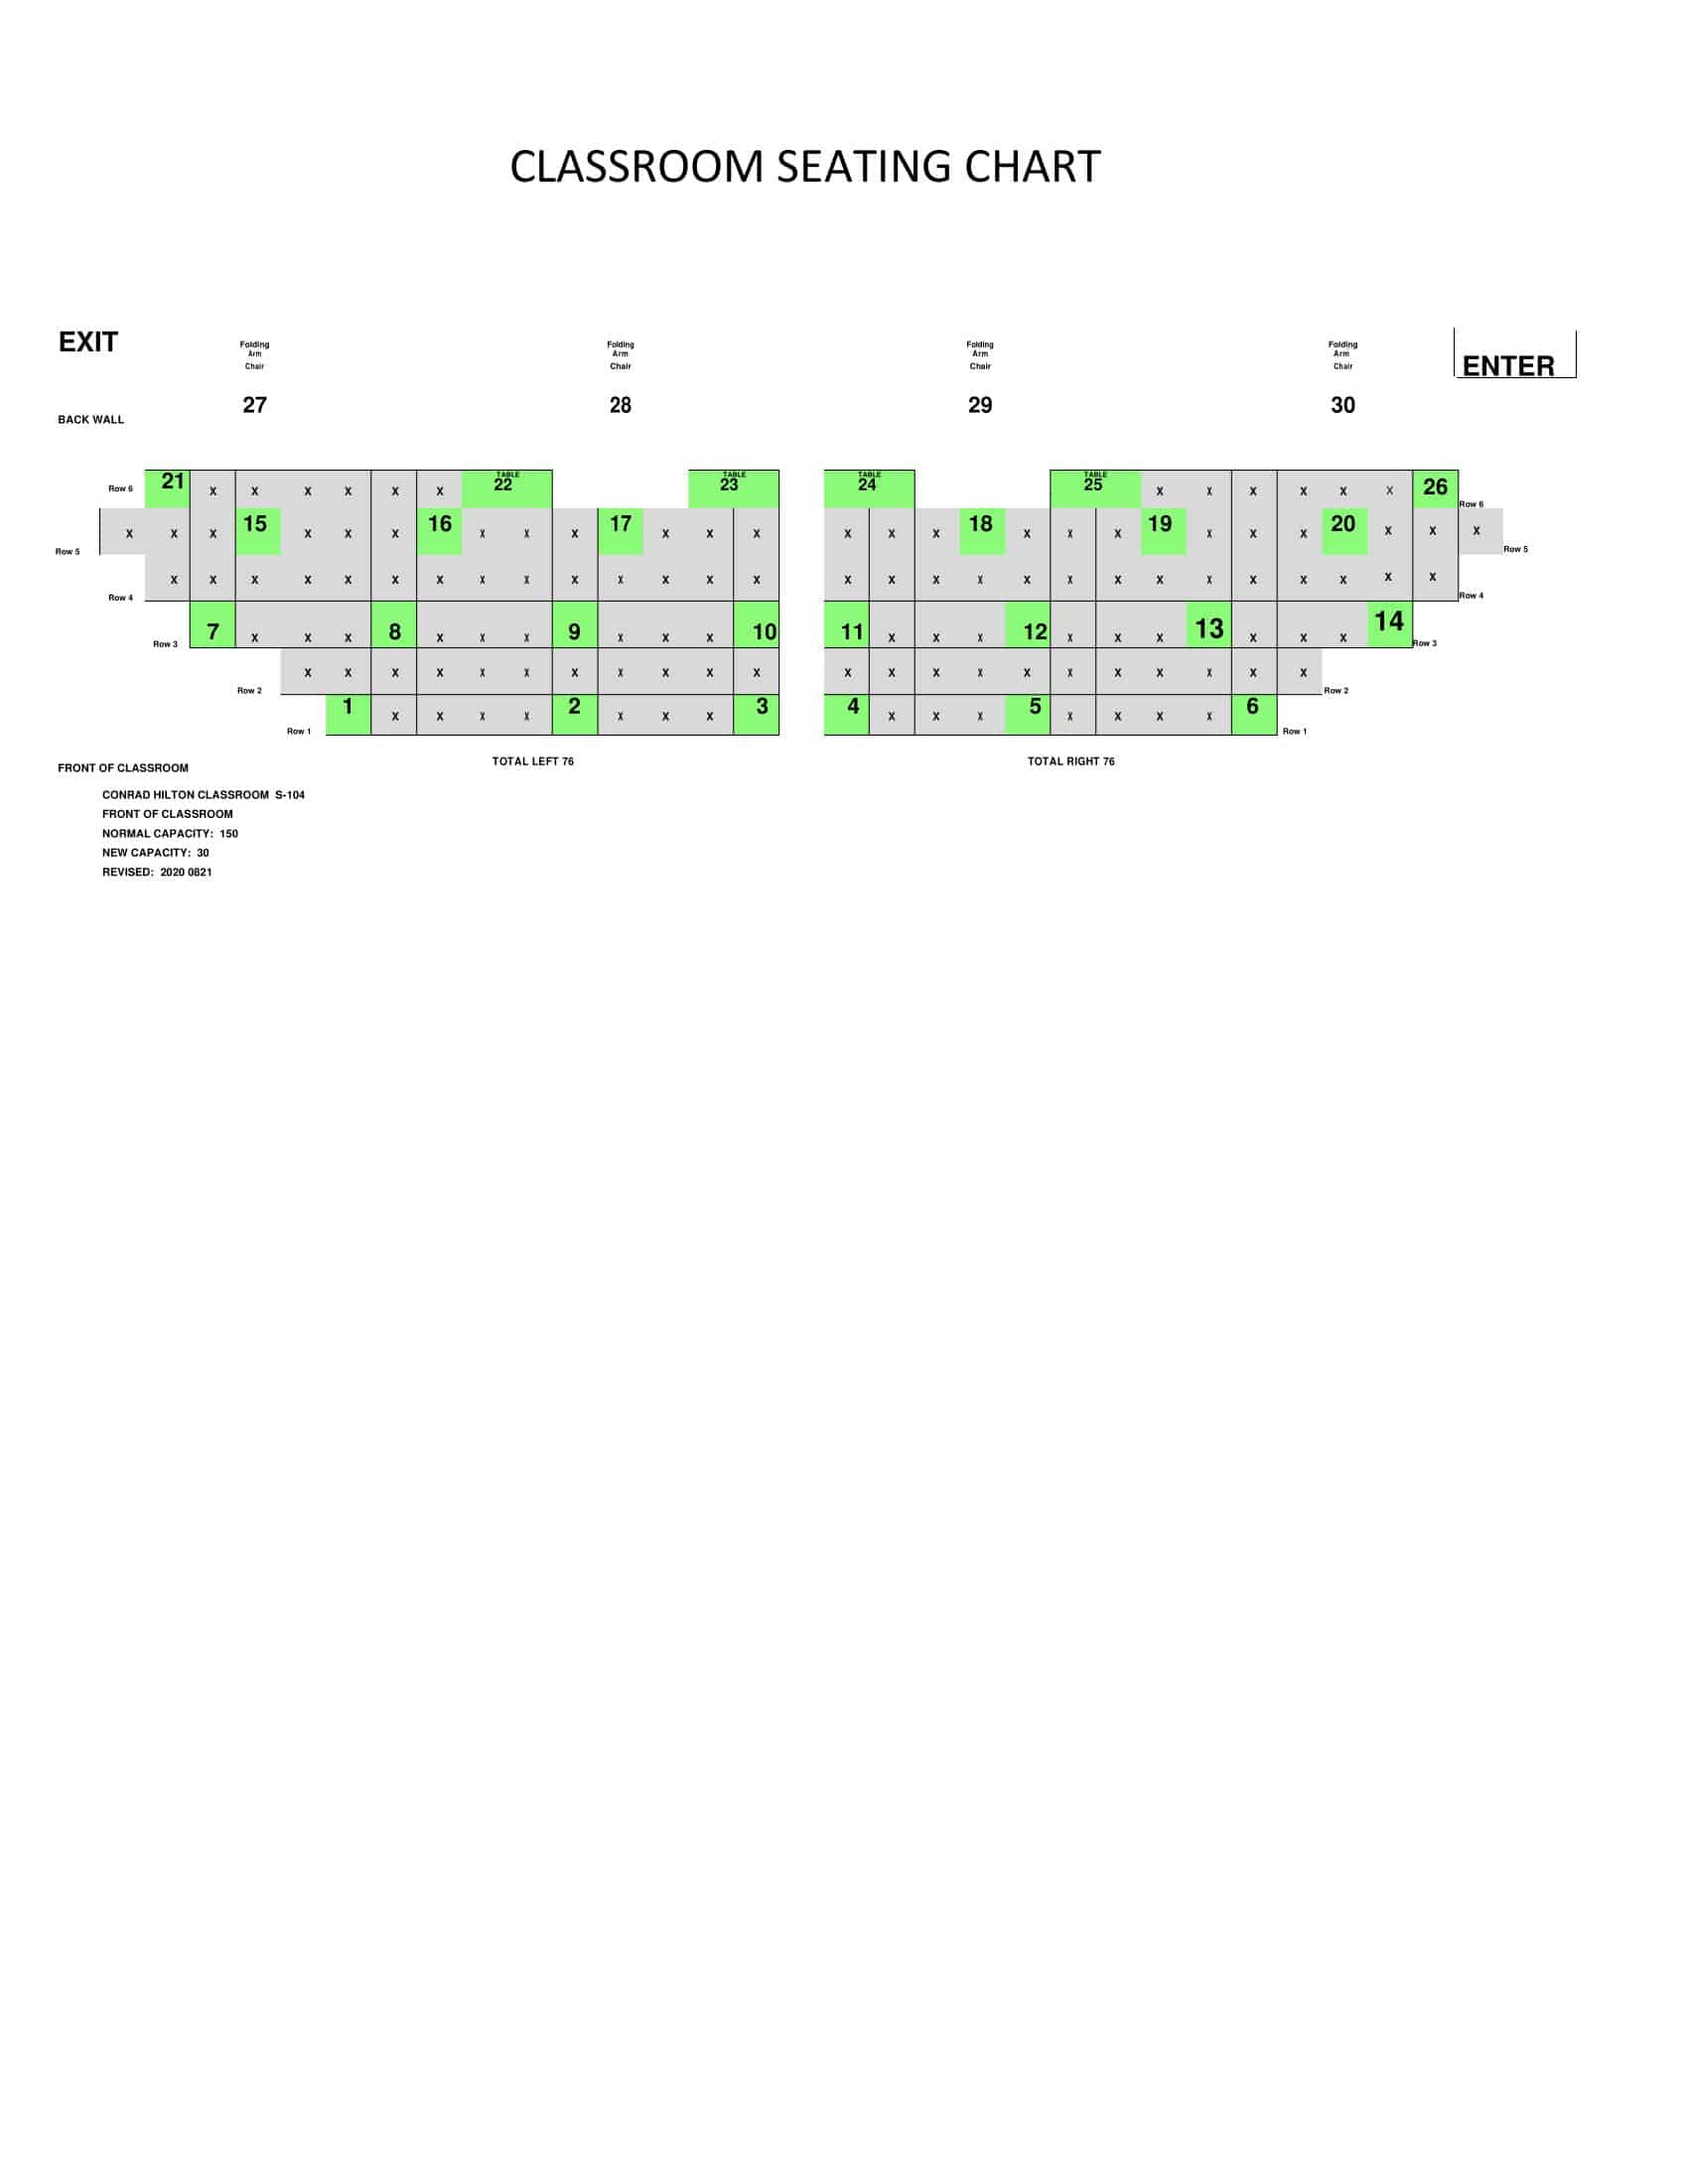
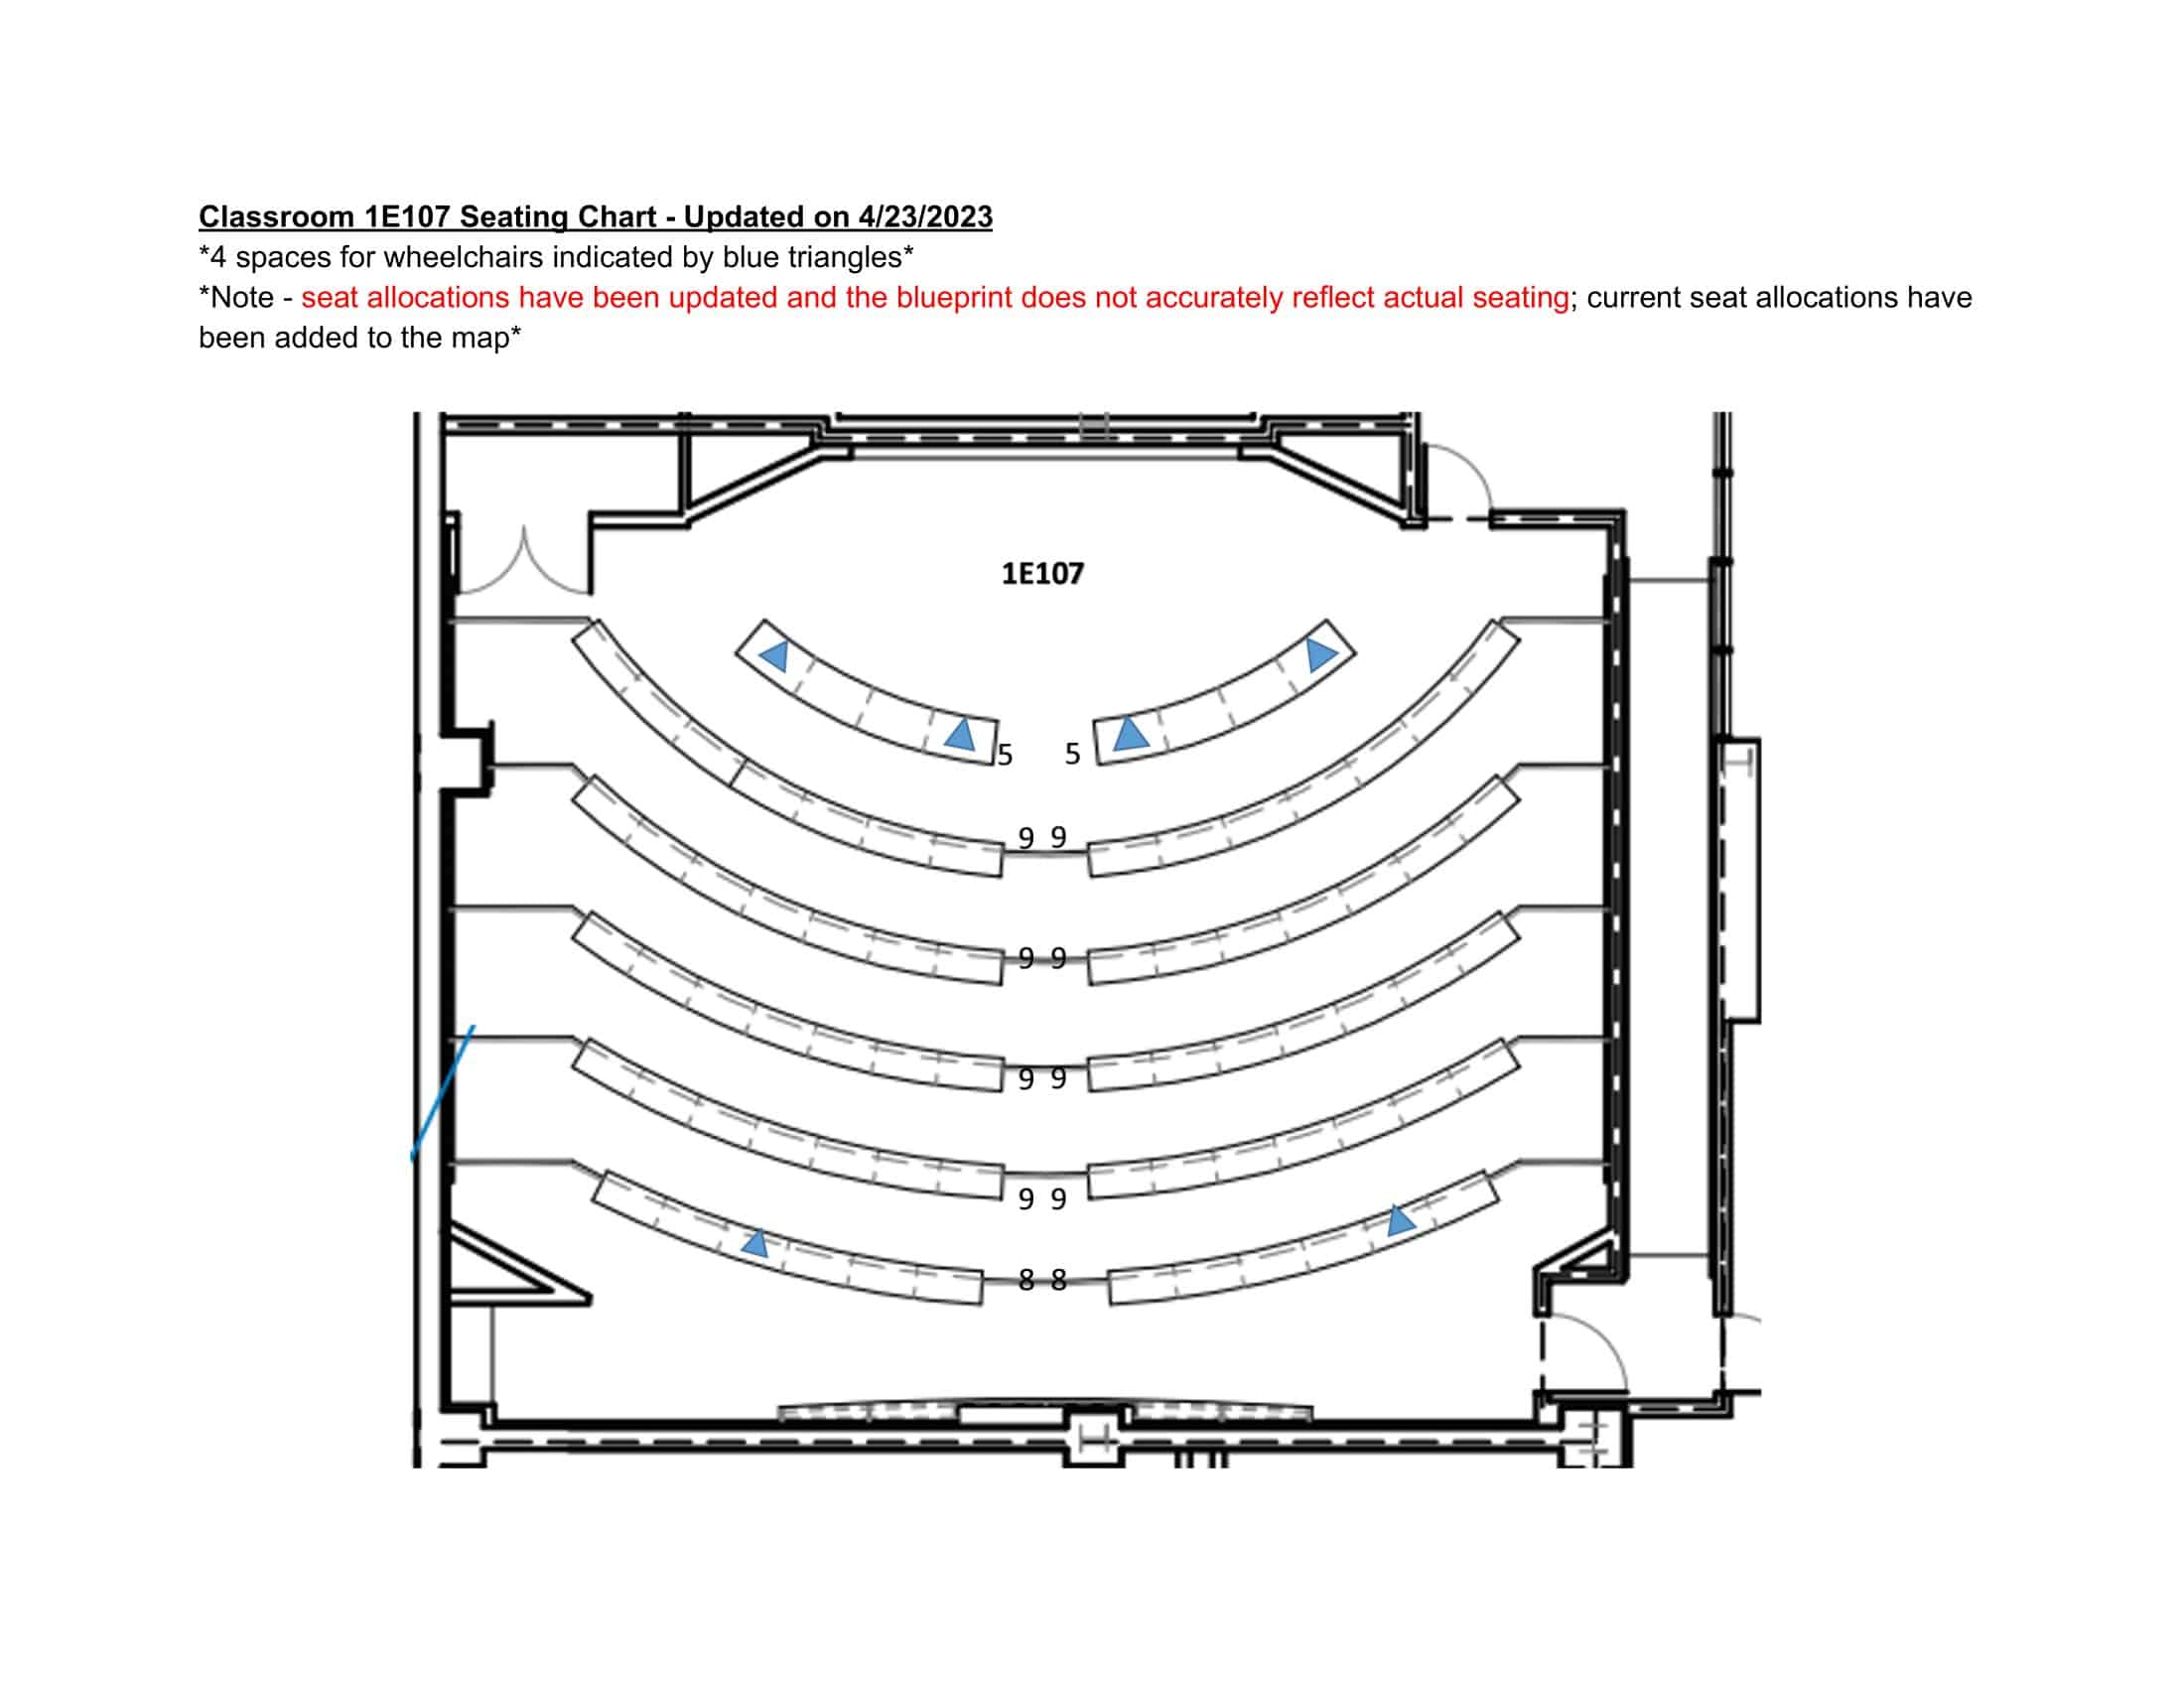
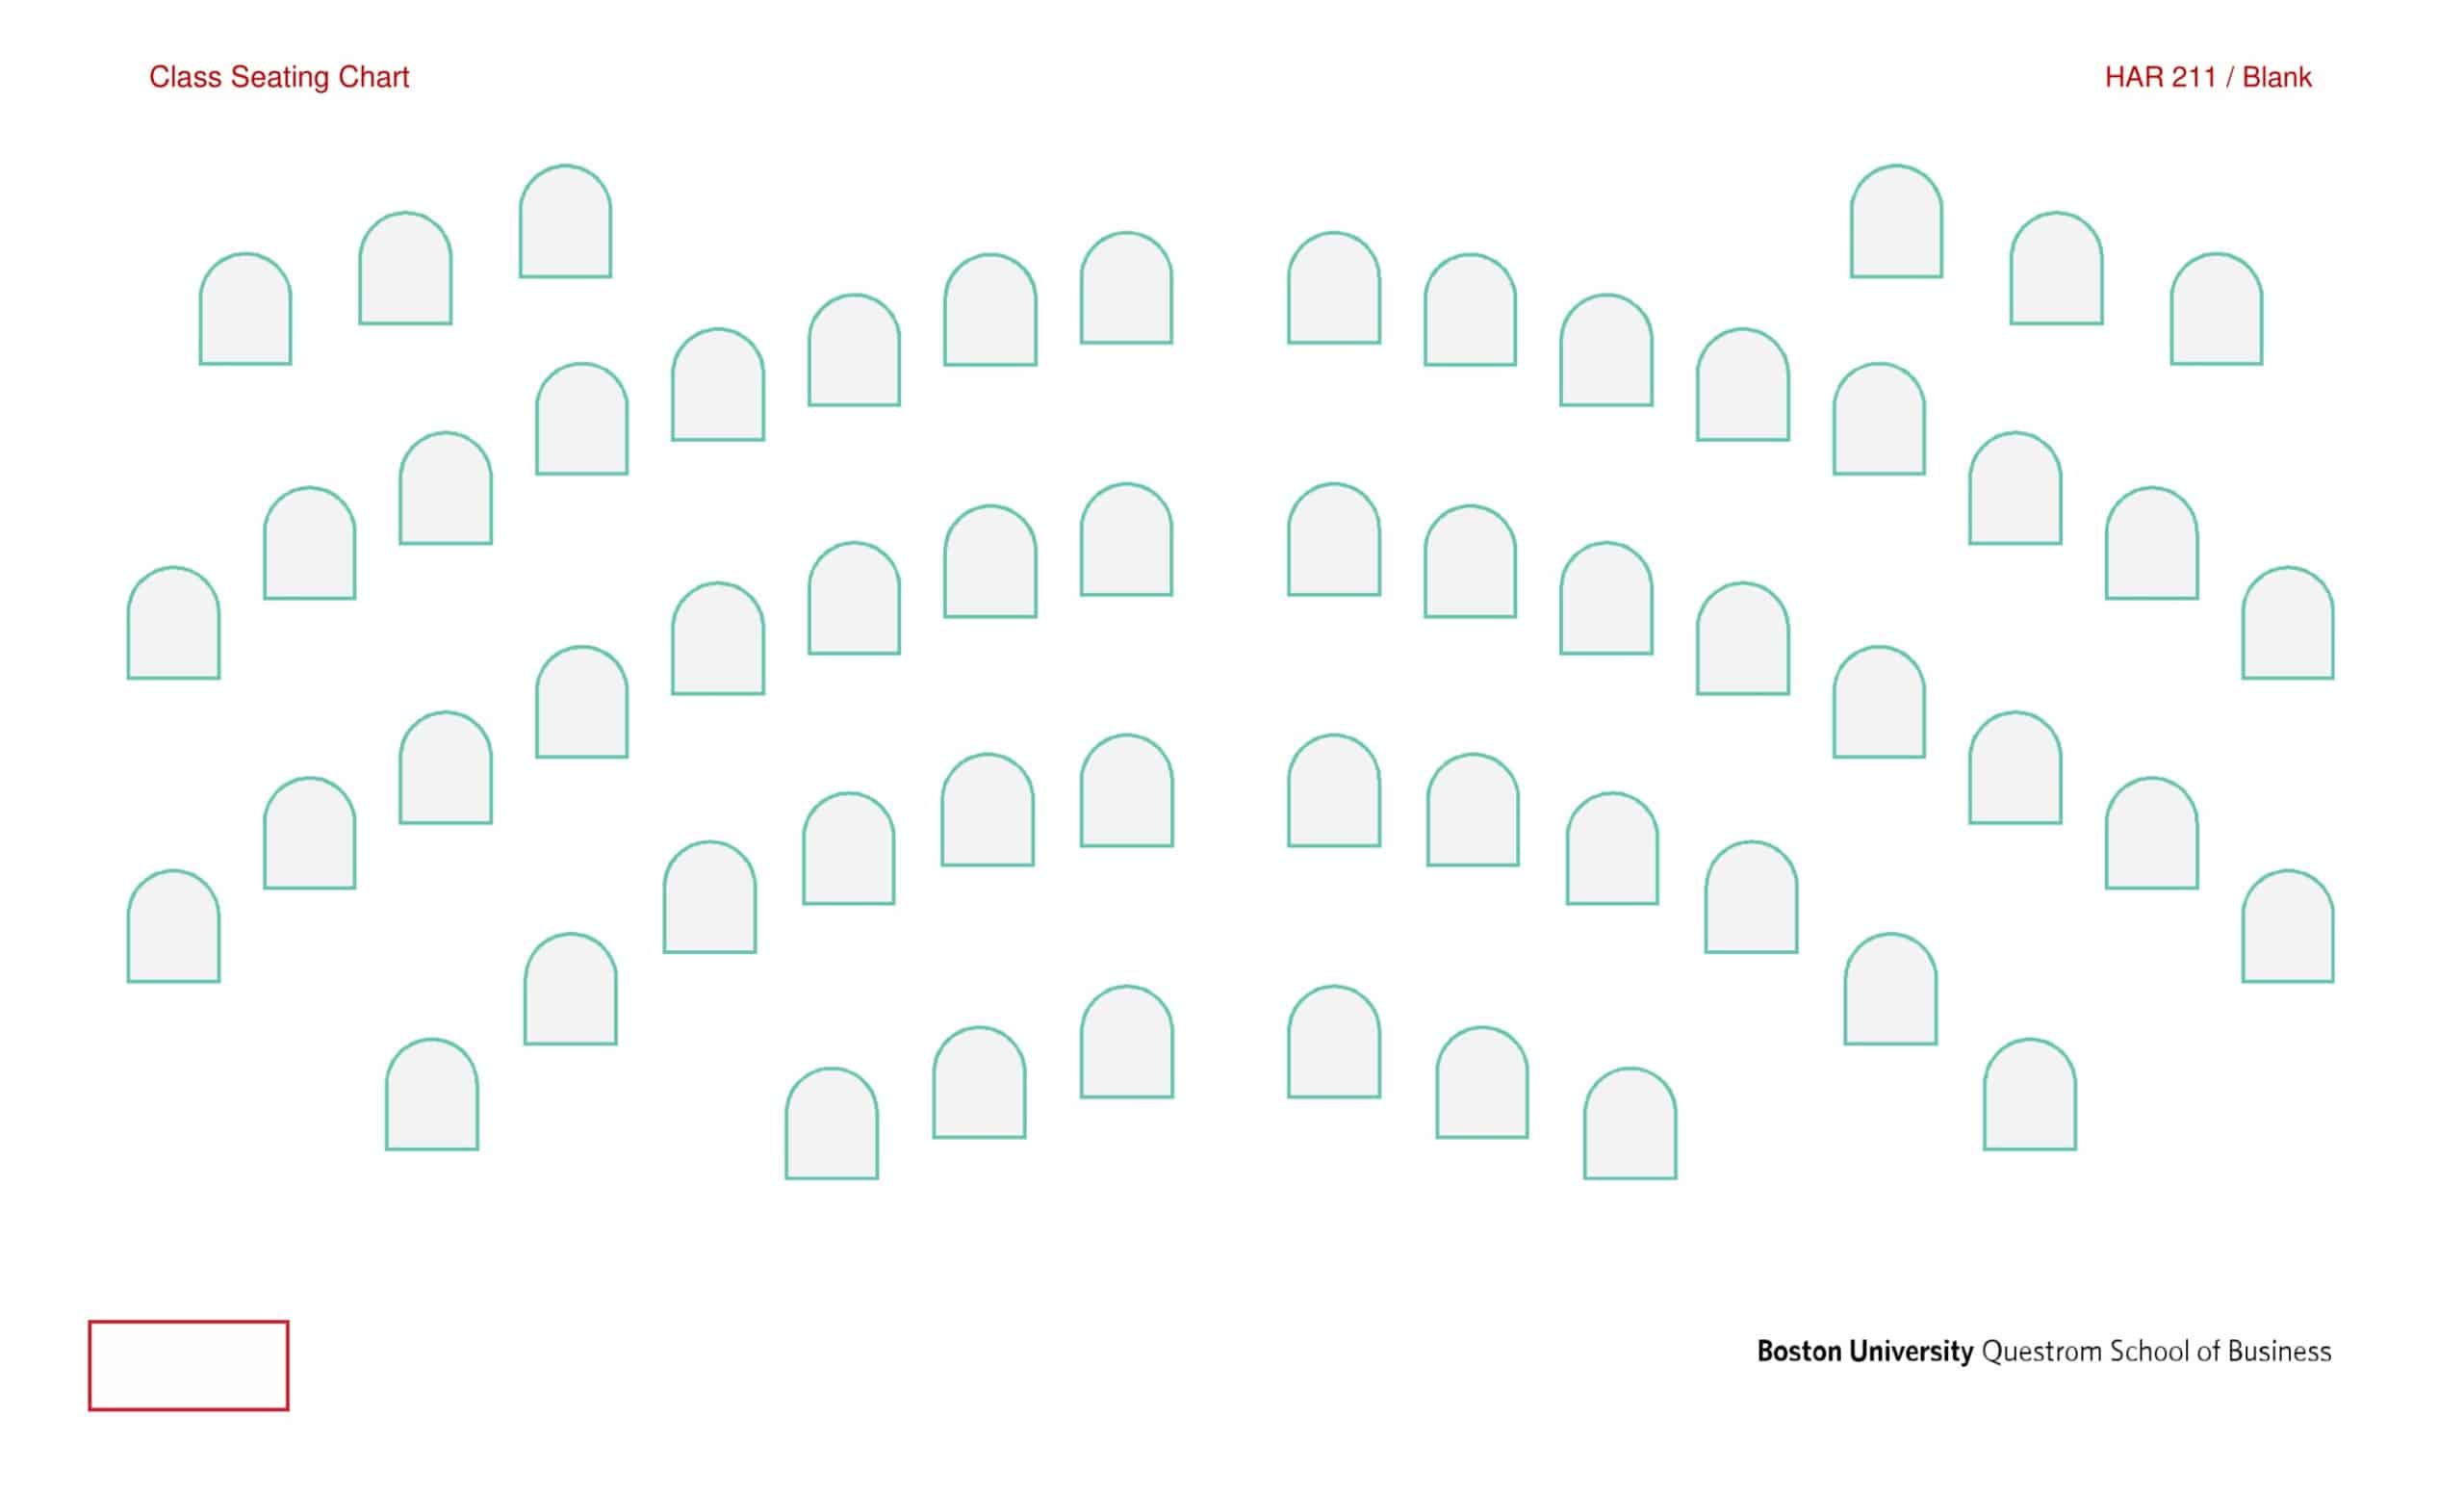
- Stadium Seating: This arrangement is similar to traditional seating but with raised rows. It’s often seen in larger classrooms or lecture halls.
- Pros: Every student gets a clear line of sight to the front of the room, which can be beneficial in lecture settings. It also maximizes use of space in larger classrooms.
- Cons: This is not suitable for classrooms that need flexibility in their seating arrangements, as the furniture is usually fixed. Interaction among students and individual attention from the teacher can be difficult.
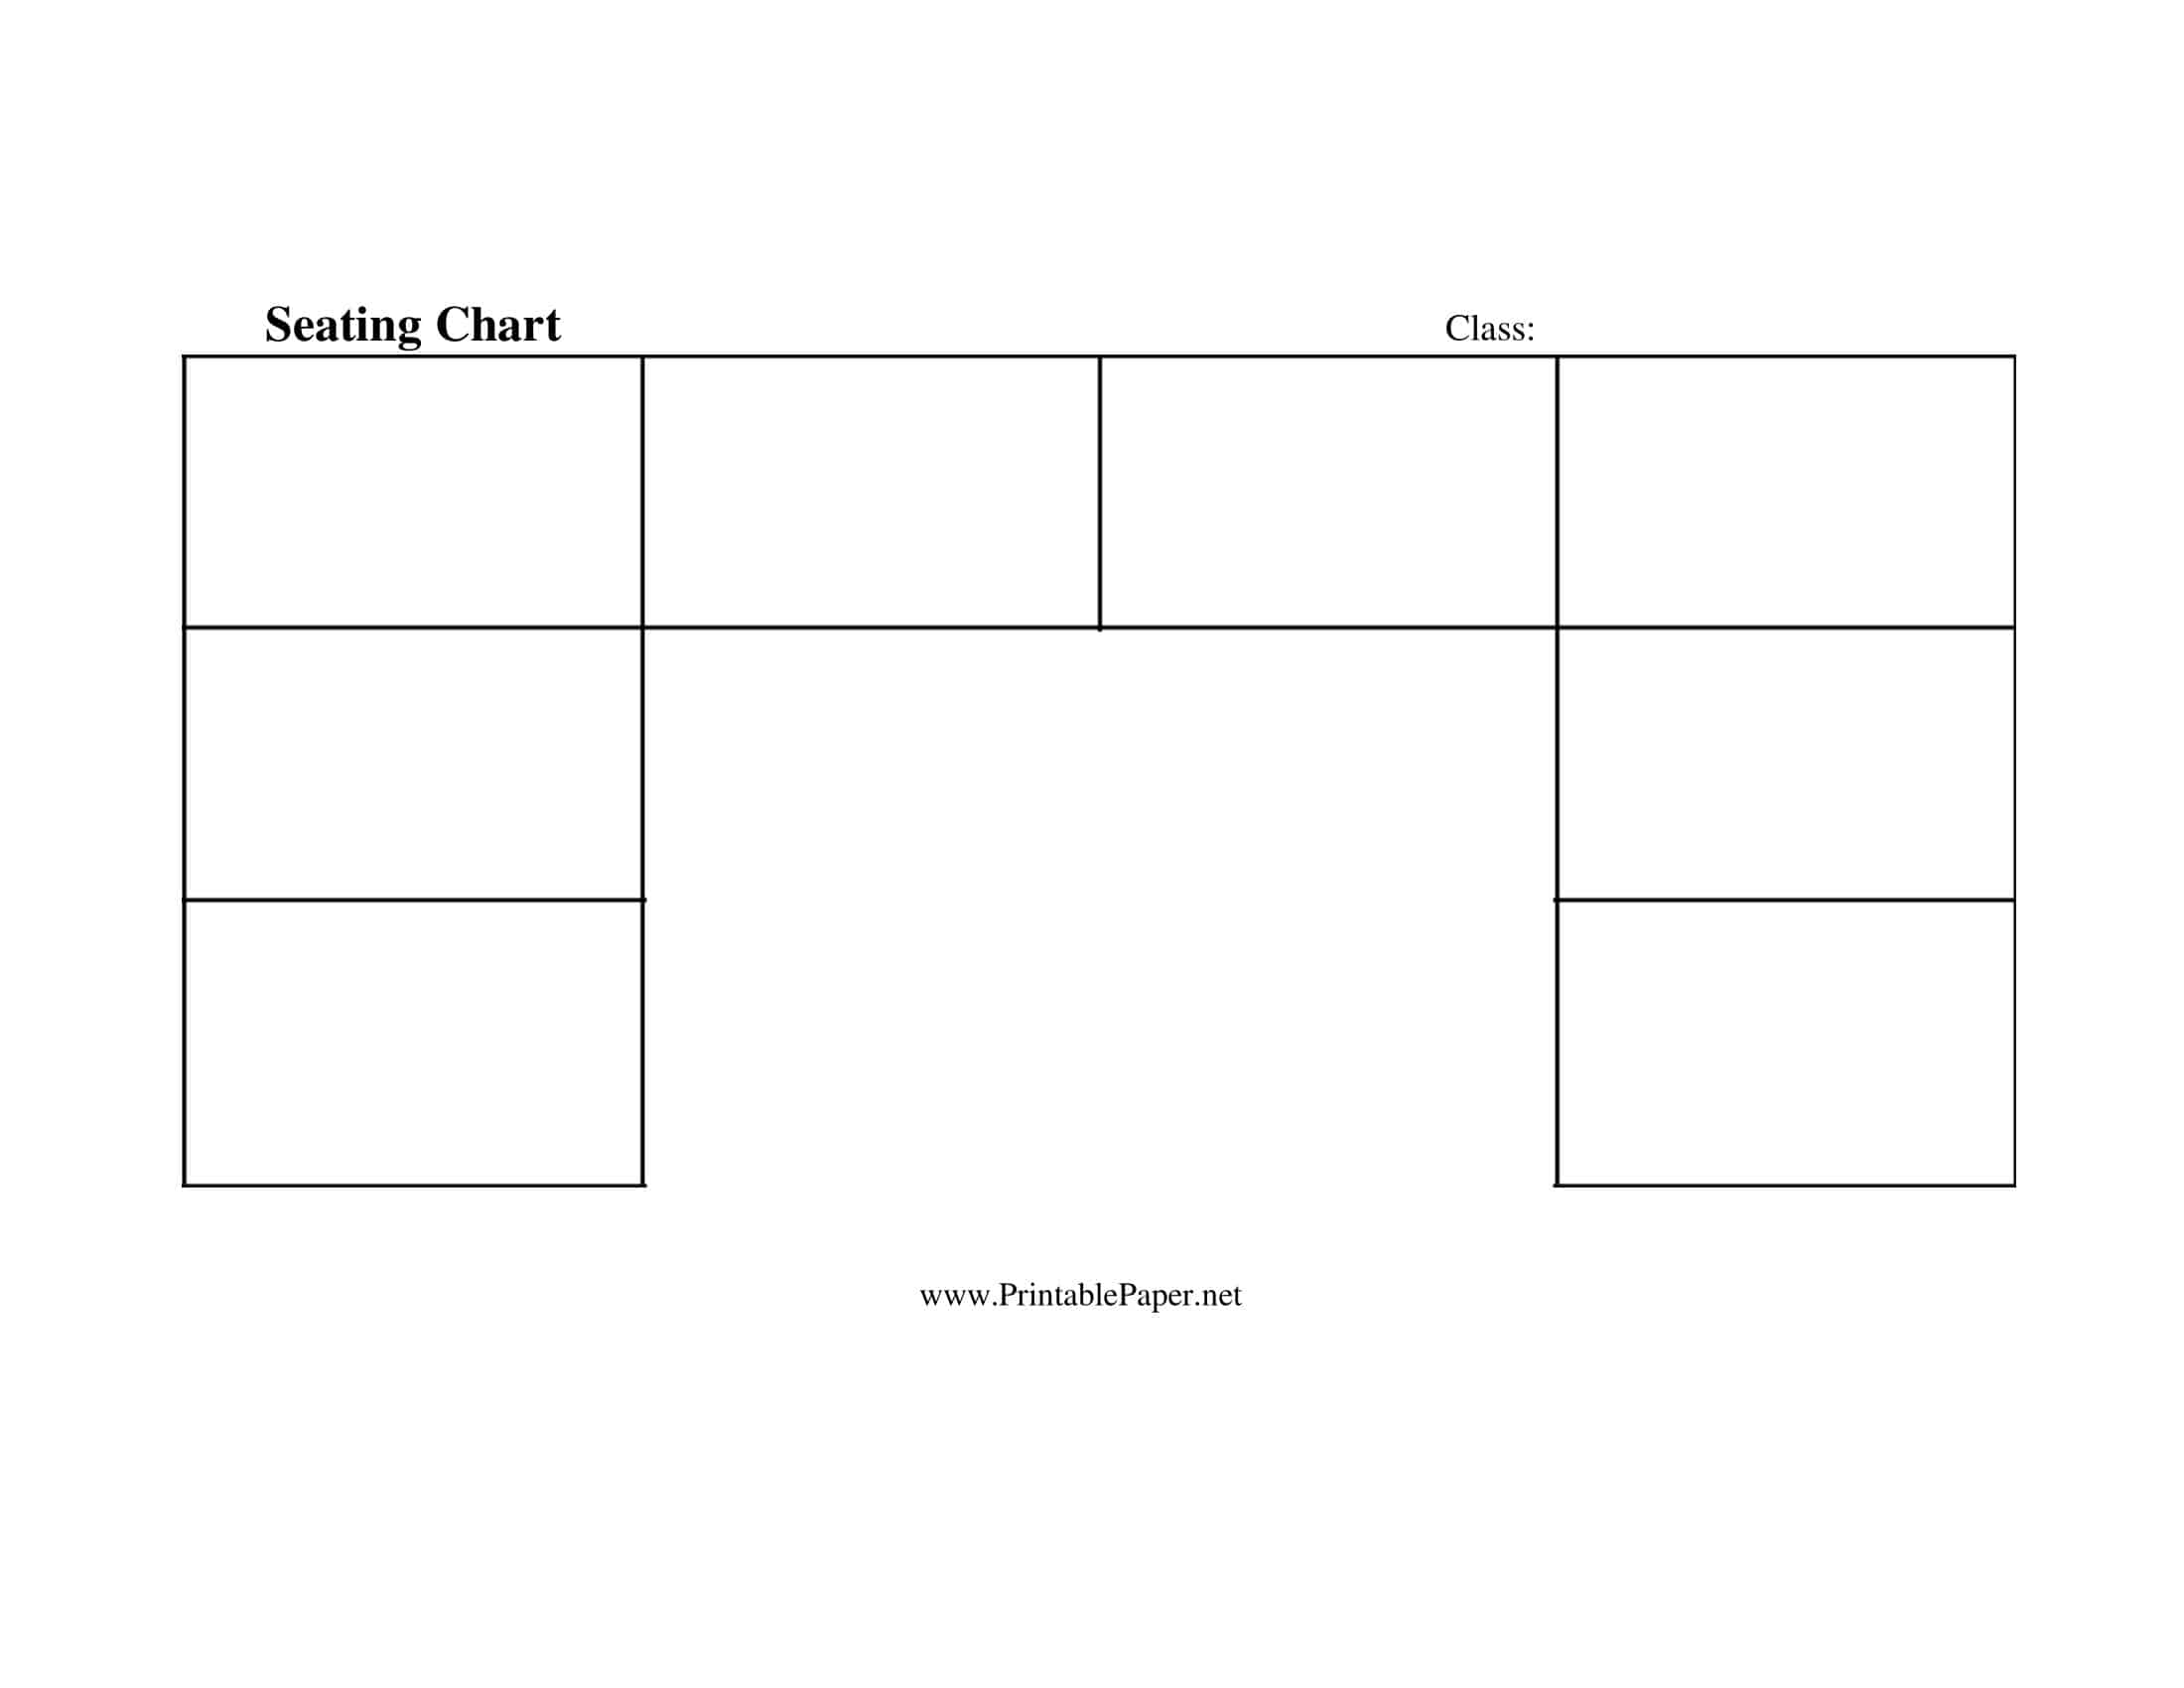
- Semicircle or Horseshoe: In this arrangement, desks or tables are placed in a U-shape facing the teacher.
- Pros: This layout is great for discussions as it allows all students to see each other. It provides a clear space in the middle for presentations or demonstrations. It also gives the teacher easy access to each student.
- Cons: This may not be suitable for smaller classrooms as it requires a lot of space. Additionally, it can be more difficult to monitor all students at once, especially those seated at the ends of the semicircle.
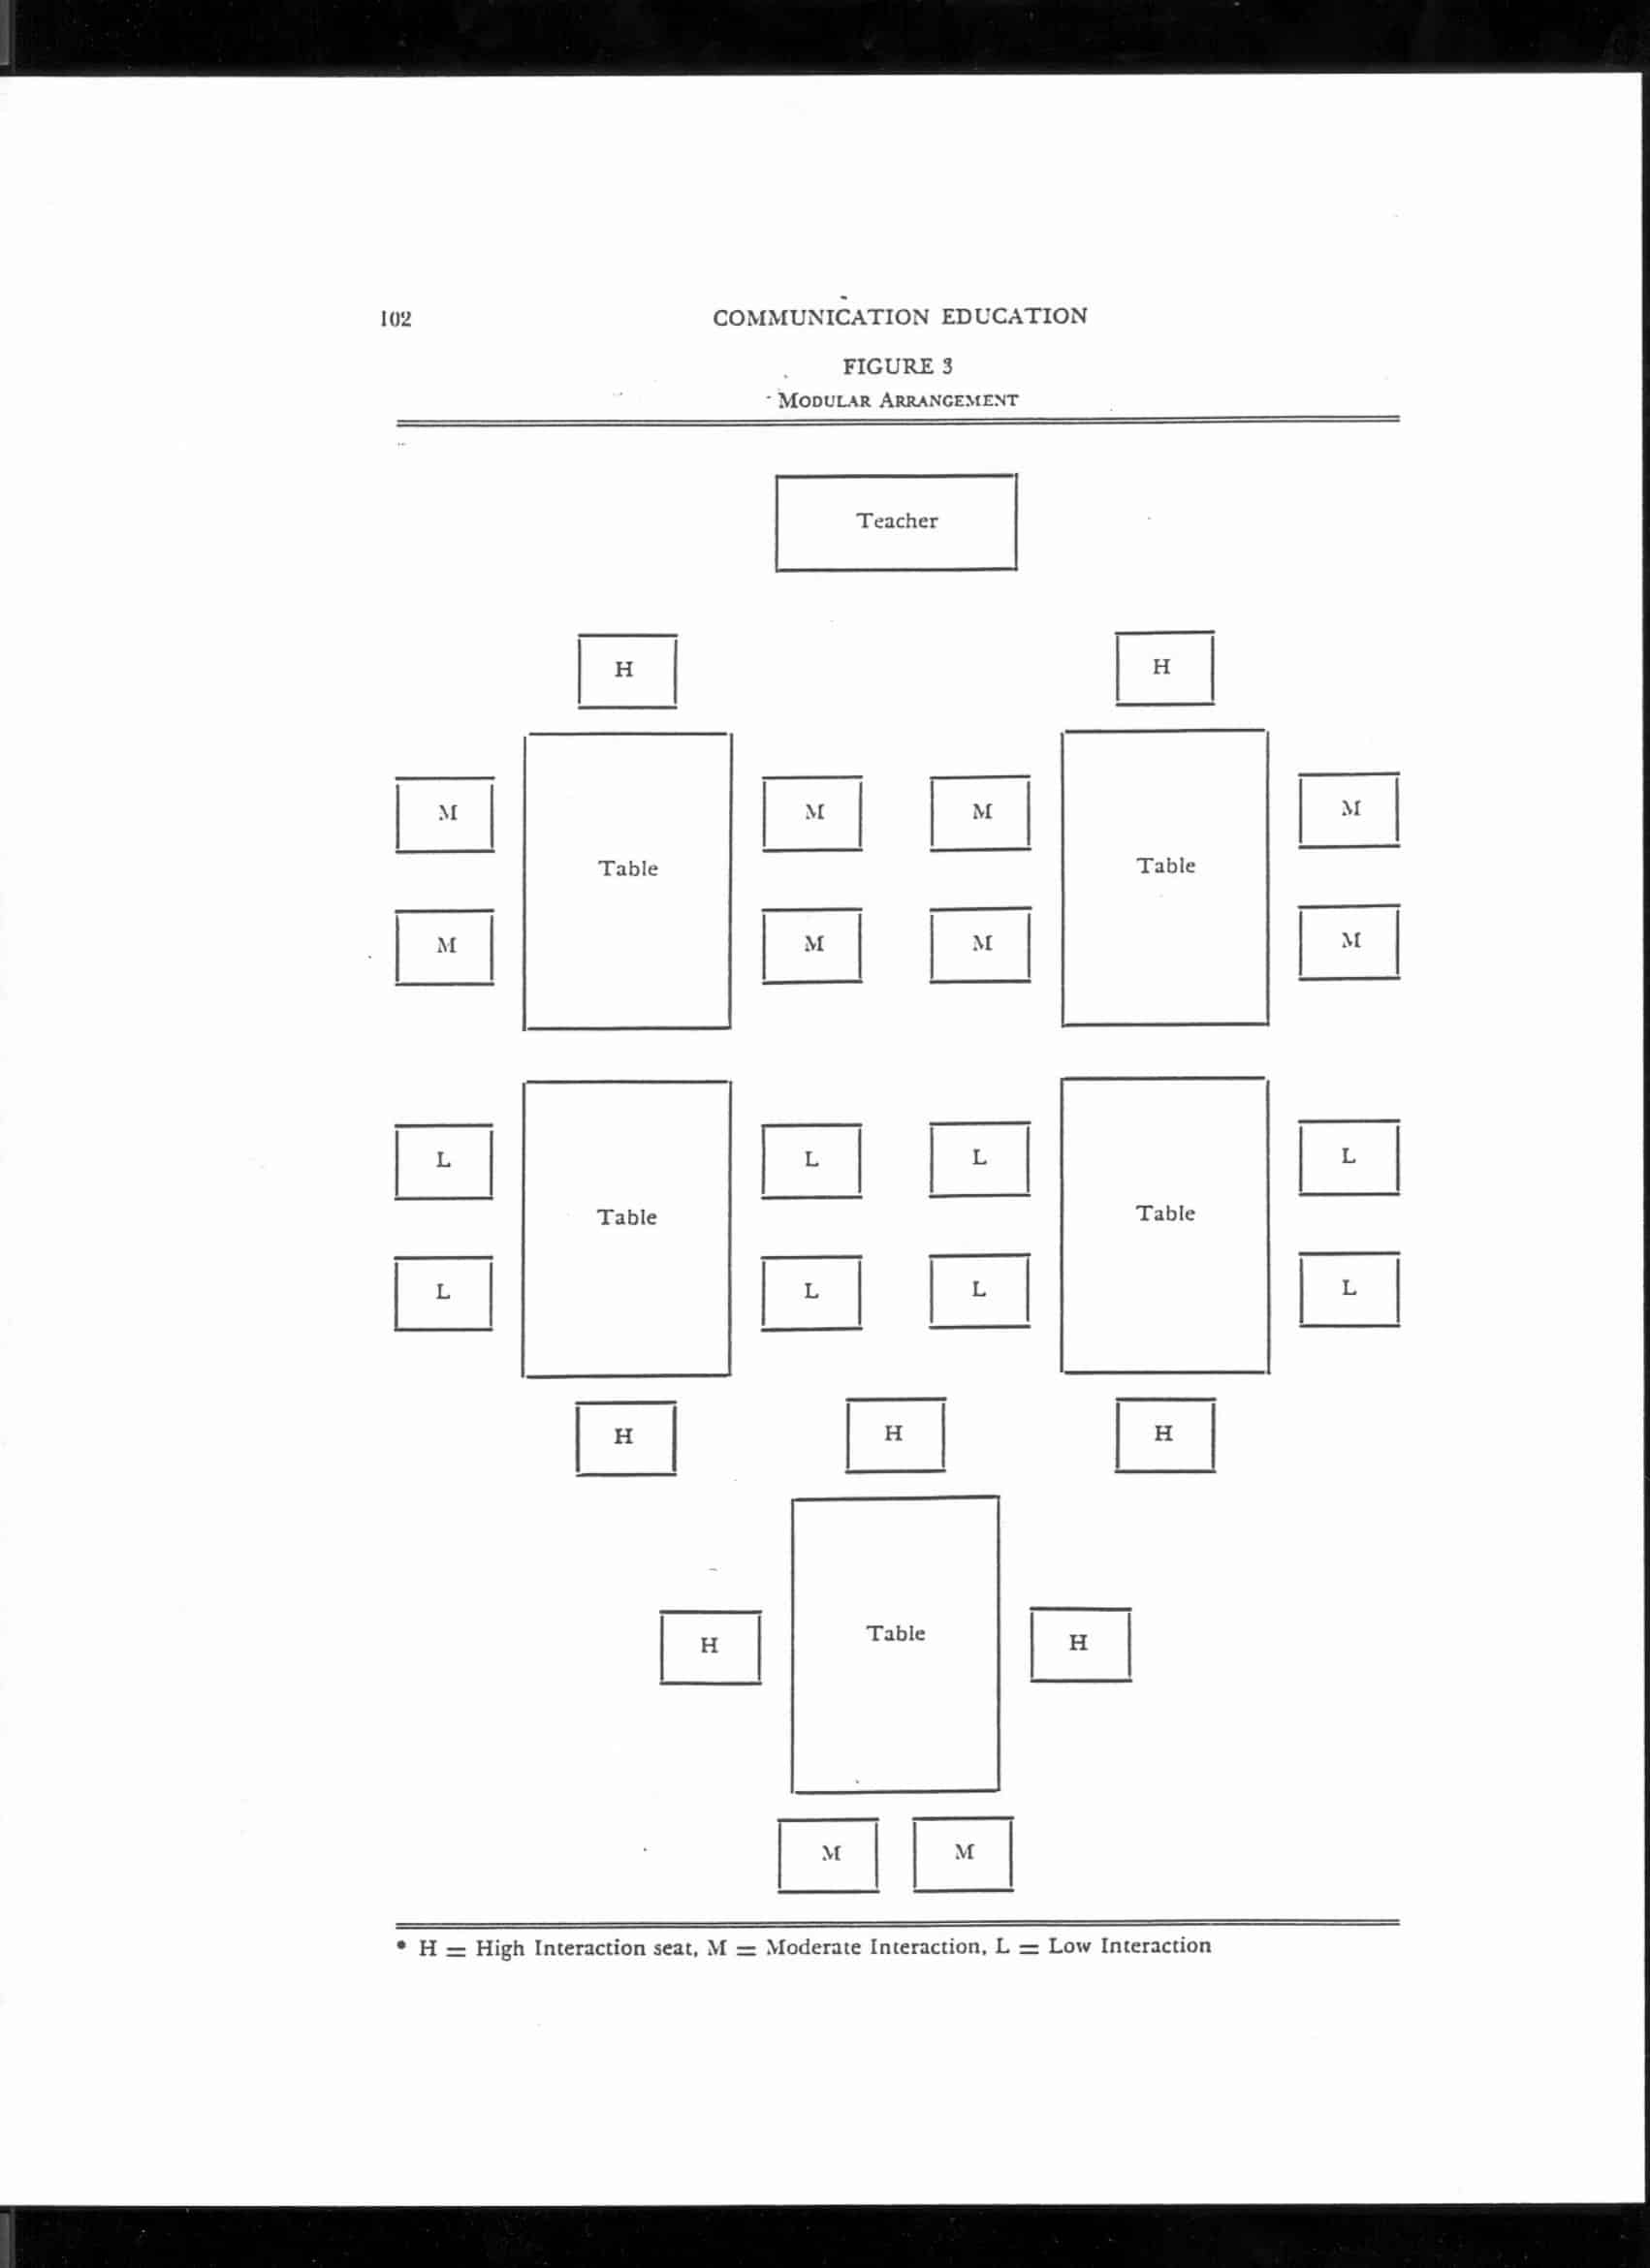
- Groups or Clusters: Desks are grouped together, usually in sets of four or six, with students facing each other.
- Pros: This arrangement is excellent for collaborative work, group projects, and discussions. It promotes peer-to-peer learning and fosters a sense of community in the classroom.
- Cons: It can lead to increased noise levels and potential distractions. It might also make it difficult for all students to have a clear view of the board.
- Combination: This refers to using multiple seating arrangements in one classroom. For example, a teacher may have some desks in rows for individual work and others in clusters for group work.
- Pros: This provides a high level of flexibility, allowing for a variety of teaching styles and activities. It can cater to the diverse needs of students in one setting.
- Cons: It requires a larger space and careful planning to ensure efficiency. It can also be more challenging to manage if not well organized.
- Pairs or Pods: Similar to group seating but in smaller units, usually two students together.
- Pros: This encourages cooperation and peer learning, but with less noise and distractions compared to larger group arrangements. It’s useful for paired assignments or activities.
- Cons: Like group seating, not all students may have an ideal view of the board. It may also lead to pairing challenges if there is an odd number of students.
- Circular or Fishbowl: Students’ desks are arranged in a large circle, with or without a smaller circle of desks inside.
- Pros: This encourages open communication and equality, allowing everyone to see each other. It’s great for discussions, debates, or role-playing activities.
- Cons: It’s not ideal for teacher-centered instruction and requires a significant amount of space.
How do you create a classroom seating chart?
Creating a classroom seating chart can seem daunting, but it’s manageable when broken down into simple steps. Here’s a step-by-step guide to help you navigate the process:
Step 1: Understand Your Classroom’s Physical Space
Survey your classroom. Note down the number of desks or tables you have, the shape and size of the room, the location of the doors, windows, board, and teacher’s desk. Consider any immovable features of the room as well. This is the canvas you’ll be working with.
Example: You might have a medium-sized rectangular room with 25 desks, a teacher’s desk at the front, and a whiteboard on the same wall. There are windows along one wall and a single door at the back.
Step 2: Consider Your Teaching Style
Reflect on your teaching methodology and the type of interaction you want in your classroom. Do you prefer direct instruction, group work, or a combination of methods? This will influence the type of seating arrangement that suits your classroom best.
Example: If you use a mix of direct instruction and group work, a combination arrangement might work well.
Step 3: Know Your Students
Consider the unique needs and dynamics of your students. Keep in mind their academic needs, behavioral characteristics, social skills, and any special needs.
Example: You might have a few students who are easily distracted and would benefit from sitting at the front. Some students might work well together, and some might need to be separated.
Step 4: Choose a Seating Arrangement
Based on the information gathered in the first three steps, choose a seating arrangement that fits your classroom. Draw a basic layout of the arrangement. Online tools or software can also be used for this purpose.
Example: You might decide on a combination arrangement with a few rows for direct instruction at the front and clusters at the back for group work.
Step 5: Assign Seats to Students
Now it’s time to place students on the seating chart. This step requires strategic thinking. Consider the individual needs of students, their relationships with each other, and how they can best be positioned to enhance learning.
Example: Place students who are easily distracted at the front close to your desk. Students who work well together can be placed in the same cluster. Students who tend to disrupt each other should be separated.
Step 6: Implement the Seating Chart
Once you have finalized the seating chart, it’s time to arrange the physical classroom accordingly and introduce the new seating plan to the students. It can be helpful to explain the reasoning behind the seating chart to encourage student buy-in.
Example: Start the class by explaining the new seating arrangement and the benefits it offers. Guide students to their new seats and ensure they understand the layout.
Step 7: Review and Adjust
A seating chart isn’t set in stone. It’s important to regularly review its effectiveness. Observe how well it works and seek feedback from students. Be open to making changes to improve its effectiveness.
Example: After a few weeks, you might notice that a certain cluster of students isn’t working well together. In this case, you can switch up a few seats to try and remedy the situation.
Conclusion
A classroom seating chart, while seemingly simple, plays a vital role in creating a conducive learning environment. It not only structures the physical space but also manages classroom dynamics, fosters positive student interactions, and supports diverse learning needs.
Strategic seating arrangements can enhance student engagement, promote collaborative learning, and streamline classroom management. Yet, it’s essential to remember that every class is unique, and thus, seating charts should be flexible and adaptable, changing as the needs of the students and the classroom evolve. The effectiveness of a seating chart is not in its permanence, but in its ability to maximize the potential of each student, contributing to a dynamic, inclusive, and productive learning environment.
FAQs
What is the purpose of a classroom seating chart?
The purpose of a classroom seating chart is to provide an organized and structured learning environment. It helps teachers manage classroom dynamics, promote engagement, facilitate effective communication, and maintain classroom discipline.
Should I change the seating chart periodically?
It can be beneficial to change the seating chart periodically, especially if you notice certain dynamics or issues in the classroom. Changing the seating arrangement allows for new interactions among students, prevents cliques from forming, and can help maintain student engagement. However, the frequency of changes depends on your classroom dynamics and teaching style.
Can I use a digital seating chart instead of a physical one?
Yes, using a digital seating chart is an excellent alternative to a physical one. Digital seating charts offer the advantage of easy editing, updating, and sharing. You can create a digital seating chart using software or online tools and display it on a screen or share it with students electronically. This allows for seamless modifications and eliminates the need for physical prints or erasing and redrawing the chart.
Are there any software or online tools available for creating seating charts?
Yes, there are several software and online tools available for creating seating charts. Some popular options include:
- ClassCharts (classcharts.com)
- Seating Chart Maker (seatingchartmaker.com)
- SmartSeat Classroom (smartseat.us)
- ClassDojo (classdojo.com) – Includes seating chart features along with other classroom management tools. You can explore these tools to find one that suits your needs and preferences.
Are there any considerations for student preferences or comfort in a seating chart?
Considering student preferences and comfort when creating a seating chart can contribute to a positive classroom atmosphere. Some considerations include:
- Accommodating preferences: If possible, take into account student preferences regarding their seating arrangements, especially if it positively impacts their engagement, focus, or comfort.
- Sensitivity to needs: Be mindful of individual student needs, such as physical comfort, visual impairments, hearing difficulties, or sensory sensitivities, and adjust seating accordingly.
- Balanced distribution: Strive for fairness in seat assignments, avoiding situations where some students consistently get preferred spots while others feel disadvantaged.
- Regular check-ins: Communicate with students periodically to gather feedback on their seating preferences and comfort levels, allowing for adjustments when appropriate.
















![Free Printable Roommate Agreement Templates [Word, PDF] 1 Roommate Agreement](https://www.typecalendar.com/wp-content/uploads/2023/06/Roommate-Agreement-150x150.jpg)
![Free Printable Credit Card Authorization Form Templates [PDF, Word, Excel] 2 Credit Card Authorization Form](https://www.typecalendar.com/wp-content/uploads/2023/06/Credit-Card-Authorization-Form-150x150.jpg)
![Free Printable Stock Ledger Templates [Excel,PDF, Word] 3 Stock Ledger](https://www.typecalendar.com/wp-content/uploads/2023/08/Stock-Ledger-150x150.jpg)
